|
Red Light District
Episode 1, Level 2
[ Previous | Next |
Main ]
Red Light District starts off with Duke
in an elevator that is descending. When it gets to the bottom,
Duke is presented with a lizard trooper that he must get rid of.
Coming out of the elevator shows Duke at the end of another street.
You can either choose to go down the street, or go into a rotating
door into the building immediately to your left. You will want
to go through the rotating door.
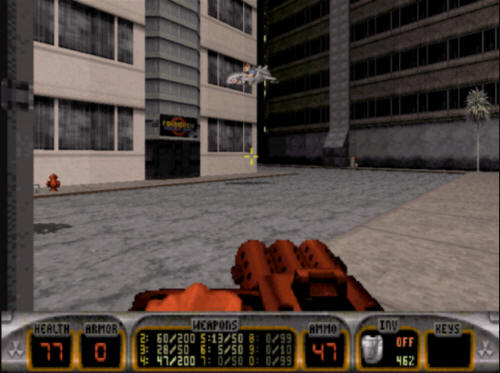
When you go through the rotating door,
there is a pig cop waiting to shoot your face off, so be careful how
you open the door, especially if you are low on health. While
we're at it, immediately around the corner is another pig cop who
will shoot your face off, so don't stray too far or you'll get shot
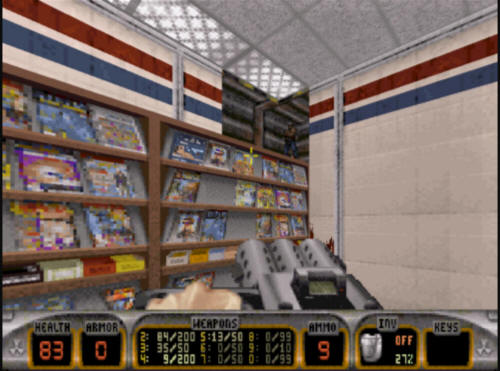
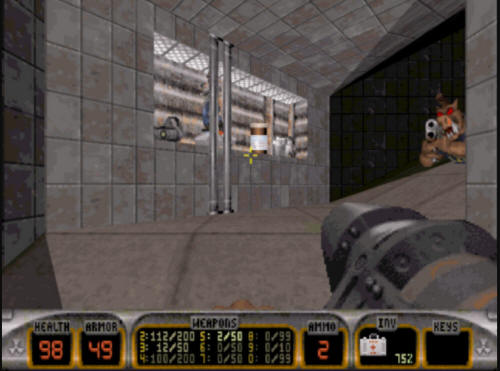
by him too. Anyway, once you go inside the door, you'll want
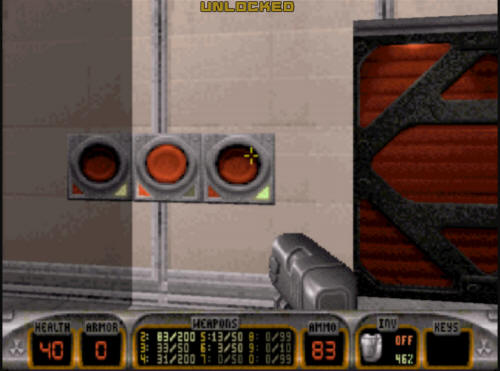
to take out the lizard troopers in the room. Go behind
the cash register area, and you will see the first of Duke Nukem
3D's many switch puzzles. You will need to press the first and
third buttons to unlock the door to your right.
Opening the door will reveal a rather darkened hallway in which you must
go down to get to an elevator. On the way you'll be shot at by a
few lizard troopers, so be careful of your step. Once you make it
to the elevator, go up, and take out the lizard troopers in the room
above. In the room, you will see a small red door on one of
the walls. Behind this door is the blue key card. You will
need this, so take it.

Going around the back of the wall, you
will see several lizard troopers both in the room, and across the
street. Take 'em out. The switch here merely throws up a
sign across the street that says "Duke Nukem must Die!", but serves
no other purpose. Jump out the window, and make your way
down towards the end of the street where you will see a sign for a
bar. You don't want to go in that door yet - not that you can,
anyway, it's locked.
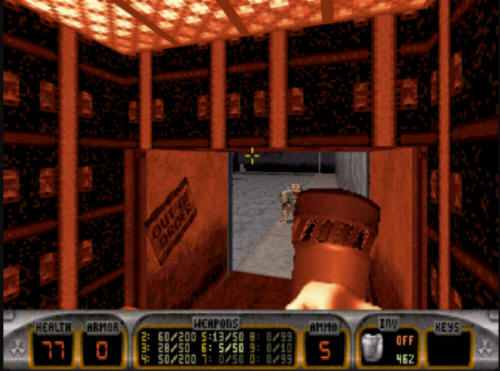
You'll see a sign that says "3D Realms
Demolition Company". Go around the back of that, and take out
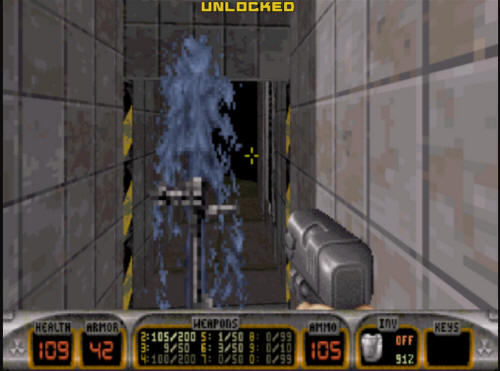
the pig cop, and you are presented with another puzzle. Use
the blue key here, and it will bring up four switches. To pass
this puzzle, you need to press the second and third ones.
Doing that will then bring up a switch which you can flip.
Flip it, and the building in front of you will be demolished.
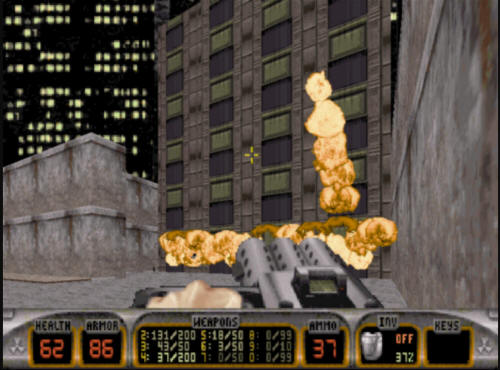
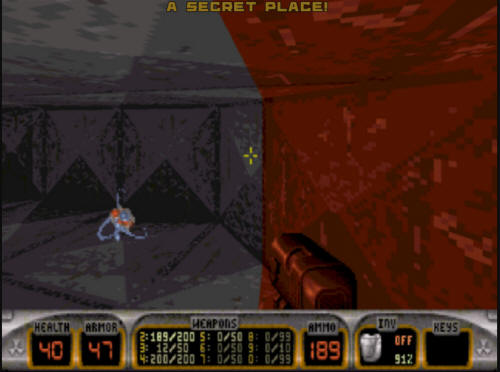
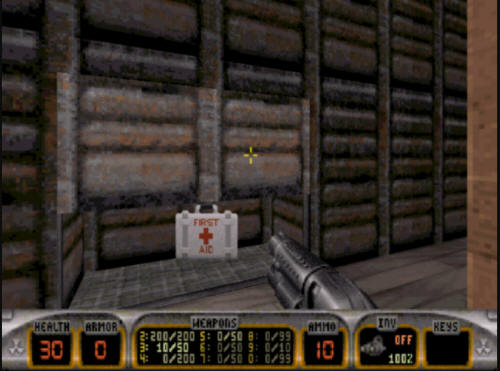
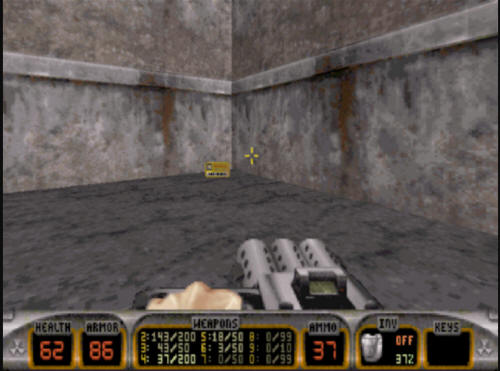
Once the building is completely down,
you can enter the ruins. Don't do it too soon, or the
explosions will likely kill you. In the rubble of the
building, you will find the yellow key.
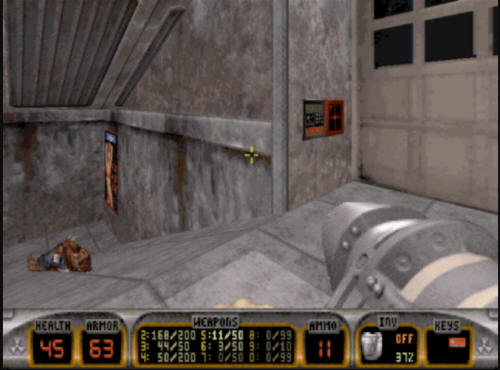
Grab the yellow key, exit the building
rubble, and use it to unlock the yellow door. After taking
care of some pig cops on the other side, you can make your way
through into the bar. You will have to deal with some lizard
troopers and pig cops hanging out by the pool table, and in the
bathroom. Once you've done that, head into the bar itself.
Once you've dispatched all the enemies
in the bar, and tipped the stripper a few times, you can get the red
key. It is behind the bar. You need to crouch down and
open a double door to reveal the red key. When you go to
get the red key, don't dawdle. Going behind the bar will spawn
three pig cops who will come around the corner and try and get you.
If you are low on health, this can be a big sticky point.
After you have gotten the red key, you
need to exit the bar area, and head towards the stripper area.
It is locked with the red key. On the way (depending on your
difficulty level), there will be a pig cop on the ramp to the door.
When you get to the area to use the red key, some pig cops will
spawn in behind you (as many as three), so don't get shot in the
back.
After opening up the red door, you will
get rather a lot of lizard troopers and pig cops in the room.
Make sure and clean out the room, as the move to progress out of
here is a lot easier if you don't have guys trying to shoot you in
the back as you are making your exit from this room.
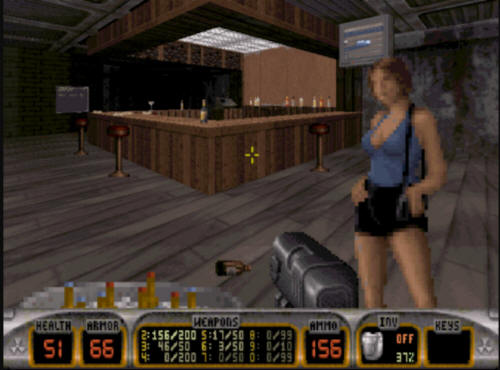
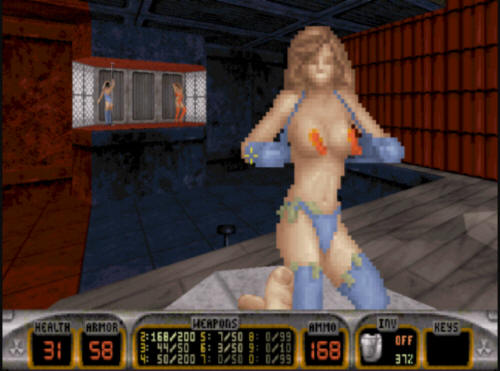
When cleaning up the room from alien scum, be careful not to shoot
the stripper in the middle of the room. That doesn't exactly
prevent you from getting anywhere, but killing strippers causes more
enemies to spawn. For no good reason, and mostly because
I am taking screenshots, here's one of the most taken screenshots in
the game history:
After you're done playing with the
strippers, you can progress through the level. In the corner
of the room there is an air vent. If it hasn't been blasted
open during your firefights, do so. You will need to
jump on the table below the vent, and then up into the vent.
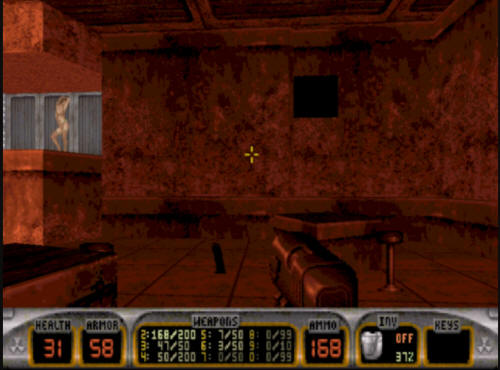
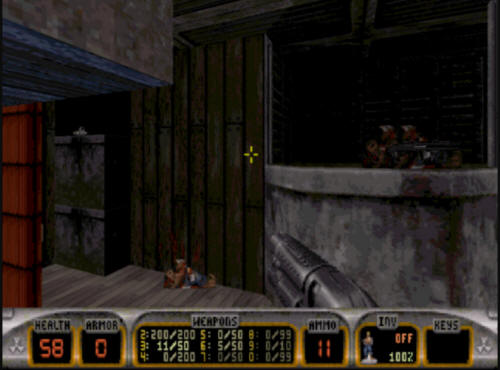
When you go through the vent, you will
get some health and a set of pipebombs. The pipebombs will be
useful because at the other end of the vent on the floor are more
pig cops. You'll need to take them out. Be careful, as
it's a rather confined space, and there's just about nowhere to hide
from the pig cops. Also, while you are battling them, one will
appear on a ledge above your head. Beware of that.
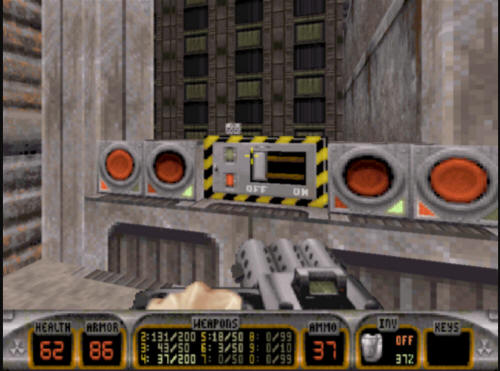
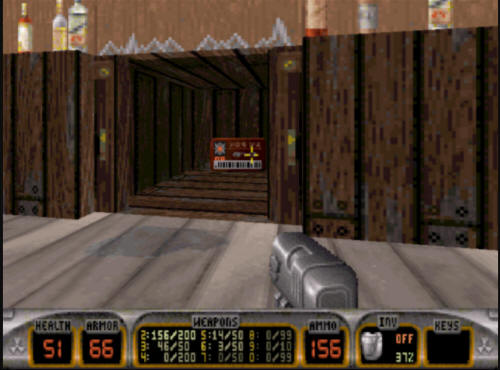
Once you've taken care of all the pig cops, there's an Open | Closed
switch at the end of the back side of the curtain. Flip it,
and the curtain will open, revealing the stripper room again.
More pig cops and lizard troopers will be here, so you will have a
battle on your hands again. Take 'em out!
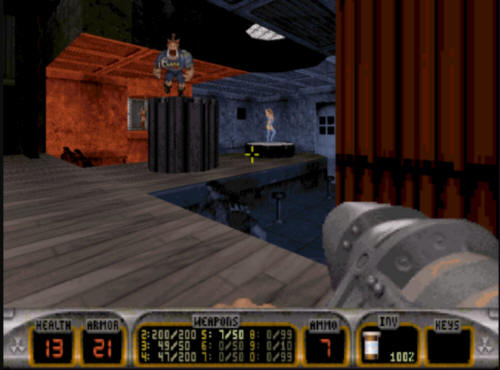
After you've taken out all the enemies,
you need to hop onto the ledge where the primary "blue" stripper is.
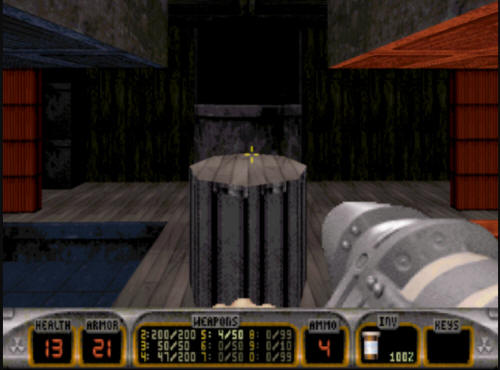
You can then see the other pillar. You need to jump from the
stripper circle onto the circular pillar, and then up onto the
ledge.
After you've gone onto the ledge, the
path to the end of the level is pretty straightforward.
You just follow the hallway around, shoot any pig cops in your way,
and you will come around a corner, and see what looks like the end
level switch. However, this level ends quite differently than
the majority. You are captured by the pig cops when bars go up
on either side of you, and the pig cops taunt you with your capture.
That is the end of the level.
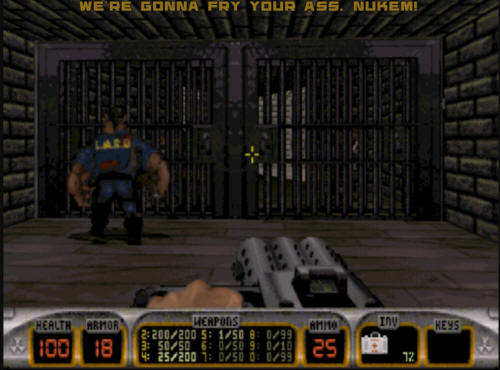
After listening to the pig cops for
awhile, you are automatically taken onto Level 3, "Death
Row".
|
|