 |
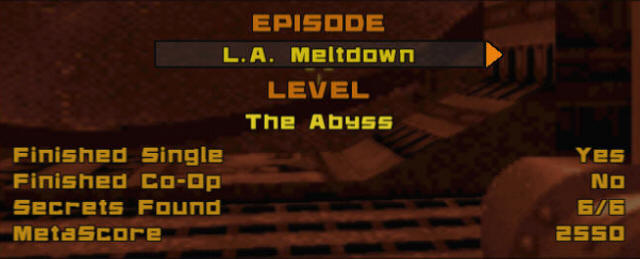
The Abyss
Episode 1, Level
6
[ Previous | Next |
Main ]
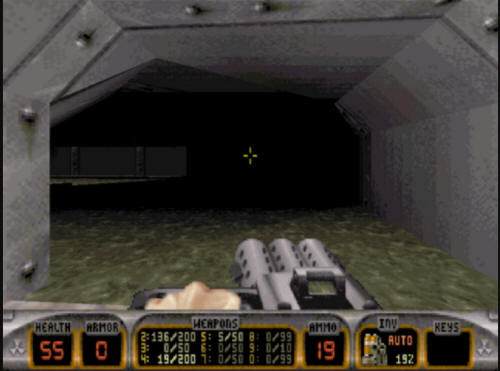
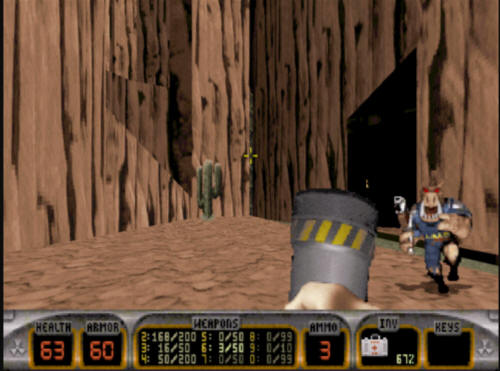
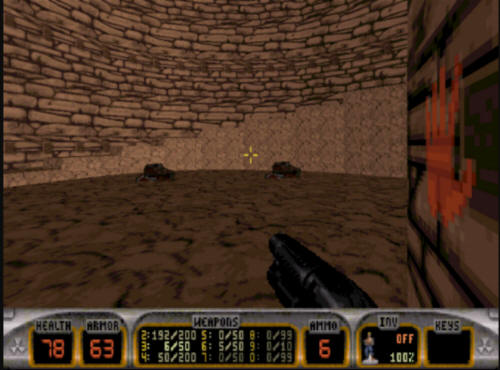
The Abyss is a level that is rather
large, and can be a bit difficult in co-op play, as you die and go
back to the start of the level. On the Xbox 360 version you
can use the replay feature in single play, which is rather helpful
due to the size of the level. Anyway, you start off with
another river of slime, only this one is much shorter. In
fact, when you come to the mouth of the slime, do not just go down,
you will want to get on the right hand platform. If you stay
on the platform, you will come upon a pair of double doors.
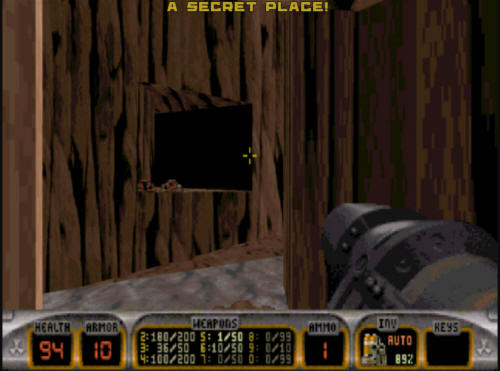
Taking out the couple of lizard troopers outside and inside the door
will reveal a pair of protective boots. Take them. It
will be helpful in this level.
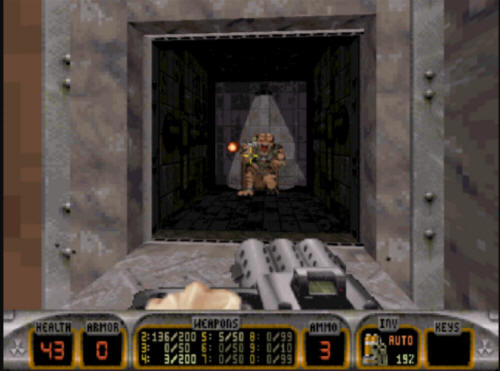
When you come out of the small room with
the boots, take a drop to the right. You will land on a ledge
right next to the locked blue door. Depending on your
difficulty level, there may or may not be a pig cop here too, so be
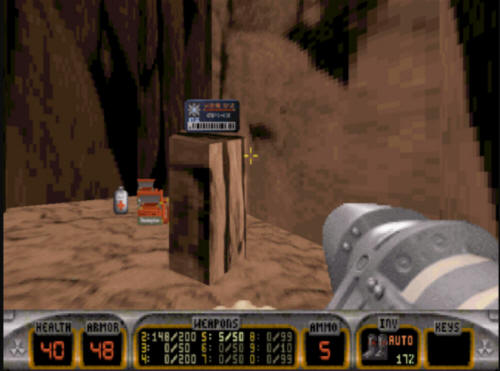
careful. There is a rocket launcher here you may need going
forward. Once you pick up the rocket launcher, make your
way back following the slime. After a short while, you
will see a much faster moving river of slime than the one you are
in. That faster moving slime will go over a cliff.
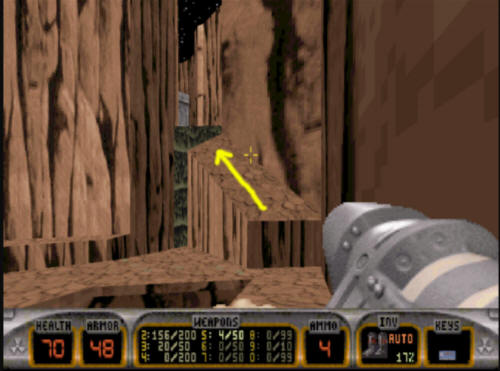
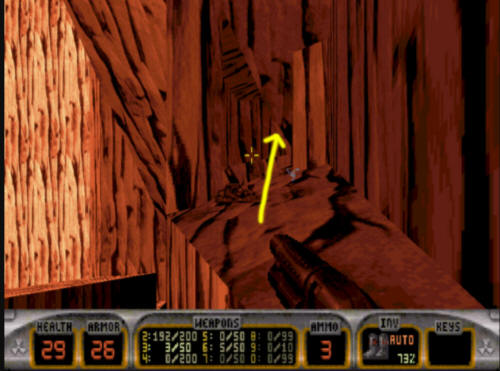
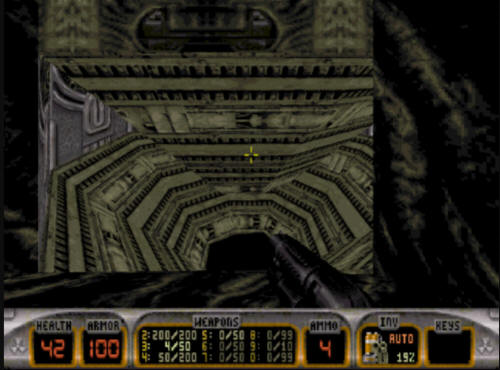
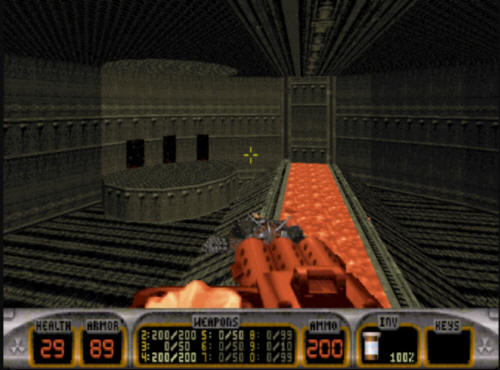
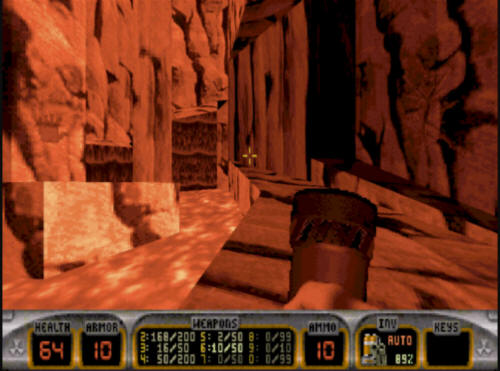
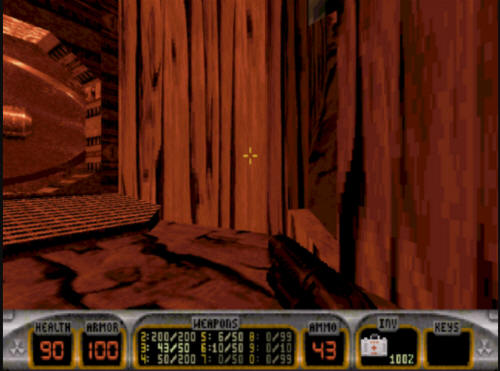
If you follow the river of slime all the way to the bottom, you will
be somewhere you don't want to be. Right before you
would fall off the cliff, you can see a ledge on the left side of
the screen:
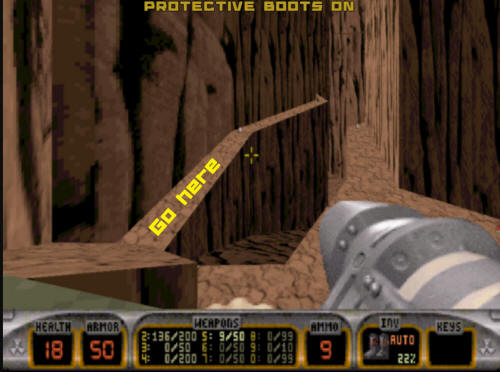
You will want to take the path shown in
the picture, as this is the way to where the blue key is for the
locked blue key door you saw a little bit ago. Follow this
path, and try not to fall off, as falling off will take you really
out of the way.
After you collect the blue key, you need
to make your way back along the ledge you just used to get here.
You need to go up the slime waterfall, but you can do that with the
ledge shown here.
Once you get to the top, you need to
jump up and make your way back to the blue key door. If
you did not dispose of the pig cop from earlier, you will have to
now in order to use the blue key. Once you use the blue
key, the door will drop, and there will be another pig cop waiting
to shoot you, so be alert.
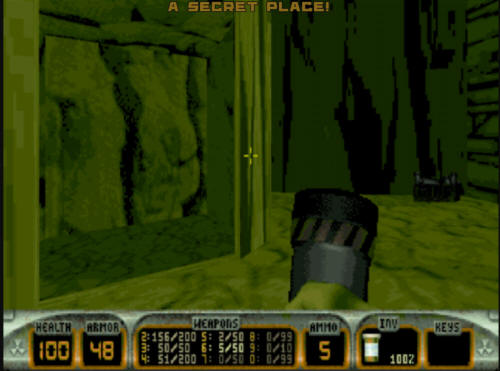
There is a path in the area right past
the blue door, but the room is rather dark - night vision can help
here if you feel too lost (or have too dark a monitor). Night
vision will also show you a side room where you can pick up some
health and RPG ammo. When you come to the end of the path, you
are left on a ledge rather high up in the level which will look like
this:
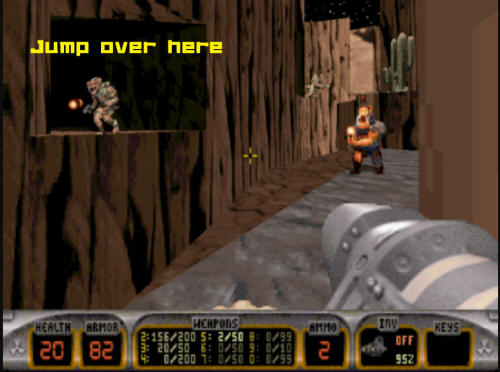
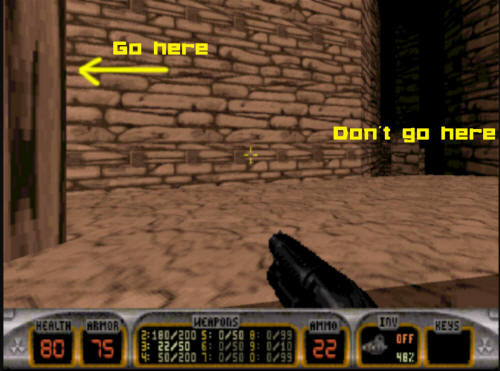
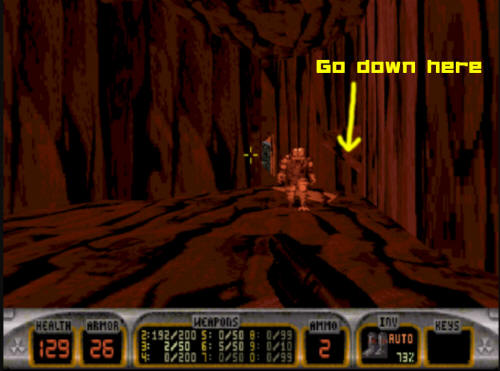
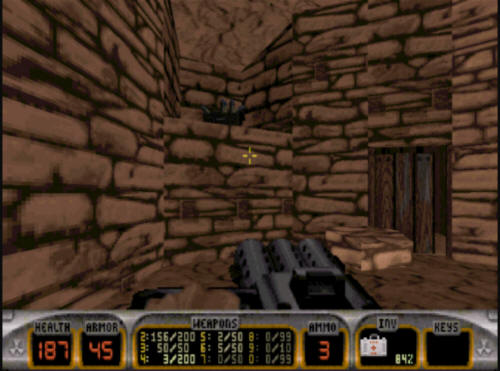
After you've taken out the various pig
cops and lizard troopers, you will need to make a jump across to the
ledge indicated in the screenshot. You cannot jump to where
the cactus us (from here, anyway), so the jump you need to make to
progress is the indicated one. After the jump, you are
again left in a fairly dark area, so night vision can help here for
sure. There are two ways out of here. One ledge
you come to has a bridge. That is not the way you want to go
(although there is a medkit over there if you need it). You
want to exit the other way - the one that has a ledge with the
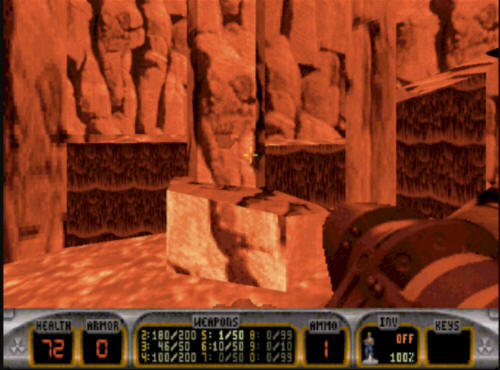
cactus you saw earlier on it. Take the jump over to the cactus
ledge, and go look at the "San Andreas Fault" sign. This
will trigger an earthquake, and several major parts of the level
will realign, making the place look a lot different when it is
finished.
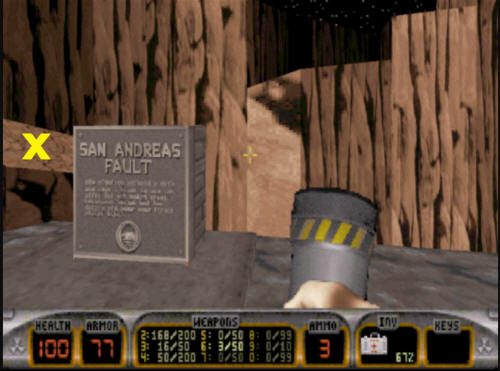
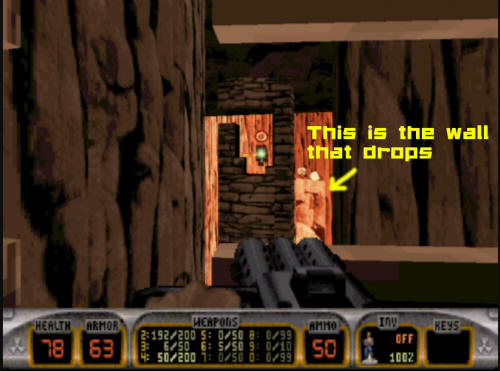
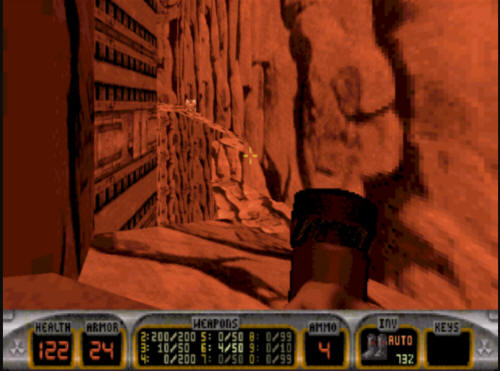
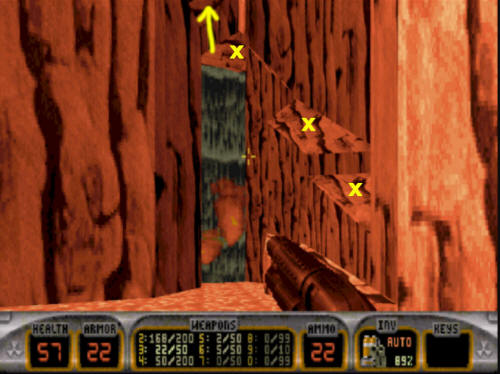
When you set off the earthquake, several
major parts of the level will go down quite a long ways, creating a
huge drop. The place at the bottom of the earthquake is
where you will want to go. If you have a good percentage of
health, you can survive the jump, but if you do not have much health
at this point, you can reduce the damage by riding one of the
dropping areas down to the bottom. In the shot above, if
you jump on the area marked with an "X" right after you set off the
earthquake, you can survive fairly well the huge drop.
There are health packs down there for you to recharge if need be.
One down the bottom, the way out will be
out into a darkened, inclining hallway to your right in the
screenshot above. This path contains several Octabrains
and pigcops, so be careful. Again, night vision will
help you spot them. After a short while, you will come
to a plateau in the path where you can go several ways.
The shot below is what some of it looks like when you arrive.
You want to take a further path that continues upwards, in a very
similar path than the one you just traversed. There are other
areas you can go, but they are not places you want to be quite yet.
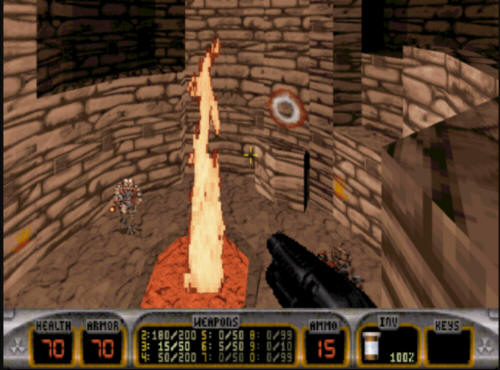
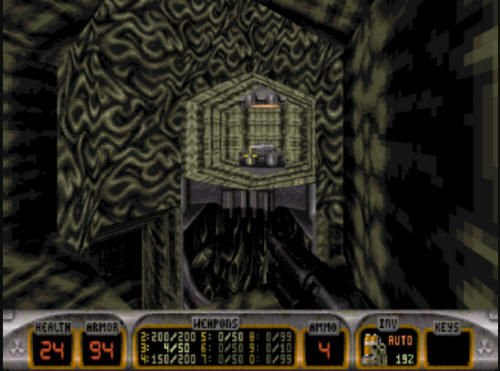
Once you go up the second stairway/path,
you will end up looking down into a room with a fire in the middle.
The way out is behind a wall underneath the red & white circle in
the picture. You open it by "using" the small yellow hand
image that you see to the right of the door.
Once you open the door, you're in
another small walkway. This walkway leaves you in a large
circular room with a couple of Octabrains. Take out the
Octabrains, as this is a puzzle room, and if you don't kill them,
they will come up and get you while you are dealing with the puzzle.
In this room you will see a small opening on the floor, with light
streaming in. That is the way out, so you need to get yourself
shrunk. The first step in the puzzle is to "use" one of
the orange hand drawings on the wall. This one will raise a
wall around the perimeter of the room.
Once the stairwell is raised, you need
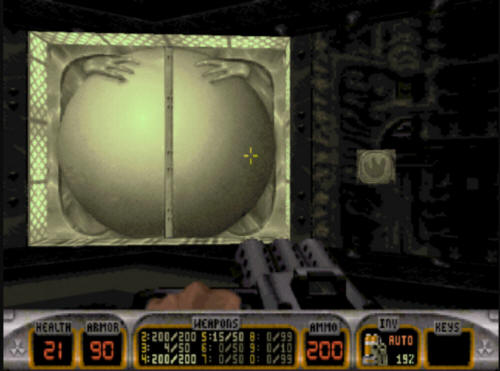
to go up the stairwell. At the top you will see a cross that
you can look through to see the outer area of the location you're
in. When you look out the window, you will trigger some
explosions in the distance, and you will see some of the red walls
drop. You need to make sure this has happened. If you do
not do this, you will not be able to progress in the level once you
escape this room.
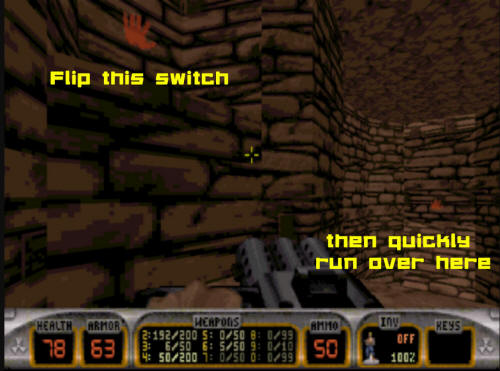
After you've dropped the red lava wall
in the distance, you want to stay on the platform you are on.
If you turn around and look behind you, you will see there are two
more of those "hand" switches in the room besides the one you've
already used. This next step involves a fast move, so you will
need to make sure you do it quickly. What you need to do
is jump up to the hand closest to you, and flip that. When you
do, a section of the floor will start rising under the other hand
switch. That is the time to go over there. You
don't have a lot of time before the rising platform gets too high to
jump on. If you miss the rising platform, go back to the
switch you used to raise the platform and use it again - the
platform will lower, allowing you to raise it again.
Once you've gotten up on the platform and can reach the third hand
in the room, flip it and then turn around. You will see
a shrink ray come at you from the other side of the level. You
want to let it shrink you, then you can jump off the platform, and
out of the room through the hole on the floor.
After you get out of the room, you still
be shrunk for a little while. You will want to come out of the
room and take a left. There is a small medkit and some
protective boots in this area. Take the health if you need it,
and you probably should take the boots too, as several parts of this
area require you to walk through lava. You will come to
an area that looks like the same thing you saw when you looked out
the cross window in the puzzle room. This is where you need to
go (assuming you dropped the walls in the puzzle room). You
will see a darkened area in the distance, that's where you need to
go.
Once you make it to the other side of
the lava pits, you will see a sharply ascending hallway that is made
of the "red fire" walls. The walls won't actually hurt you,
but they look like they well. You will need to make your way
up the path until you come to a plateau. On the way up
the path, there are a few Atomic healths you can grab if you are low
on health.
Once you reach the plateau, you will see
a window with some light streaming in. If you look out the
window, you will see the alien spaceship. There is a door
which leads to a downward path, that is the way you want to go.
After you make it down the path (which
gets quite narrow in places), you will see what appears to be a
narrow path over a chasm. This is the way to go, but it is not
a straight path. It is a series of platforms you have to jump
to. This can be somewhat tedious, and if you fall off, you
die. The jetpack obviously helps here if you have it, but if
you don't (most likely), you will have to play a hopping game to get
to the other side. One one of the platforms is an RPG launcher
- take it, you will need it shortly.
Once you make it to the other side,
there is a very steep stairwell that hugs the wall. Go up
(more like hop up) the stairwell, and you will reach a room that has
no possibility of you plunging to your death due to your jumping
skills. :)
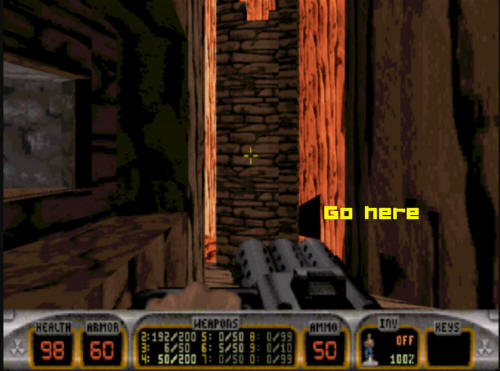
In the backside of this room, you will
see a large metallic looking door. It is not locked, so go
ahead and open it. Behind the door is a short hallway leading
to the final approach to the boss and the end of the level.
Take out any Octabrains inside here, as if you ignore them, there's
a possibility they could come up on your backside in the next part
of the level. At the end of the hallway is a green door that
will automatically open when you approach it. Inside this door
is a seemingly blocked path. However, just inside this door
(which will close behind you) is a green alien hand switch. If
you use this switch, a pillar will rise out of the floor revealing
the way out, which is a big drop into the floor (as shown here):
When you jump into the hole in the
floor, you are dropped into a room, which is just outside the main
boss area. This room has a few things which you might find
helpful. However, if you just drop all the way to the floor,
you will miss them. When you're jumping down the hole,
if you hug the wall, you will not end up on the floor, you will end
up in one of two alcoves right before the floor. They
are high enough that you cannot jump to them FROM the floor, so the
only way to get to them is by landing there on your way down.
One side has a ripper chaingun, and the other side has an RPG.
That is something you will want in a minute. :)
Once you have collected the two weapons,
you can jump down to the floor. You will be in a
circular room with a large door on one side. That is the door
that leads to the boss. If you search the walls for hidden
secrets, you will find two alcoves on either side. One has
some ripper ammo, and the other is RPG ammo. If you are low on
either, take 'em. Once you have gotten everything, it is
time to head into the boss room and face the Battlelord.
Open the door to the room, and once
inside, you will see a rather large chamber. There is a
platform to the left with some pod girls, and a few bits of ammo and
health scattered around the room. Once you get to the
second half of the room, the Battlelord will emerge.
As this is a boss battle, expect to find
this significantly more difficult than anything you've run into in
the game up until this point. There is no real secret or trick
to beating the Battlelord. Just shoot him a lot, and keep
yourself from getting shot too much. Make use of the health
and ammo in the room. There are some items of use behind the
podgirls, should need them, but if you go up there, move quickly, as
the Battlelord is likely to wipe you out while you're going for the
items.
After this level finishes, you will see
a cinematic after taking out the Battlelord. When you've
completed watching the cinematics, the game will automatically take
you into the first level for Episode 2, "Space
Port".
|
|


