|
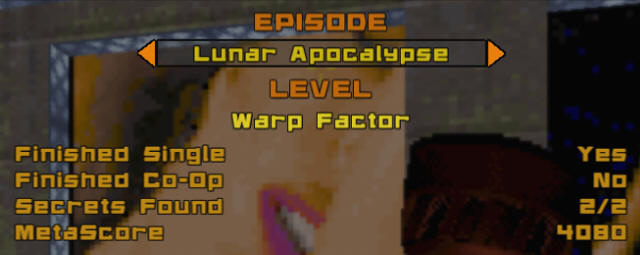
Warp Factor
Episode 2, Level 3
[ Previous |
Next | Main ]

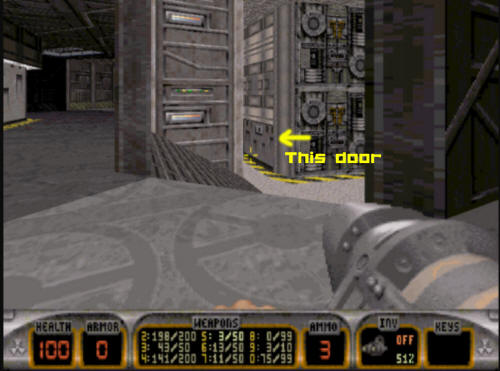
Warp Factor starts out in an elevator
going up. When it gets to the top, you see a door in front of
you. This door opens into a room that leads to several places.
The first place you want to go is to your left into a large elevator
in the corner.
Going into this elevator will
immediately cause it to descend, setting off several explosions.
These shouldn't hurt you, but the place you descended to will have
several fires going on, which can, so be careful down here.
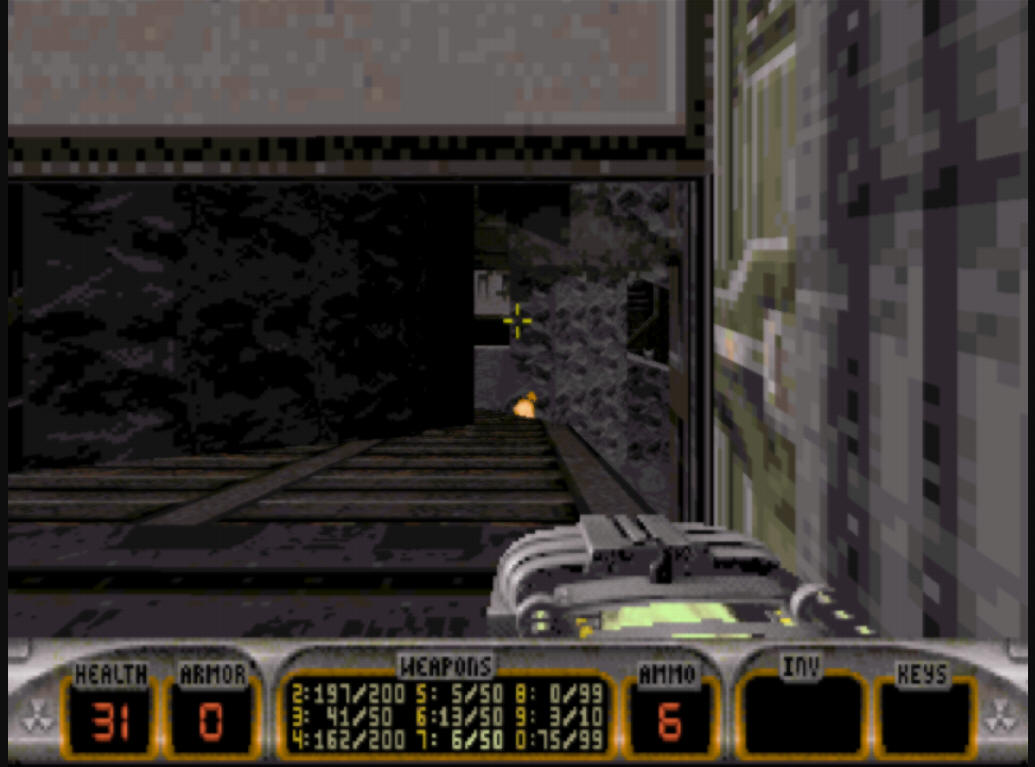
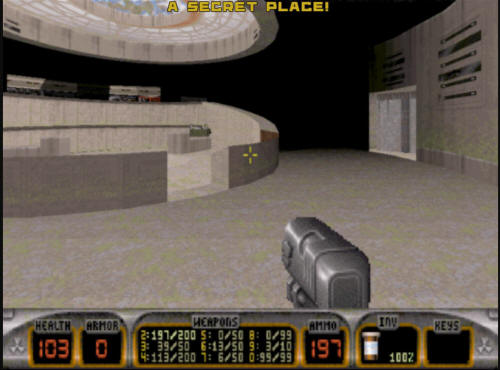
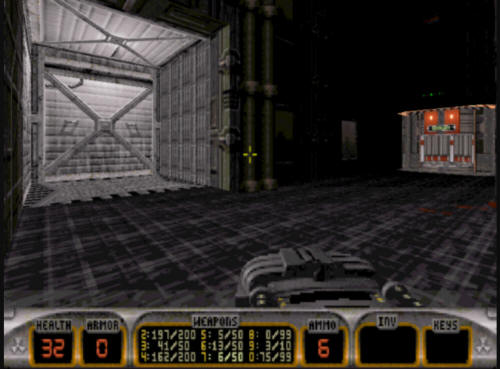
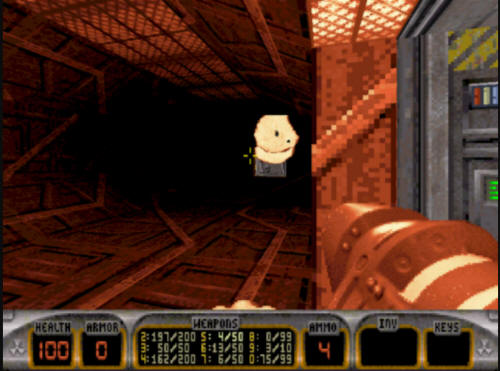
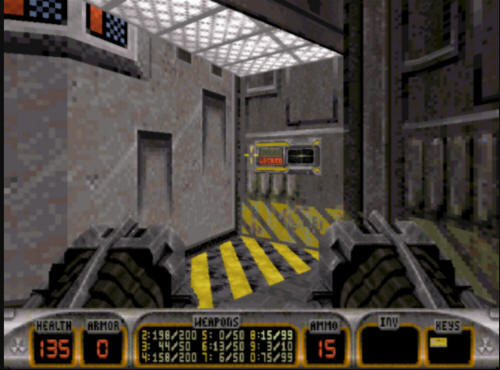
There are several places to go, the place you want to go to is in
the back of the room on the path you are on when you come off the
elevator (it is right next to the crosshair in the image below).
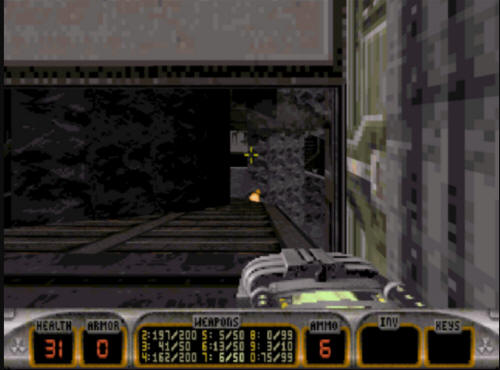
Once you make your way to the back, you
will see the blue key in an area underneath a door. Grab
it.
Once you get the blue key, make your way back to the elevator, and go
back up. Once you do, make your way to the other elevator in the
room, and go down in that one. Don't just run quickly out
though, as there are several tripmines that cover the exit to the
elevator. You'll need to take this out to progress. You
don't want to run through, as there's too many for you to survive.
There's two ways to do it. The first is to lure the Enforcer into
them. You can wait around for awhile until the Enforcer
starts up the ramp. Once he gets close, take the elevator back up!
If you don't, the tripmines will still kill you. The other
is with a pipebomb. From standing in the elevator, throw a
pipebomb near the tripmines, then take the elevator back up and
detonate. Never be at the bottom when these tripmines
explode, you will die.

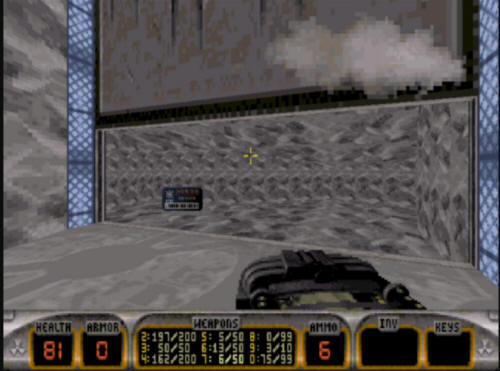
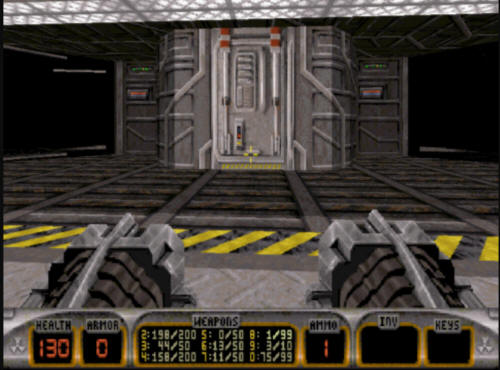
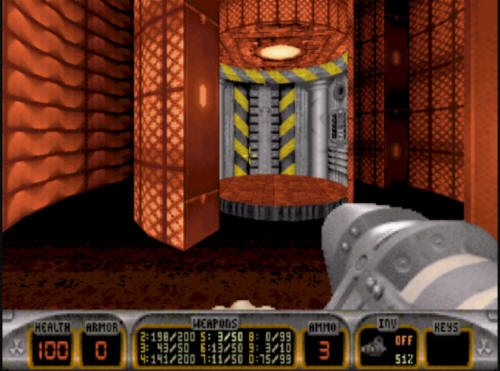
Once you clear out the tripmines and make it off the elevator, you will
find the locked blue key door to your right. This is where
you will need to go. The larger door in front of you is not needed
until later in the level.
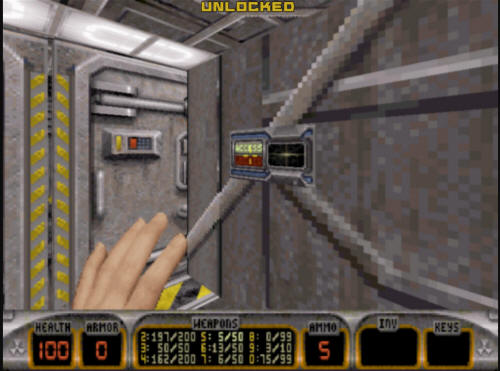
Once unlocked, the door reveals an elevator which you will need to take
upwards. Once you get to the top of the elevator, you will want to
come out and take a right. You can go left, but that is not where
you need to go to progress.
There is a door at the far right end of
the hallway, you will need to go through it and a few other
subsequent doors to reach the end of the hallway where it seems to
dead end.
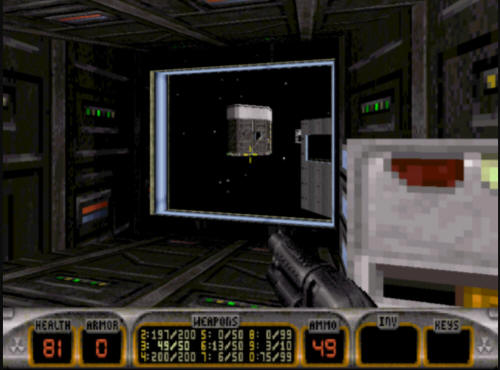
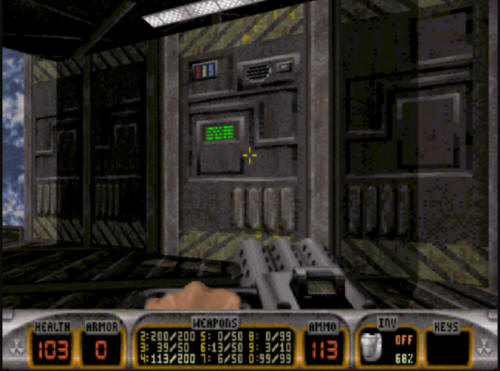
There is a switch next to a window here.
If you flip the switch it will call a shuttle to your position.
It can be seen approaching through the window. Once it
arrives, you can go in there (after disposing of any lizard troopers
in there). Once inside the shuttle, there is another switch to
flip which will take you over to the other side of the station.
Once there, you will be left into another hallway that looks very
similar to the one you were just in. There is another
switch here similar to the one on the other side, and it serves the
same function. Don't use it, as it will send the shuttle back
to the other side; you will need it in a little bit.
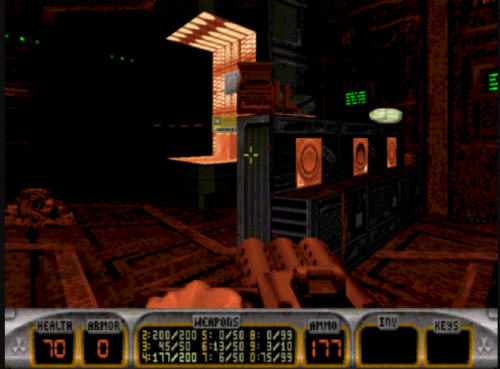
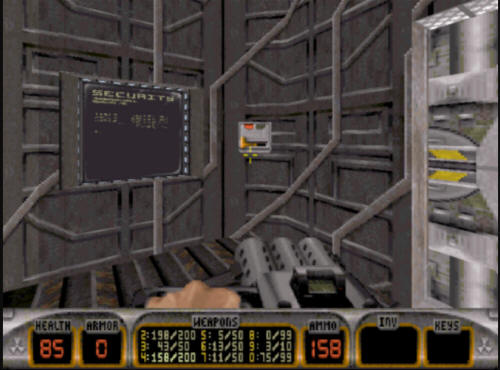
You need to keep going down this hallway until you come into a larger
darkened room with pulsing red light. On the left wall you will
see a yellow key hidden behind a door. You can't initially get to
the key, but there is a switch puzzle to the right. Pressing just
the middle button will open the doors and allow you access to the yellow
key. It is a timed door, so if you take too long it will close
again, prompting you to hit the middle button again until you can
successfully get the yellow key.
Once you claim the yellow key, you can
turn around and head back to the shuttle. However, before you
do, there is one somewhat hidden (but not an actual "secret") area
that will be useful. If you turn around 180 degrees from where
the yellow key is, you will see an elevator. Go in there and
take the elevator all the way down. You will see three Atomic
healths - these are the same ones you could see near the blue key,
but couldn't get to. Go grab 'em for a huge health boost.
After you do that, you need to make your way all the way back to
where the blue key door was (going back down both hallways and a
shuttle ride).
Once you get back, you can go through
the large door you skipped earlier. The reason you skipped it
earlier is the door you use the yellow key is back here. A
word of warning, if you are playing on one of the higher difficulty
levels, there will be a Battlelord in here, who can be difficult to
defeat. There is usually also a fat commander in this area as
well, some there will be lots of combat before you can use the
yellow key.
After going through the yellow key door,
you will ride an escalator to the top, and encounter a closed door.
Opening the door (it is not locked) will present you with a few
choices. Directly in front of you is a door. Opening
this door will give you a devastator weapon (if you didn't already
have one). The other choices are on either side of a circular
room. If you go around to the back side of the circular
room, you'll get shot at, so take out a turret and some aliens
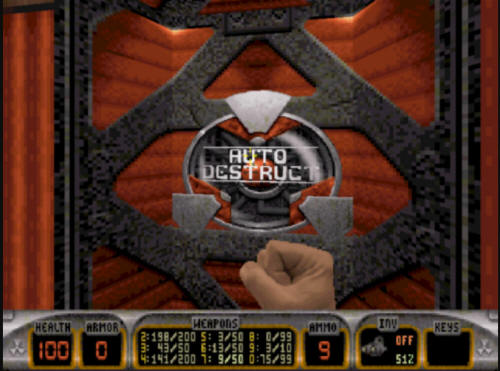
first. You will see a room at the top of a ramp. Go up
there, and a control panel will rise out of the floor. Going
around the back will show you a button. Press the button, and
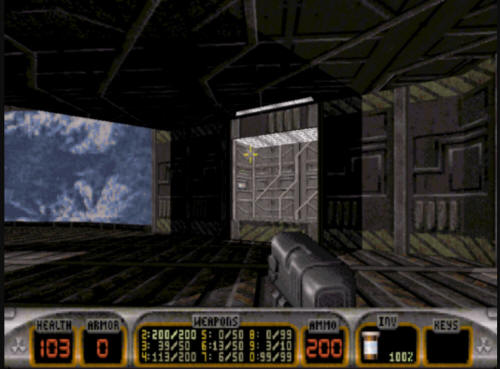
the windows in front of you will open up. This doesn't
really help with your progression in the level, but it's one of this
author's favorite moments in the game from a visual standpoint.
:)
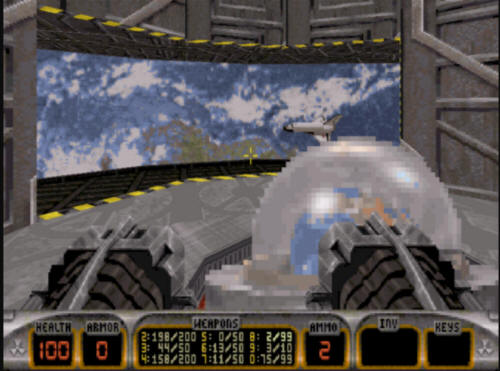
Once you are done looking at the Earth,
you can go back to either side of the circular room - each side has
a door. They both lead to the same room, it doesn't matter
which one you pick. In this room is an RPG to take. More
importantly, in the corner of the room is a switch. You will
need to flip this switch, as it drops a forcefield towards the end
of the level you will need to get through.
After you flip this switch, you need to
make your way back down the escalator that led up here. Open
the door at the bottom, and make your way down to a door in the
lower part of the next room.
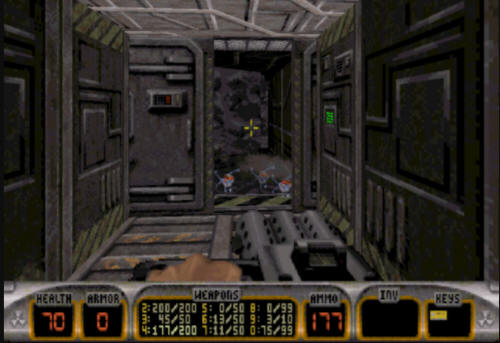
Opening this door will reveal a blue
corridor with some rotating walls at the end. You will need go
through the blue area (which will give you damage if you do not have
boots). You will need to watch the rotating walls until the
elevator at the center is visible. At that point you need to
run in and take the elevator down.
The elevator will leave you off in the
middle of a circular room which contains the level exit. After
mashing a few Enforcers, hit the exit to be taken to Level 4, "Fusion
Station".
|