|
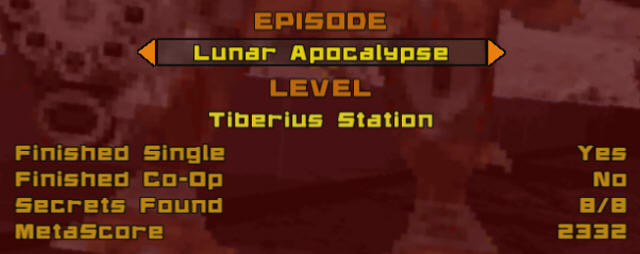
Tiberius Station
Episode 2, Level
7
[ Previous |
Next | Main ]
Tiberius Station starts off in a small
confined room with a slimer egg in front of you. Do nothing,
and the slimer will eventually kill you. So take it out
immediately. You need to break out the grate in this
room, and jump out, leaving you in a control room. Going
forward into the control room you will see two different kinds of
switches. The one on the right merely turns the lights
on in the next room. The small one to the left opens the door
in front of you where you will need to go to progress in the level.
Before you go through there, you may
wish to pick up some supplies. When you first jumped out of
the vent and into the control room, you may have seen two paths that
lead off to the left and right. If you take the left one, you
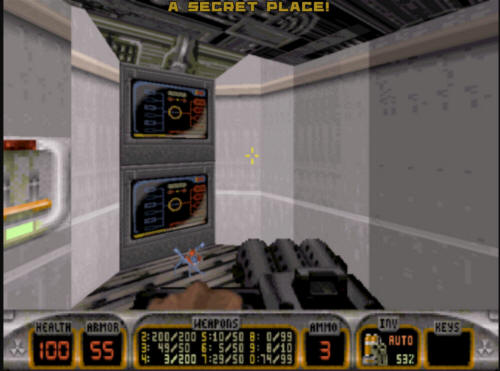
will end up near a switch that looks like this:
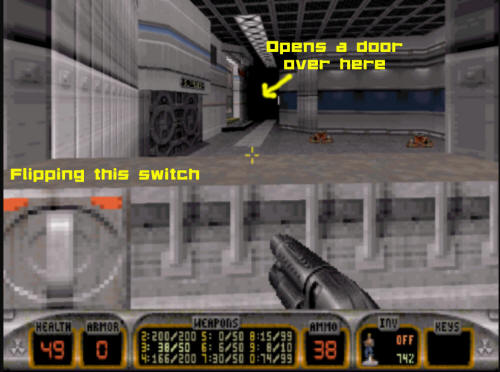
Flipping this switch will open a door on
the other side of the room (that you cannot see from your current
location). Jump out of the window, and run over there, and get
in before the door closes on you. You can pick up some ammo in
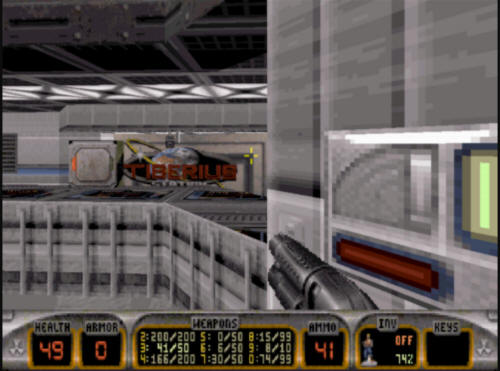
here. Likewise when you finish with this room, there is a
similar switch/door combination on the other side of the room which
will allow you access to further supplies and health. Grab all
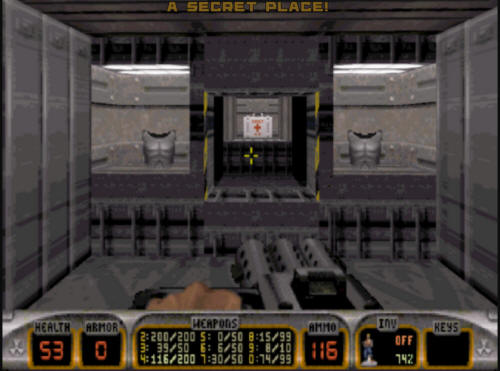
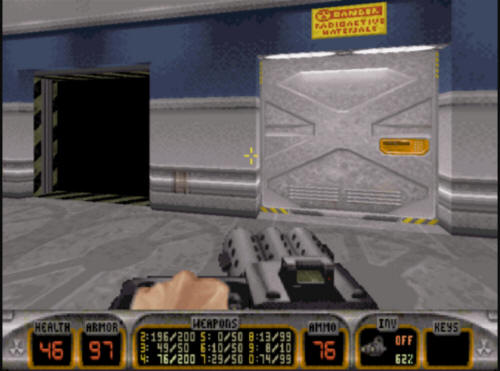
of that, and then proceed through the door in the middle of the room
under the Tiberius Station sign. Immediately to your right
inside this door is a switch. Flip it to turn on the lights.
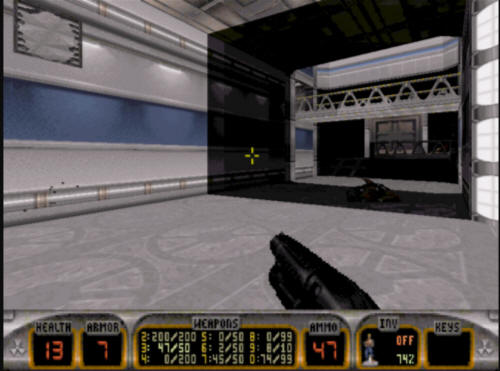
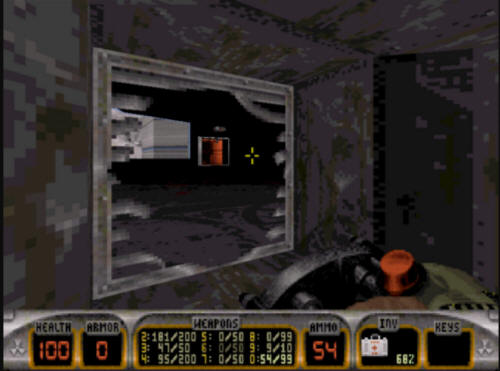
You'll thank me later. You will pass a mirror, and when you
do, you will come across some lizard troopers. Take them out,
and then go inside the darkened corridor you see in the shot below.
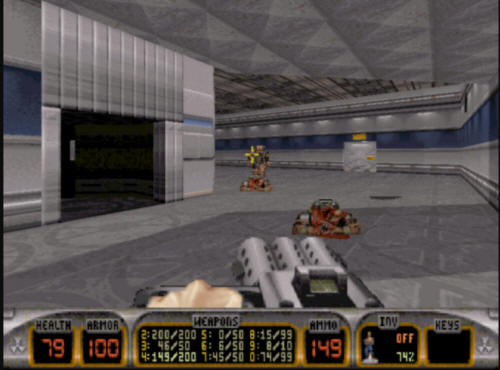
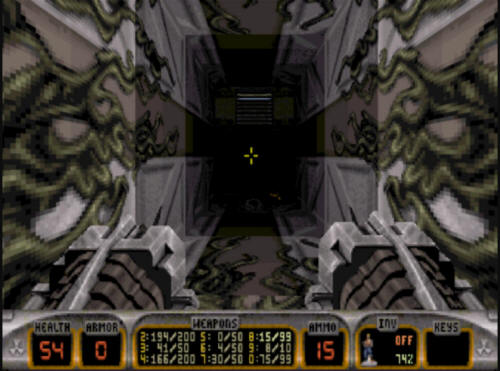
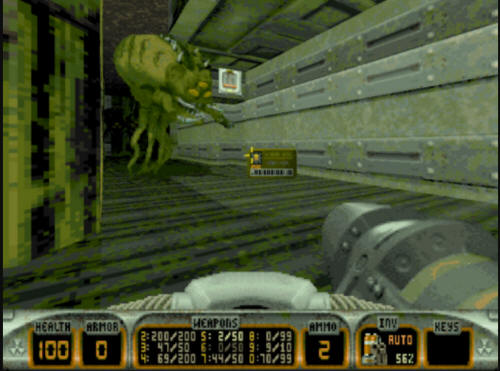
Going in there, you will see an elevator
that you will need to use to get up to another control room.
While you're waiting for the elevator, though the much more darkened
hallway next to you is filled with slimer eggs that will hatch while
you're waiting for the elevator. Probably best to send a
pipebomb down there and take 'em out before they get you.
There's also a water fountain in here you can use to health up if
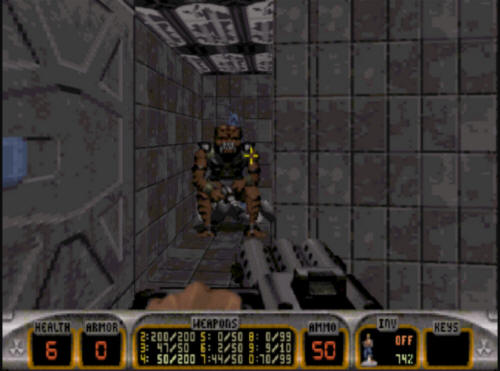
you need to. Go up the elevator, and you will be inside a
control room with some lizard troopers, and the blue key. Take
out the troopers, and then get the key.
At the end of the room, you see two switches. The one on the left
is another light switch. The one on the right, however, opens a
door that you can see out the window. Going in there will give you
a close quarters battle with two Enforcers. Also in this room is a
Devastator, and an Atomic health.
Once you leave that room, take out some
Octabrains that have now appeared, and if need be, hit the water
fountain for a quick health up before progressing. Head into
the next room, which is another large door. Be quick though,
as two tripmines will appear on the other side of the door right
after you go through. Go too slow, and you'll set them off.
There is a huge shortcut to finishing this level here, but more on
that later.
A few enforcers are waiting for you in this hallway. After
dispatching them, go under the bridge, and through the door at the end
of the hallway. Once open, you will see a door to your left.
This is a bathroom, which can be helpful in recharging your health
(which you can see I needed to by my screenshots here). If
you do go in the bathroom, be aware that several sentry drones will
attempt to follow you in there, so they will have to be dealt with when
you came out.
One funny note about the bathroom. In the stall is a lizard
trooper sitting on a toilet, which is a redo of the joke from
Hollywood Holocaust of the same thing. Anyway, in doing this
walkthrough, I set a trip mine myself outside the bathroom door to
try and deal with some of the drones I knew that would be following
me. While I was inside the bathroom, a drone did hit the trip
mine and explode. However, the resultant explosion took out
all the lights and the urinals, as well as the toilet the trooper
was sitting on. It made for this humorous screenshot,
where the trooper was sitting on a busted toilet with a jet of water
shooting out of his backside. ;)
Once you've finished with the bathroom,
head on down the hallway - you will find an Enforcer and a ceiling
turret blocking the locked blue key door. Take them out, and
then shoot the barrels at the end of the hallway. Shooting the
barrels will blow out a section of wall that will reveal an RPG for
you to pick up. After that, use the blue key and head through
that door.
Once through the blue key door, you will
look out upon a room with a lot of sludge on the ground, and several
Octabrains and Enforcers in it. Take them out, and flip the
switch. It will make a safe passage you will need to use to
progress into the next section of the level. However, don't
take it quite yet.
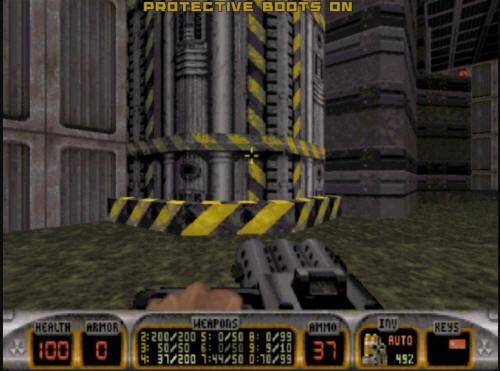
Instead, turn to your right, and grab
the boots that are there. You will then need to jump into the
sludge, and submerge. This is easier if you have scuba
gear, but you can pull it off without if you don't dawdle too much.
Once submerged, go down to the other side of the level, where you
will see the red key on the ground, along with a couple of
Octabrains. The switch here is a duplicate of the switch
above, it will create or get rid of the walkway mentioned earlier.
You do not need to flip the switch under the sludge.
Just get the key, and head back to where you were initially.
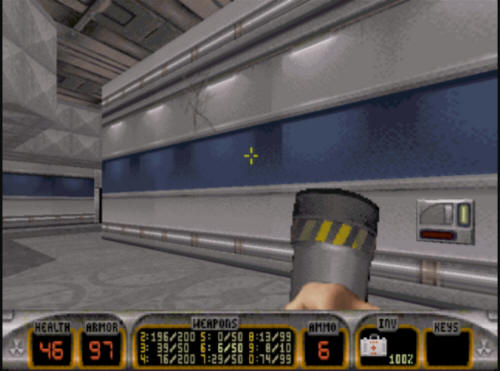
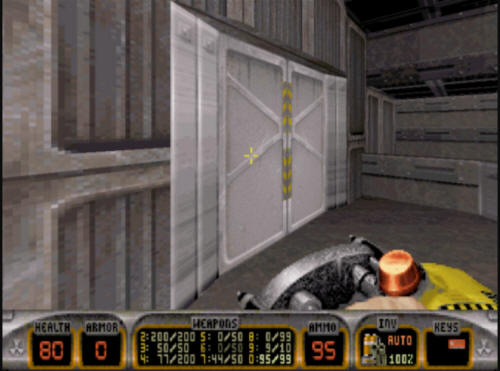
Surfacing from the sludge, you will see
an elevator that you can use to get out of the sludge, and back up
to where you were before you jumped in. That elevator looks
like this:
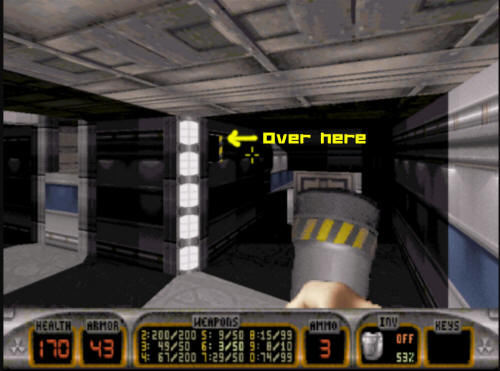
Head back up top, and go across the path
to the other side of the room. One there, go up on top of the
bank of computers, and take the path which leads to small double
doors. You will have several Enforcers and Octabrains to get
through on the way, though. Once you are at the doors:
Open them up, and you will be on top of
the bridge you saw earlier in the level. At the end of this
walkway, the red key door is there, use the key you got earlier
here. There is also a turret here to take out. There may
or may not be Enforcers, depending on whether they saw you from the
time you passed under here earlier. A note about the bridge.
When you were below this bridge fighting Enforcers, it is possible
that you may have blown out a section of the bridge with some sort
of rocket weapon like the RPG or the Devastator. If this has
happened, you can still get over there, but you will have to jump,
instead of just walking across.

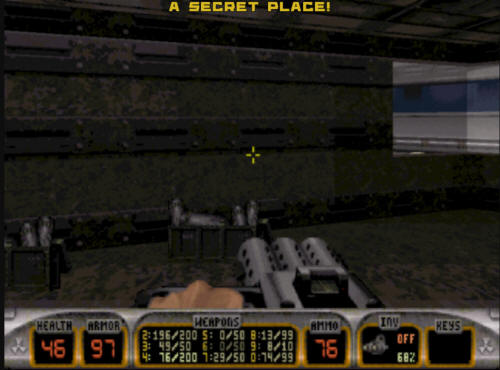
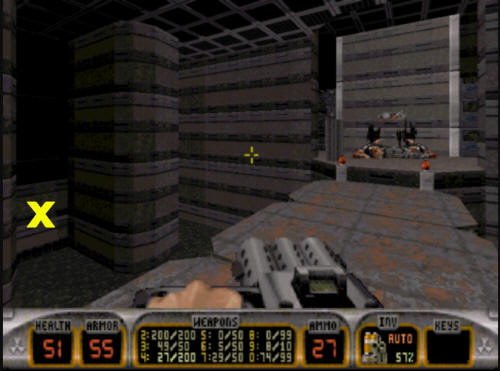
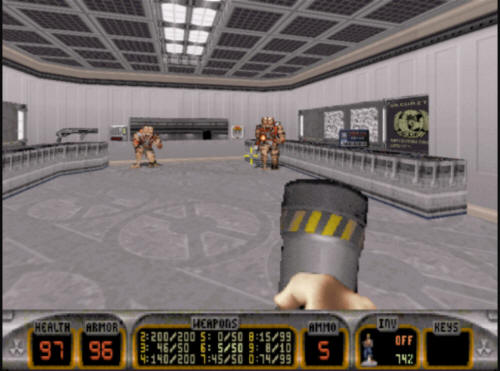
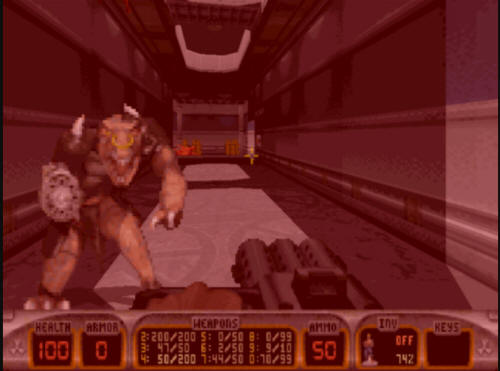
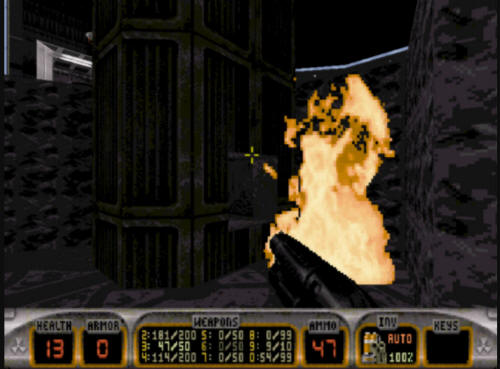
Once you open the door, some close
quarters combat is in front of you again. When you first open
the door, you will see this:
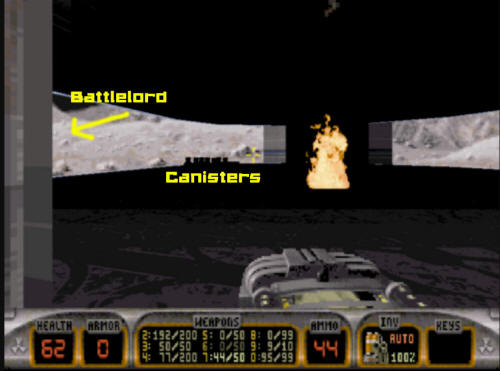
The way out is in a pillar that you
cannot see from here that is behind the fire in the shot. To
the left of the fire are several exploding canisters. Also out
of shot is (yet another) Battlelord. Basically, you need to
shoot the canisters, which will open up an area in the pillar you
need to use to get out of the level. The problem is the
Battlelord in the room continually will kick your ass while you are
trying to get into the small vent in the pillar. You
either need to take him out (not terribly easy), or try and run past
him into the vent (not easy either). Pick your poison here.
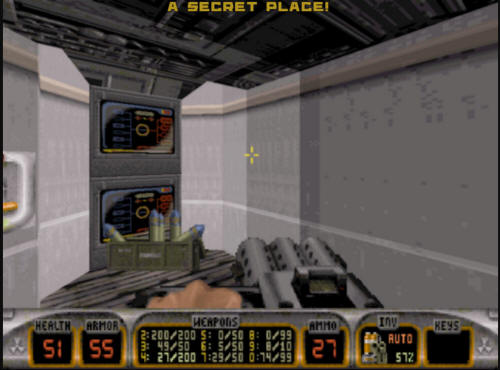
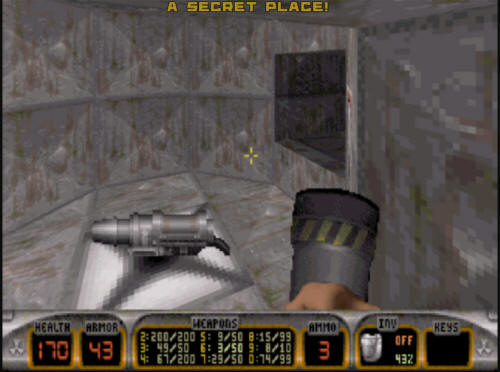
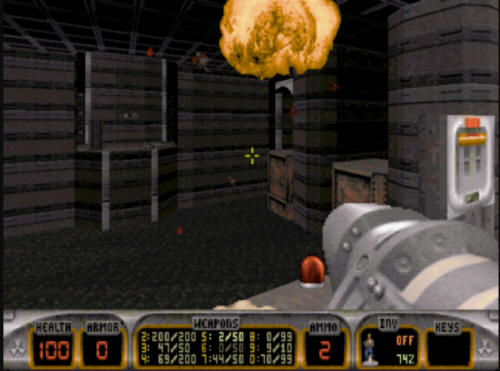
After you set off the canisters in this
room, several sections will drop, including the section that had the
fire. It is now lower in the floor, and you can see a way out
in a vent that is directly behind the fire:
Make your way through the vents here,
taking out several slimers in the way. You will make your way
to a reddish section of vent where an Enforcer will be waiting on
the other side of the vent grate. Take him out, and you will
be left in a room where the exit is. There is also a switch
that will open the doors and let you back out into the level if you
wish to for some reason.
Otherwise, hit the exit button, and be
taken to
Level 8, "Lunar Reactor".
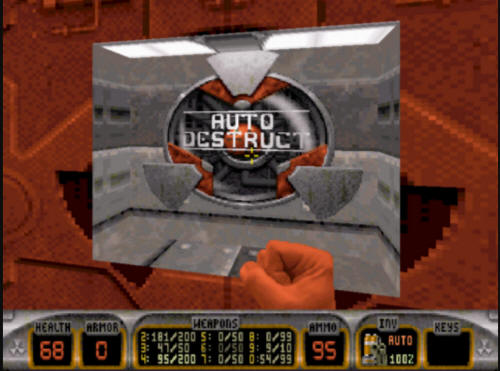
Tiberius Station Shortcut
Earlier up, a big shortcut was
mentioned. Here's the details on that shortcut. This
only works if you have a jetpack, though. If you don't have a
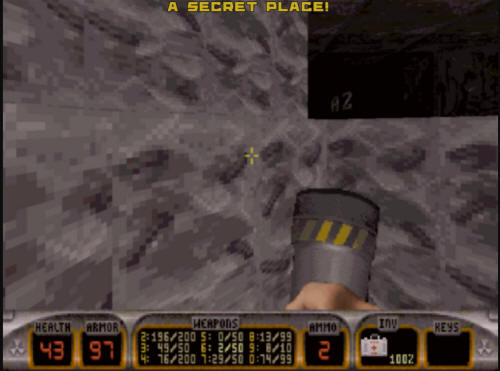
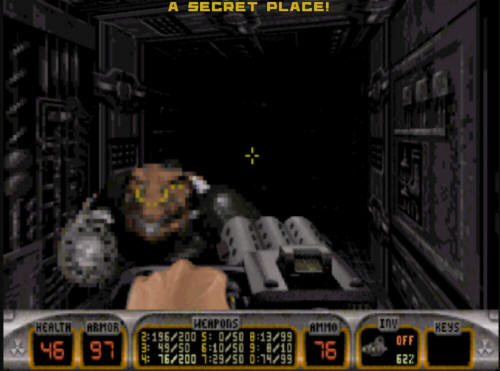
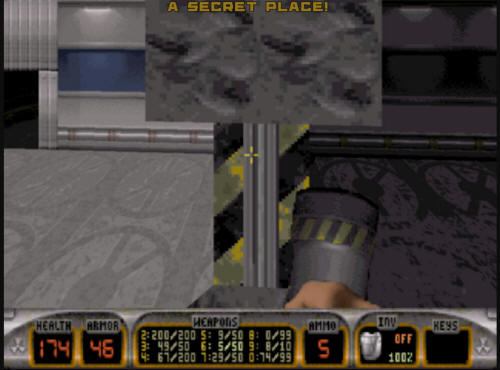
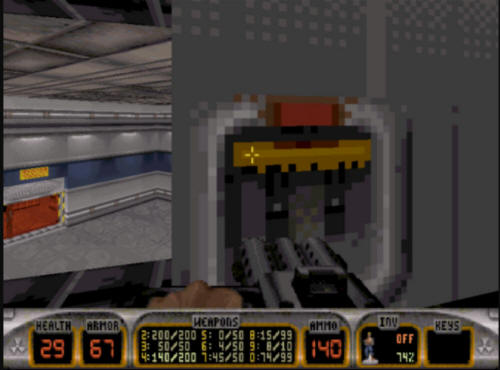
jetpack, forget it. Anyway, back when you ran into this
screenshot...
You'll notice a vent in the ceiling.
Slimers pour out of here, but if you get up there with a jetpack,
and take a right, you will very quickly be behind another vent, but
this one looks out into the room with the exploding canisters, and
the Battlelord at the end of the level.
You will still have to figure out what
to do with the Battlelord and the exploding canisters, but you will
have bypassed a huge chunk of the level to arrive very quickly at
the end going this way. It's part of the reason the 3D Realms
time on this level is 1:03 when the par time is a much larger 2:30.
BTW, if you didn't know, Tiberius
Station was named after the famed fictional character "James
Tiberius Kirk" from the original Star Trek. |