|
Bank Roll
Episode 3, Level
2
[ Previous
| Next | Main ]
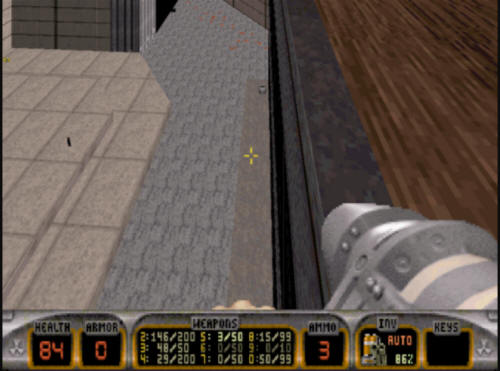
Bank Roll starts out in an area that
closely resembles the end of Raw Meat. You are in the end of
an alley. Make your way out of the broken well section you are
in, and jump into the trash dumpster. There is a medkit in
there, which will help if you are still low on health from the last
level. This part of the level is very straightforward,
just fight your way out of the alley, and make your way to the large
open area out front of the bank.
Once you take out any opposition here,
you will not want to go into the bank yet, as it is locked.
Instead, go through the door on the other side of the bank.
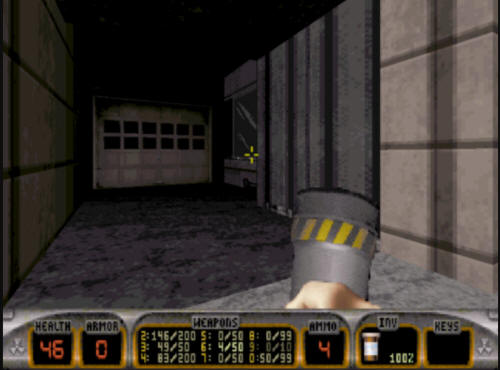
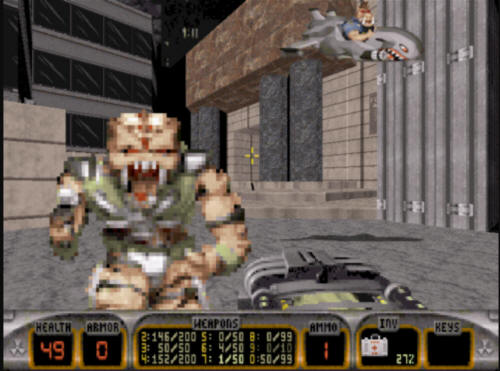
A flying pig cop car will come up and go
after you, but once he is disposed of, make your way through this
small area into an elevator.
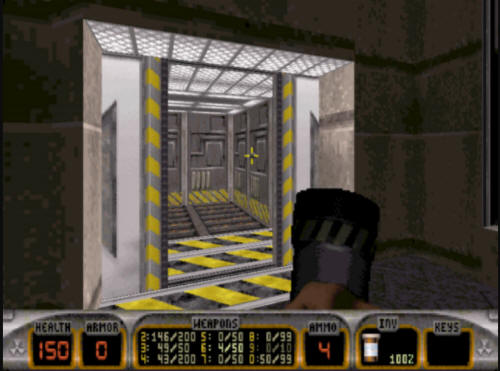
Once you get up the elevator, several
enemies will be here, take them out so you can do what you need to
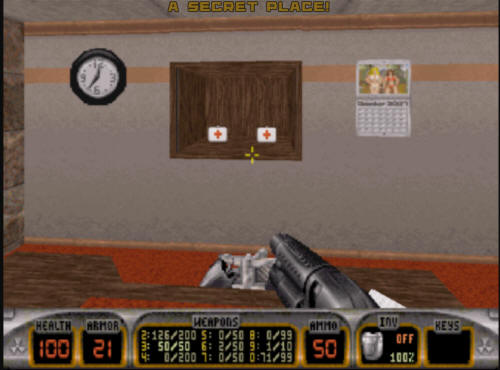
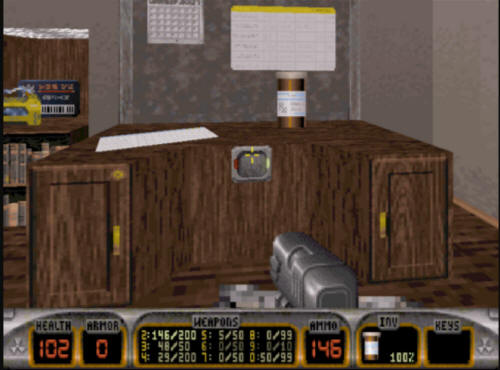
up here. After you take care of the aliens up here, you
will find a desk behind a cubicle. On the desk is a switch.
Flip it. A compartment to your left will open, revealing the
blue key.
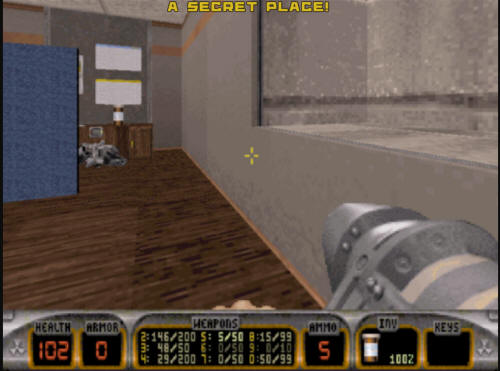
Grab the blue key, and jump out the
window (or go back down the elevator if you want the slower, safe
way). When you jump out of the window, if you don't just jump,
and slowly fall out, you will land on a ledge that contains several
items that can help you.
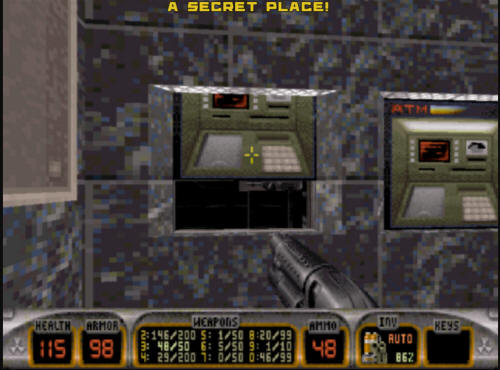
Once you have collected all the items
from the ledge, jump off and head towards the locked door.
Beware of several pig cops hiding out to shoot you. There is
also some Devastator ammo next to the ATM machines around the
corner. Go in the bank and make your way to a room with
a desk and a painting in it.
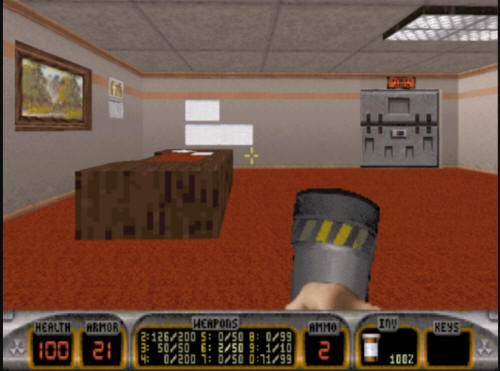
If you go around the back side of the
desk, you will see a button. Push it to unlock the door in
front of you that leads to the outer vault area.
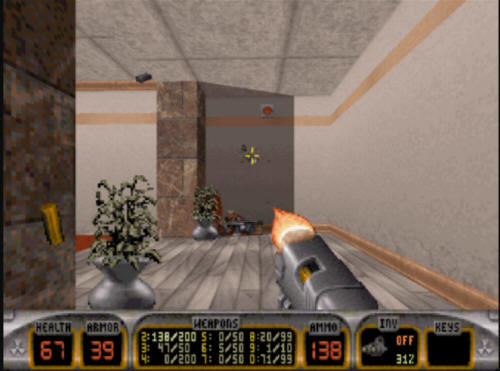
Once inside, take out the couple of
Enforcers, and you will see a large locked vault door. That's
not where we are going - yet. You need to get into the
smaller vault area, and that requires the completion of a puzzle.
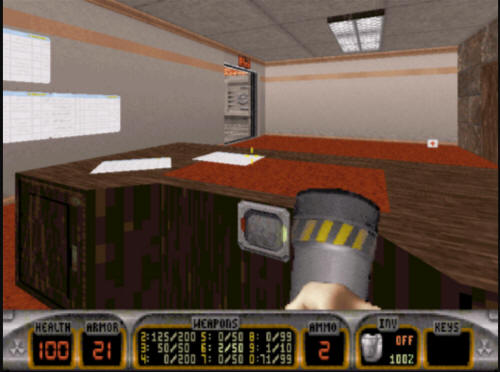
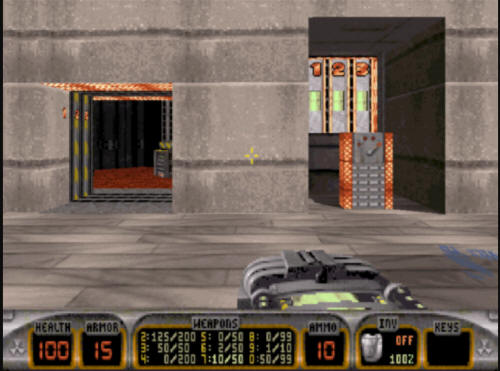
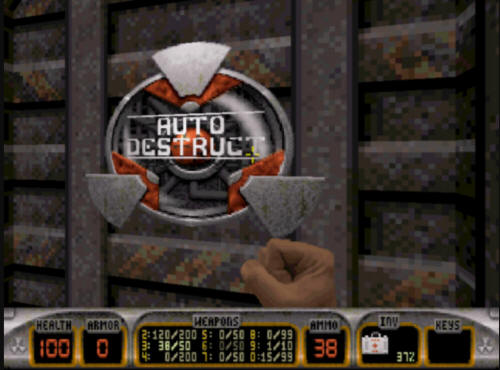
The puzzle is actually more simple than most people realize.
People see the switch with the "1-2-3" behind it, and start trying
to use it. The thing is that makes it harder. The easy
way to get through this puzzle is to kick out the chair that is
behind the desk here, and push all three buttons. Don't mess
with the switch on the wall at all! If you do, then
you'll have to continue to fiddle with the wall switch once you've
flipped the switches behind the desk. Anyway, when you get it
right, the wall puzzle will look like this, and a door will open
into the vault.
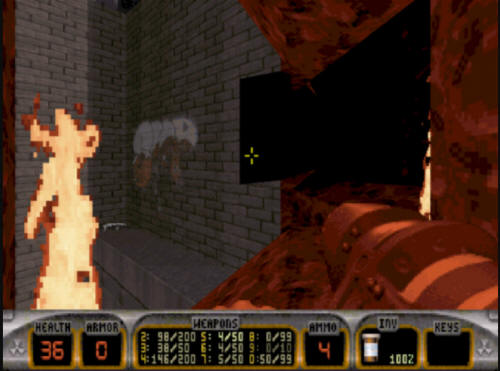
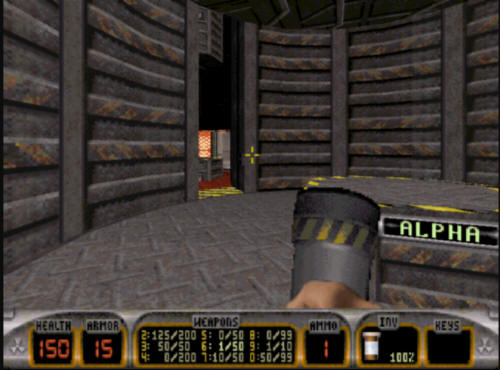
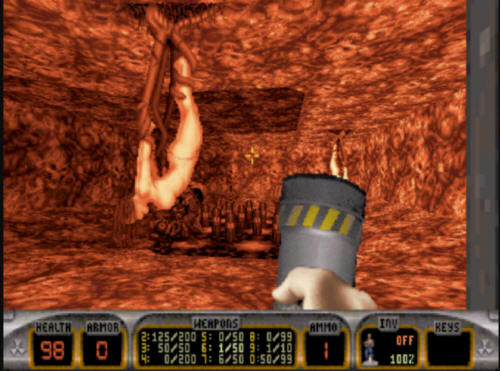
This will leave you in a more
complicated puzzle - the gears. There is a sequence of rooms
here (alpha - beta - delta - gamma) that when you step on a switch
in the middle of the room, the rooms will rotate, leaving you in a
different place. Jump on the first one you see (getting
a pair of boots), this will start the chain rolling. From
here, you can go into two rooms. Left (Alpha) or right (Beta).
You will want to take the left one, and go into Alpha.
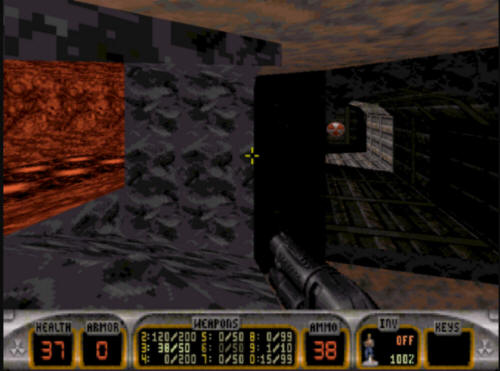
Step on the Alpha switch, and the room
will rotate, revealing a different exit when it stops. Make
your way into the Delta room, but at this point do not step on any
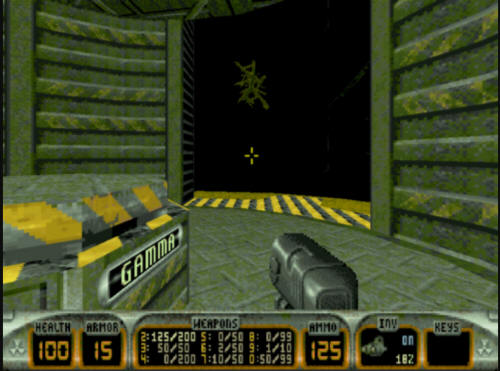
other switches. Once you get in the Delta room, you will then
need to step on the switch, but when you do, keep an eye out on the
exit. As it rotates, you will see an area that looks like
this:
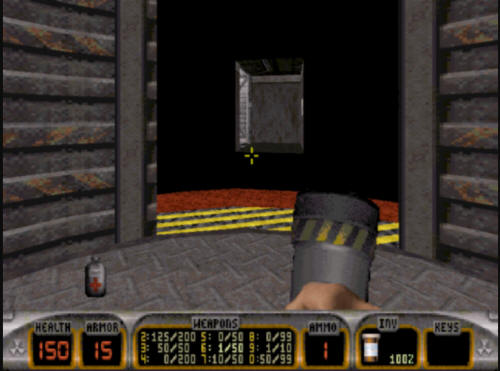
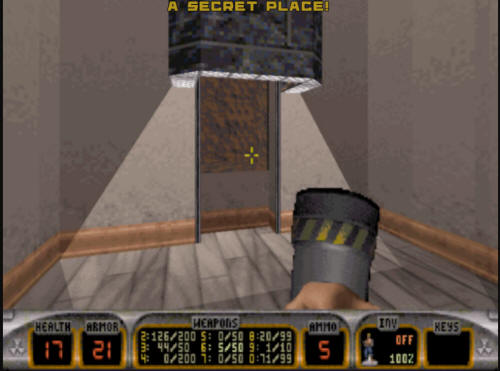
That is where you want to go, but the
room will not stop rotating there, it will rotate right by it.
You will need to hit the Delta switch again, and as the room rotates
by here, jump out and onto this ledge, which has an elevator in it.
Take the elevator up, and you will find a couple of pig cops
guarding the red key. Take them out, and collect the key.
While you're up here, there is a panel on the side wall with a small
button next to it. Push the button to reveal some boots and a
jetpack.
After you have the key, head back down
the elevator, and flip the switch you see here. This starts
the rooms rotating again, and you can make it back into the Delta
room from here. At this point, make your way back to the vault
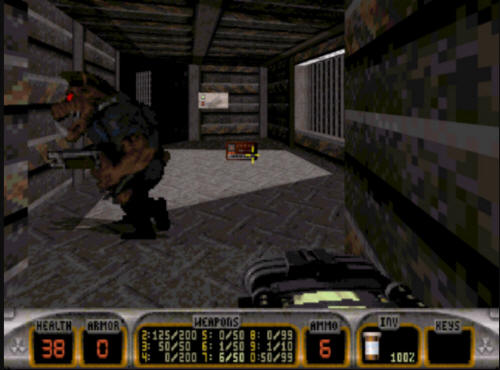
room by reversing your course you took to get here. Once
you are back at the vault, use the red key to open the large vault
door. Be warned though - inside here is a Battelord,
several Octabrains, and numerous troopers. This is a
major fight, so be ready. You can't skip it, as the way out is
through here.
Once the major combat is over, make your
way into the room. If you turn around, you will see another
large open wall area that you can make your way into.
From here, you can make your way down
the final hallway which leads to the exit.
Hit the exit be taken to Level 3, "Flood
Zone". |