|
Derelict
Episode 4, Level 10
[ Previous
| Next | Main ]

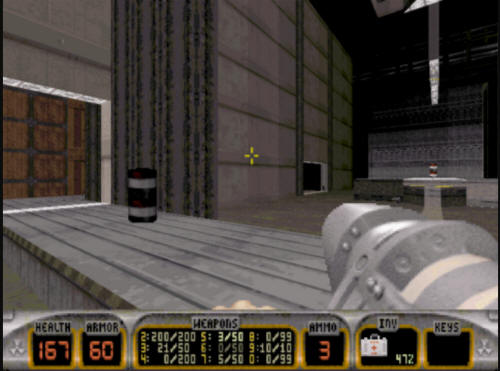
Derelict is huge. It might be the
biggest level in the whole game in terms of overall space used.
It's big; mind bogglingly big. You may think it's a long way
down the road to the chemist, but that's just peanuts to Derelict.
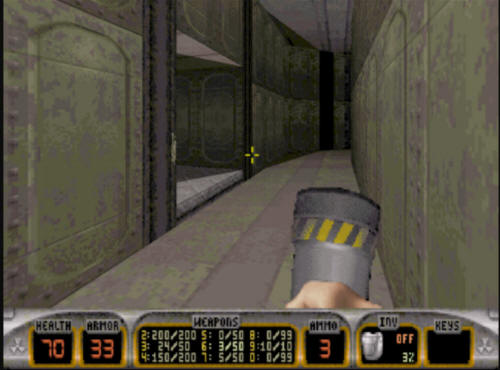
It is easy to get lost in this level, so make sure to follow the
walkthrough closely.
Derelict starts off with you falling
into the ocean next to a large boat (which could be seen briefly at
the end of the last level). When you first fall into the
water, you have two options, explore underwater or get on the boat.
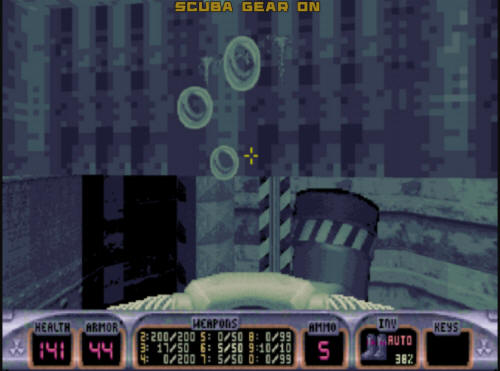
If you are low on weapons, go take a swim. The
underwater area is large, and there will be Octabrains and PLENTY of
sharks down here, so watch where you're going. There is
one pillar at the bottom of the boat (presumably being used for
drilling of some sort). Go swim near that, and there is a
rocket launcher on the floor. There is also some shotgun ammo
elsewhere on the ground, but that is about it for items to get
underwater.

After you're done underwater, make your
way back to the crane on one side of the boat. You will see a
small red square at the end of the crane shadow. You need to
stand here and wait for the crane to pick you up, and then deposit
you on the boat. If you have a jetpack, you can bypass this,
but if not, this is the only way onto the boat.
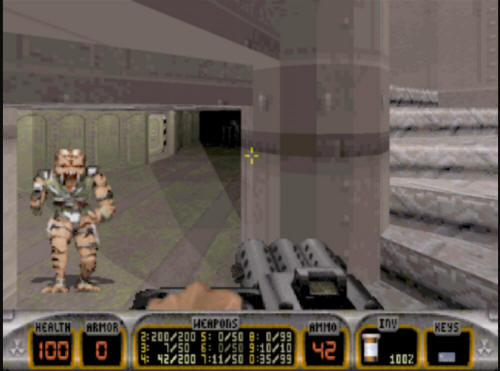
Once on the boat, you will find several
enemies waiting for you. Mostly lizard troopers at this point,
but there are also a few Pig Cop cars flying around the boat, too.
Take this stuff out. If you explore the boat deck, you will
find a few turrets that will shoot at you from next to locked doors.
These turrets can be taken out if you swim around the boat before
getting on it as well, they have a harder time shooting you from
down there. Anyway, if you want, make a mop up run around the
boat deck, clearing out any enemies you find.
After the deck is cleared up, you will
see a platform in the middle of the boat, near the crane. You
need to jump up on this.

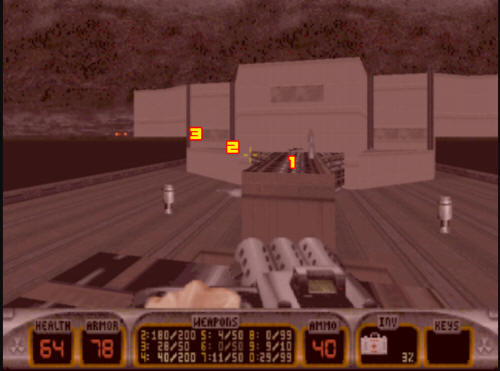
Once you are up on the platform and make
your way down, you will see a gap in the middle, you have to jump
over this gap, and then make a couple more jumps. The
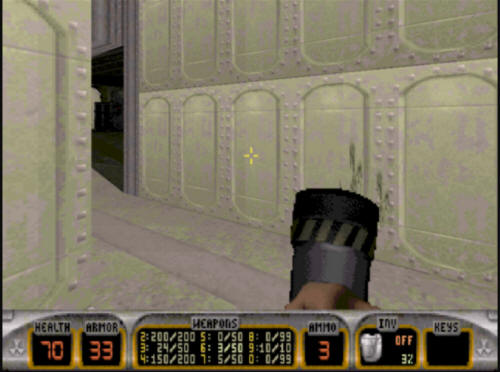
first jump is over the gap (1), and then you have to jump over to a
ledge on the side of the boat (2), and then finally into a window
(3). This is how you get into the boat, due to the
locked doors. The jetpack can bypass all the jumping here,
too.
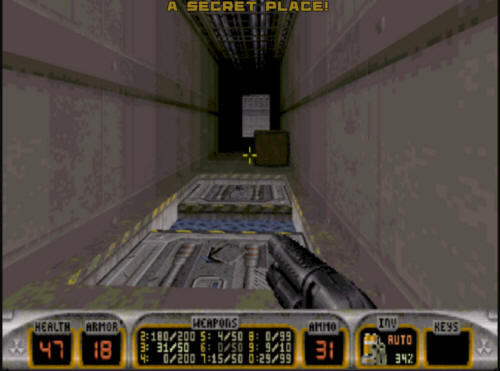
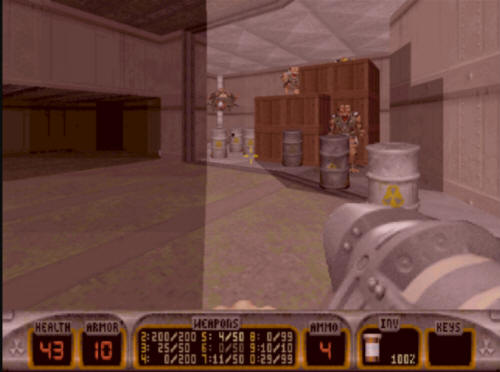
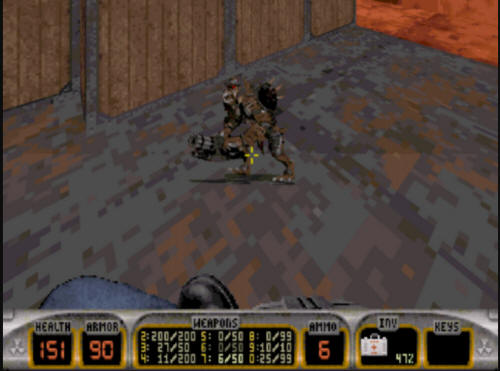
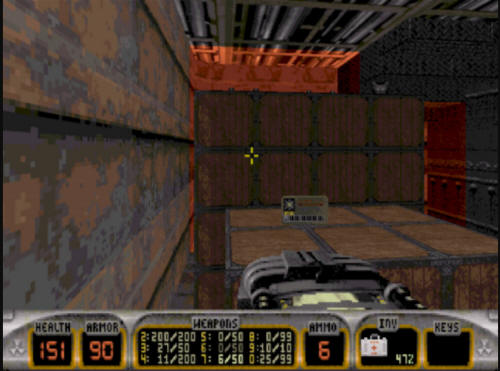
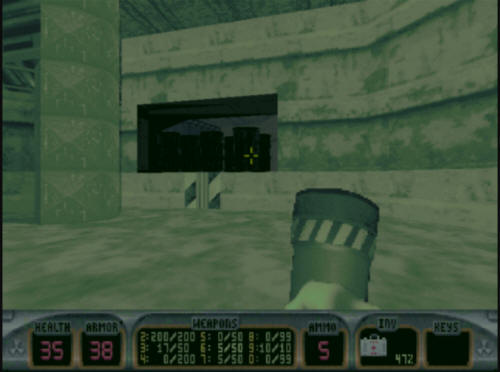
You will be left in a room that you will
see a lot of when inside the boat. A room full of barrels.
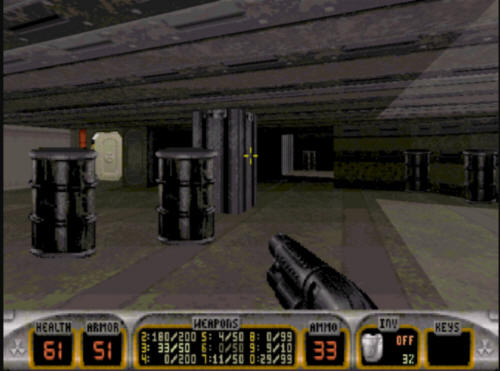
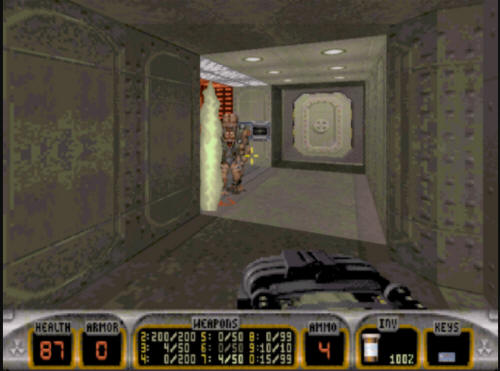
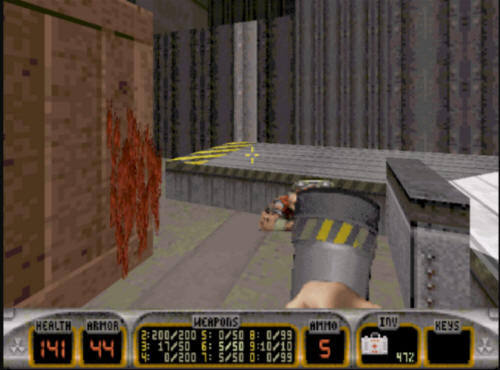
From here, take the green door you see
in the left of the shot above. Getting near it will cause it
to open, and you will see quite a few troopers in here. They
can quite easily get squished in the door here causing the strands
of goo in the shot below. The door on the far side leads
back to the other side of the room of barrels you were just in.
(There is a third door in the room of barrels above, but don't mess
with that one right now).

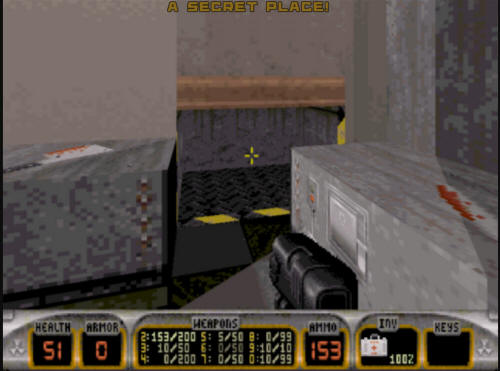
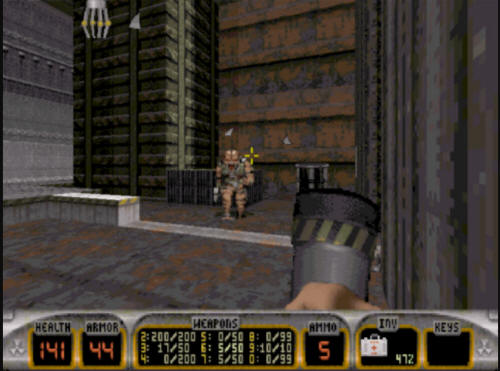
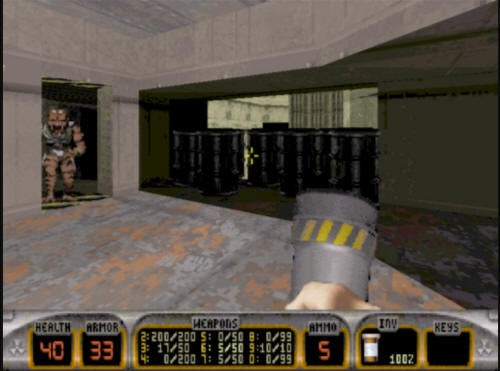
Once through the door, you will see a
spiral staircase that leads both up an down from your current
position. For now, you want to go up. When you get up
there, you will find yourself in a room with nothing in it, but two
doors. Take either of the doors to the next section, as they
both go to the same place. That is another room of barrels
similar to the one you were just in. Take out all the enemies
here. Keep an eye out though, as some of the barrels are
exploding ones, not to mention there is a lot more combat in this
area.
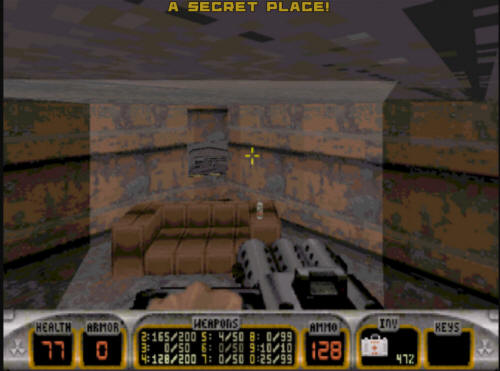
Once you have finished with the combat
in this room, you will want to open the other door in the middle of
the room. This leads to a room that appears to be where
the ship's control area is. In this area is the blue key.
Take it. If you are low on health, there is a toilet around
the other side of the room that you can break and use the water to
health up with.

Once you get the blue key, you need to
make your way back to the spiral staircase from earlier, and head
down to the bottom of it where you will encounter.. you guessed it..
anothe room of barrels. Take out all the troopers in this
room.
Once you're done with this room, make
your way out either of the doors in this room - they both lead to
the same place. That place is a hallway with some troopers in
it. At one end of the hallway is the locked blue key elevator.
Before you go in there, you may wish to unlock the outer doors.
The doors at each end of this hallway are the locked doors from the
outside of the boat. This is pretty much a non issue in single
player, but in Co-Op and Dukematch, opening up these doors make
things go a bit faster.
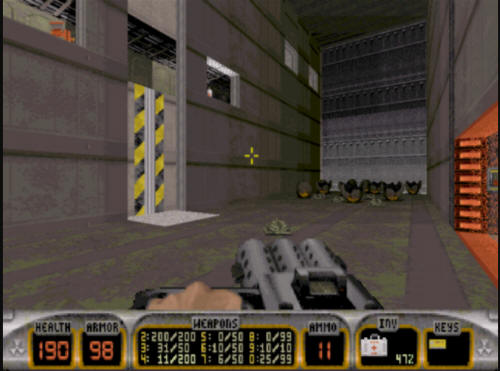
When you come out the elevator, there's
two ways you can go. To the right or up a stairway to your
left. Take the stairs. You don't want to go to the right
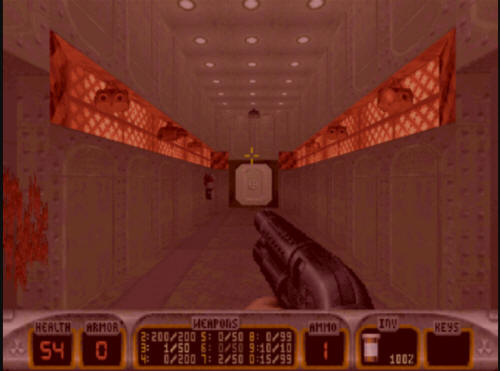
yet. When you go up the stairs, you will come across a
hallway with a few doors on the side, and one at the end. If
you get close, about half a dozen turrets will be revealed, in a
gauntlet scenario. A rocket launcher or Devastator is helpful
here to get rid of them quickly, but if not, you probably want to
shoot hem out, or they will likely take you down.
After the gauntlet of turrets is gone,
you can explore the two doors on the side of the hallway here, but
other than collecting items, there's no need to go in here as part
of the level progression. Make your way to the door at the end
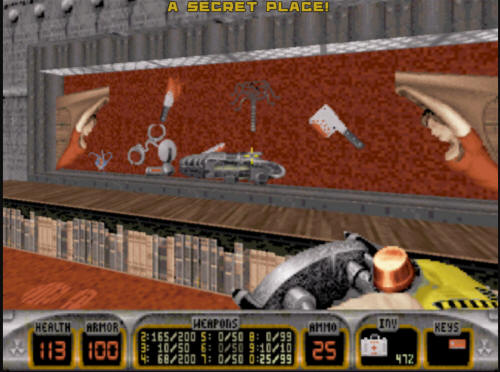
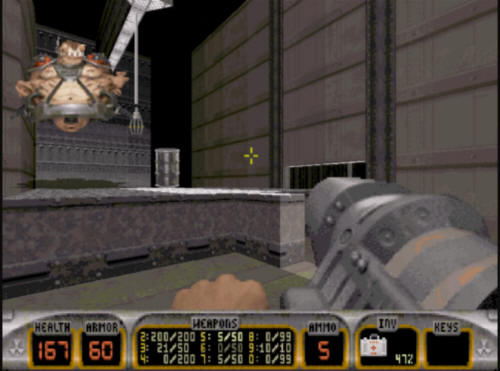
of the hallway - it leads into the Captain's quarters. There
is a protector drone and a Fat Commander, so be careful in here, as
there's not a lot of room for the kind of weapons that take them
down easy. Once that has happened, make your way to the desk
area where you will find a red key. Take it.
From here, you have two choices to get
to the next section of the level. If you remember, when
you came out of the blue key elevator, we said not to go right yet.
Well, if you make your way back to the blue key elevator, now would
be the time to head down that way. There is a large open area
on your right you pass going this way, but you don't want to go down
there yet. Keep going to the end of the hallway where you will
find the locked red key door.
This area has three parts to it.
The first part (shown here) is a mostly empty room, with just a
couple of barrels and just one or two troopers.
The second room has several energy
sparking generators. There's no need to go into them directly,
make your way around them.
The third part of the room is the one
with all the action, and is fairly difficult. The yellow key
is in here on top of a bunch of boxes, but so is a Battlelord.
The two best ways to get the key and get out alive would be to run
in there with steroids, hauling ass, and hoping you get out before
getting shot. The other way is to come in with a shrinker, and
try shrinking the Battlelord. The yellow key is on top of the
crates that the Battlelord was beside, as well as some pipebombs and
an armor. There is also an Atomic health behind the crates in
the middle of the flames if you need it.
After you've grabbed the yellow key,
make your way back up the ramp in the first part of this room, and
back out into the hallway. There is likely to be an enemy or
two up here that was not there when you first went in the door, so
keep an eye out for that. Finally it is time to go into the
are you walked by before. You can either jump down there, or
take the elevator down (this is the same place you would have ended
up in if you jumped out the window in the Captain's quarters from
earlier). There are a ton of slimer eggs down here, so clean
up this mess now, or they'll crawl over you as you do the next part
of the level.
After you have cleared out this area,
open up the yellow key forcefield here, and make your way through.
A few protector drones are likely to drop in on you, so take them
down. While you are dealing with the drones, a Fat Commander
will also make an appearance. It's somewhat easier to combat
them if you draw them out into the larger area outside the yellow
key area. That's your choice, though.

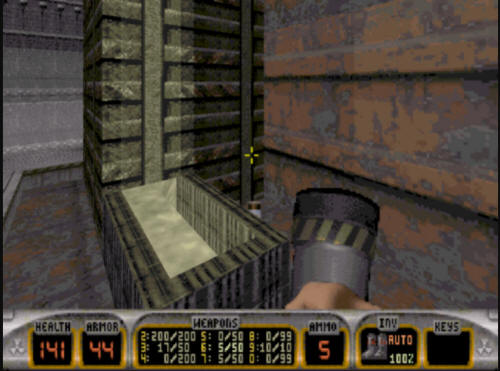
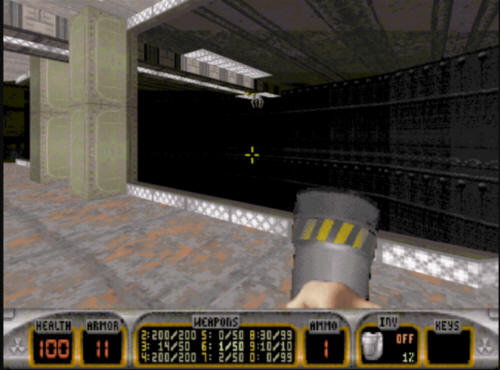
After the combat is over here, you will
find yourself in a room with a conveyor belt and crane.
The way out is in here, but as you explore this room, you are going
to release more enemies, as shown below.
Make your way to the corner of the room,
and you will see another conveyor that leads into the next room,
which has a bunch of crates in it. Head into this room.
This may or may not have possible two more Fat Commanders in it,
depending on how much exploring you have done in the previous room.
Once you take out the various enemies in
here, you will need to get on the conveyor, and wait for a crane to
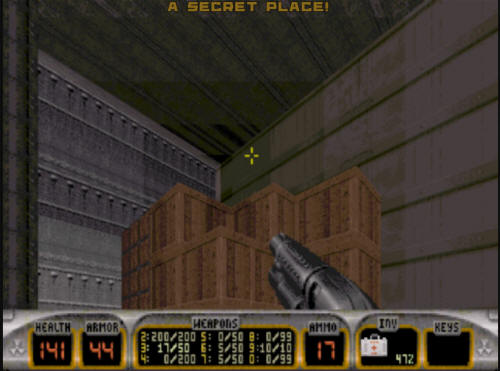
pick you up and deliver you to where you want to be. The spot
you need to wait on is indicated by the crosshair in the shot below.
The crane will drop you off on another
section of the conveyor belt, and there will be a trooper behind
some barrels. Get off the conveyor and take out the trooper.
After you do that, explore this room a bit (but do not fall off the
conveyor, you want to be in this room). You will find some
boots and steroids. Even if you have 95% boots, take this.
You will probably need all 100% of the boots (as well as the
steroids) to pull off the next move.
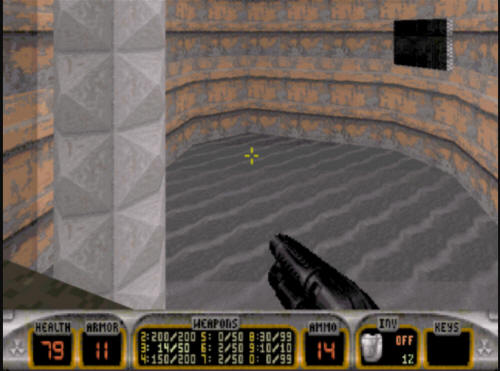
After you have collected the boots and
the steroids, make your way over to this acid pit. It is
EXTREMELY damaging - far more so than anything else in the level
(save for immediate death items like being squashed). Even
with 100% boots and 200% health (armor doesn't do anything here),
you stand a very real chance of dying if you don't pull this next
move off in a hurry. Steroids help a lot, but even then you
can still die. Basically you need to jump in the slime,
crouch down to get under the wall you see in the first shot, then go
up the ramp of acid to your right, follow the path, and then fall
into a pit of acid. You will submerge in the stuff. You
then need to surface and find a ledge with several black barrels on
it. THAT is where you need to go. When you try doing
this for the first time, you will see how little time you really
have to do all of this.
When you eventually get up to the
barrels, you will be pretty low on health and whatnot, so take a
moment to examine your situation. If you have any medkit on
you, use it now. There is a 30+ medkit in the corner of
this room, too. Once you're ready, make your way out the door
on the left side of the shot below. There are a couple of
troopers in the hallway (which may come into the room while you are
in here).
Going out this room will leave you with
a path to the right and an impassible door to the left. If you
go all the way to the right you will come across an elevator
which leads to a previous point of the level (which if you know
about ahead of time, can be used to bypass the entire corrosive acid
path with a jetpack). However, the place you want to go is
another hallway that breaks off to the left in this hallway.
Take it, and you will be presented with
another choice of direction. If you go right, you will be led
to another elevator back to a previous part of the level, that's not
where you want to go. Take the left shown below, and you will
go up a small ramp to several barrels blocking a door.
When you get rid of the barrels, you
will be at a door with a switch, and a room to the right. You
want to flip the switch, unlock the door and head through.

A short note about the room to the right
is in order.. You see this grey stuff? Don't go in
there unless you have a jetpack. There's no way out!
Once you open the door above, you will
find yourself in the last area of the level. There is a a
large room at the bottom of the drop in front of you.
If you have any jetpack left, it can
help here, as there is a Battlelord down here guarding the exit to
the level. If you want the battle exercise, head down
there and fight him, but there's a way to ignore him and get to the
exit.
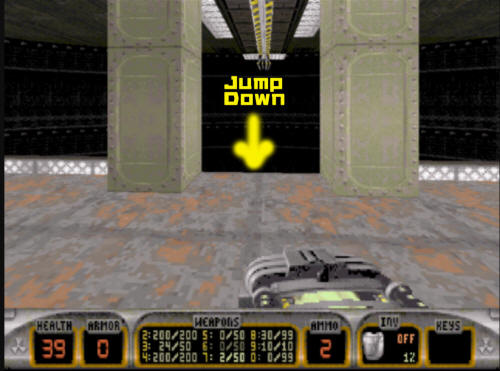
When you are in the area above the
Battlelord, there are two green pillars. Your ultimate goal in
this room is to get into and submerge in the small pool the
Battlelord is guarding. If you go down the jump shown here you
will land in the water, bypassing the Battlelord. However, if
you just slip off, you'll miss, and you're dead. Jump too far,
and the same will happen, but a small jump will land you in the
water.
Once in the water, you'll find a few
Octabrains down here too. Take 'em out, and start descending
in the water.
You will find yourself down by the exit
level switch.
Hitting the exit and be taken to Level
11,
"The Queen", which is the final and boss
level for Episode 4, as well as the final level in the overall game. |