|
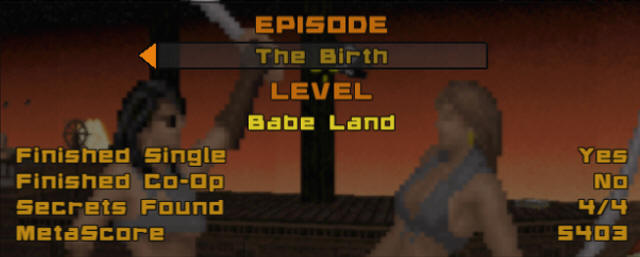
Babe Land
Episode 4, Level 4
[ Previous
| Next | Main ]
Babe Land is a level with several unique
looking areas. The entire level is based off of Disneyland (in
theory if not actual rides for the most part). The first
thing you'll want to do is get rid of the "Mickey Mouse" looking
thing that is dancing. It won't hurt you, but you get to a
hear a Duke quip when you do.
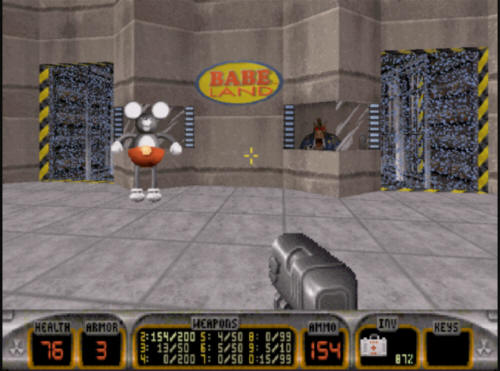
You will need to take out the pig cop in
the control booth, go in there, hit the switch, and it will drop the
forcefield in front of the doors. Make your way into a
large room with a fountain in the middle. You can go
into the water, where you will fight several Octabrains and some
slimer eggs. Some ammo is available down here which you can
get if you need it.
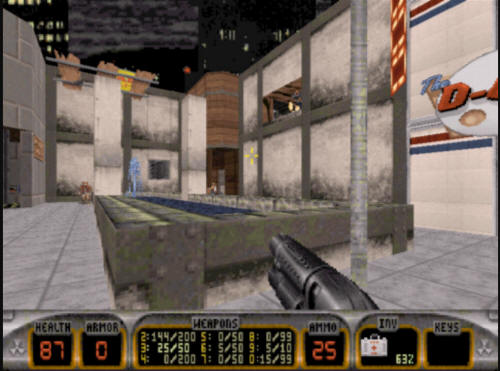
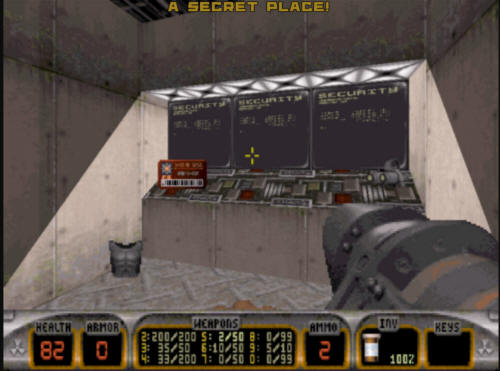
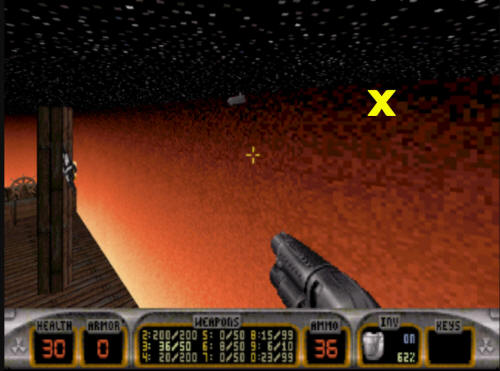
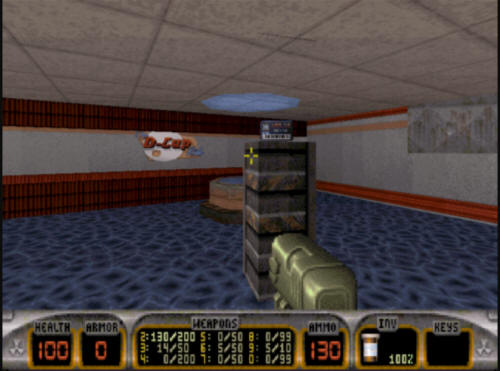
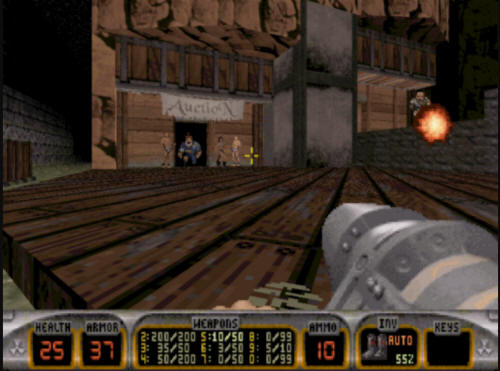
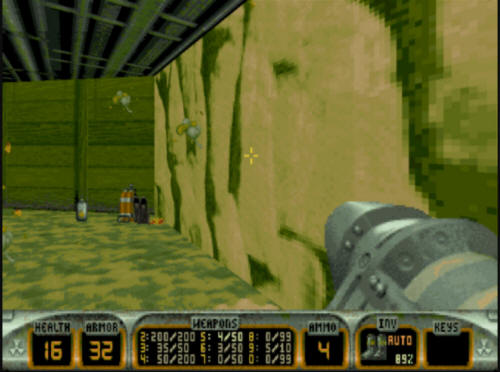
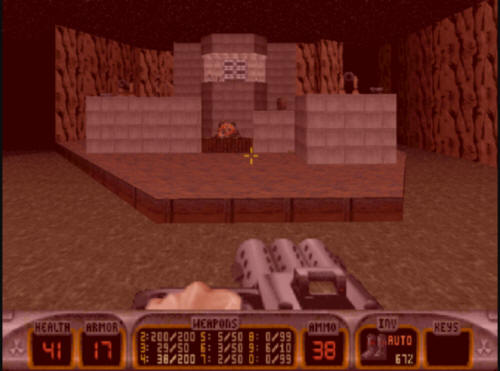
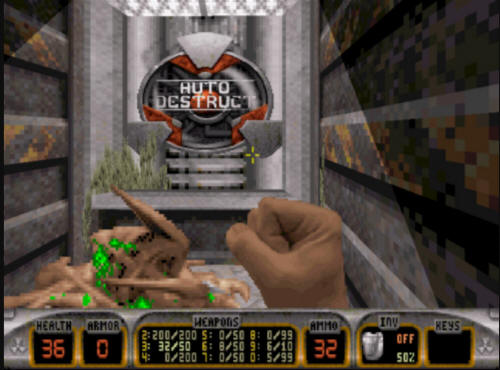
The first place you need to go is to the
D-Cup ride. You can see the way to that in the screenshot
above. Once in there, a trooper and another of those dancing
mouse things are in here. Once you've taken care of the
enemies (and the turrets) in here, you will need to deal with an
interesting switch puzzle.
You can deal with this switch puzzle a
few ways. You can shoot the switches with your pistol from the
platform, or you can hop in the cars and use them to jump up to each
individual platform, pushing the buttons (or shooting from the
cups), or you can jetpack from one button to another. Either
way, you need to flip all three of them. Doing so will drop
the central column in the room revealing the blue key - go grab it
and head out of the room. A note about the water, if you go
down there, there is a lot of facehuggers down here as well as an
Octabrain, but there is a medkit available on a sunken cup in the
water if you need it.
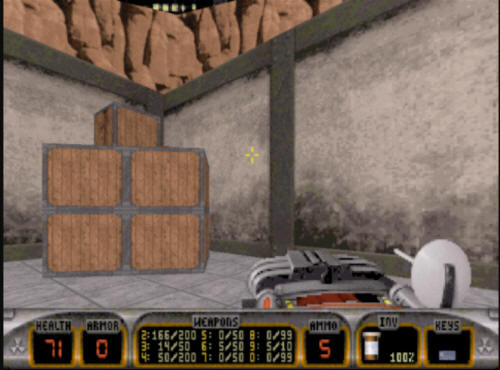
When you get back to the fountain area,
you will see that the path to the blue key is blocked. What
you will need to do is in the fountain area. You will find a
few crates at the far end of the room that look similar to a
stairwell. Go jump up on them, and then onto the ledge behind
them.
Once you are up here, you will then need
to make your way into a control panel room, which involves some
jumping (or jetpacking). You need to first jump onto the
small wooden platform, then the even smaller stone platform with an
Atomic health on the top, and finally into the control panel area.
Once across, you will run into a switch
puzzle which you will need to solve to drop the panel allowing you
access to where the blue key can be used. The correct
combination is to leave only the button in the upper left hand
corner untouched. Flip the other three, and now you can access
the blue key door.
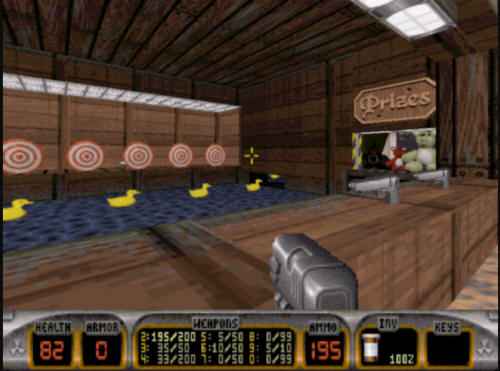
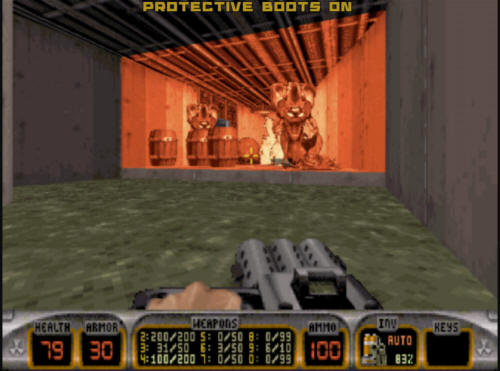
Get past the blue key door, and you will
be at "One Eyed Pete's Shooting Gallery". In this room
is the red key, so you have to solve the shooting puzzle to get it.
First off, behind the target is an RPG, so run over there and get
it. The correct combination you need to hit are the
second and fourth targets.
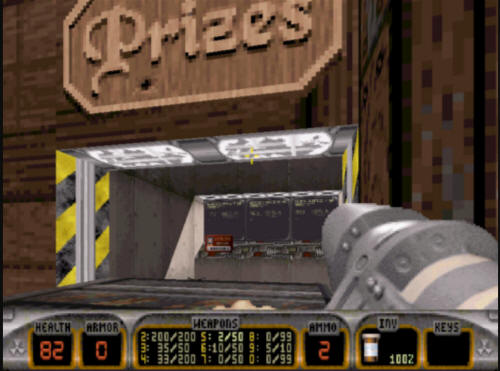
Shoot them with a pistol (rocket weapons
are no good here), and the wall underneath the prize area will drop,
allowing you access to where the red key is. Take out the
teddy bears and send a rocket in there to take out the couple of pig
cops back here. Then grab the red key.
After you get the red key, make your way
back to the "Babes of the Caribbean" ride entrance. You will
need to use the red key to drop the forcefield. You can do
this in the small control room right next to the door.

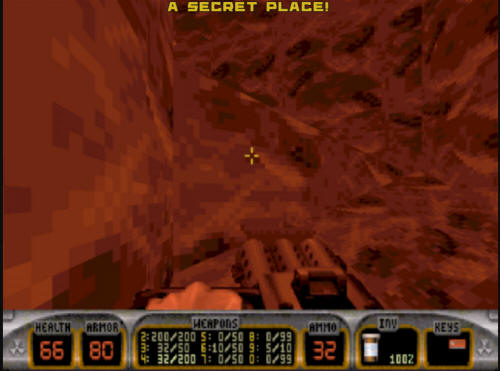
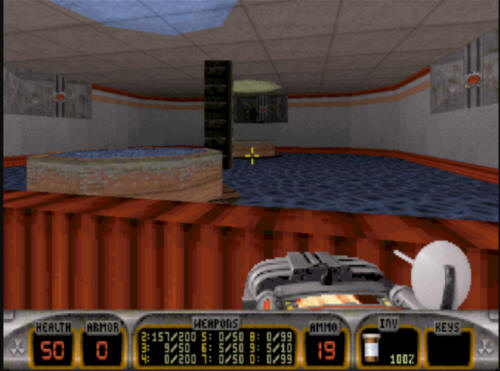
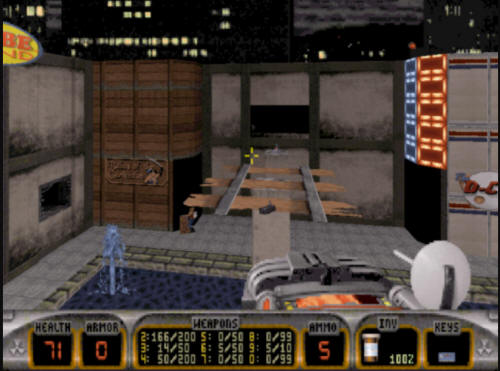
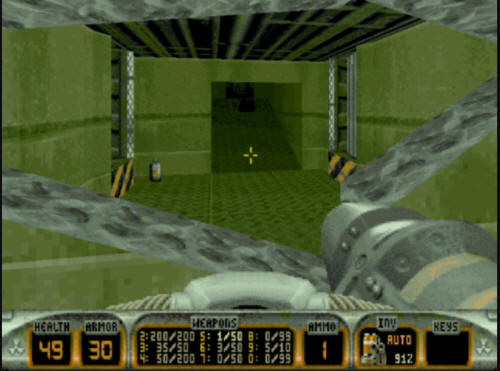
Once the red key is down, you will
follow a fairly straightforward path through the entrance way to
this ride. You will go through several kinds of enemies, and
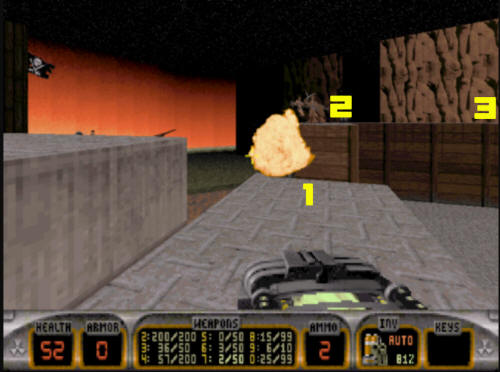
you will eventually end up at a platform that looks like this:
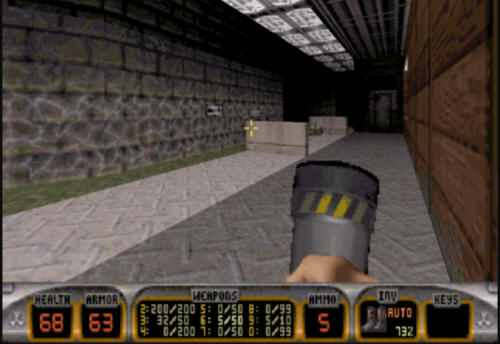
As you make your way along this
platform, you will be spotted by more pig cops in the control room
to your right. Take them out, a nice pipebomb will do the
trick. Additionally, a platform on the other side of the ride
will open up as well with three more pig cops to deal with, so don't
get shot in the back.
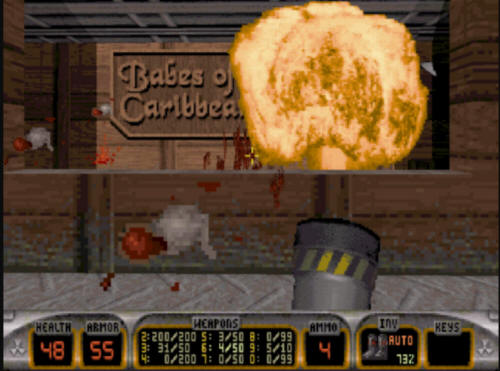
As you get partially down the first part
of the ride, a wall will explode to your left, revealing another
platform with three pig cops on it. You'll want to take them
out, otherwise they'll likely take you out.
Continue on in the ride, and you will
come across a few platforms where you can take a rest from the ride,
but not from combat, as a few pig cops and troopers are also back
here. Once you take them out, you can explore the doors here,
which will reveal a few items you might need, as well as a pair of
protective boots you likely DO need.
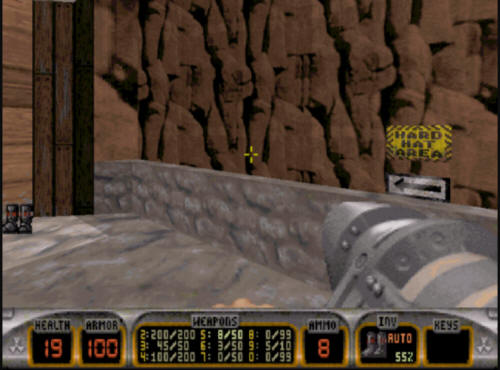
Near the boots, you will see a sign that
says "Hard Hat Area" with an arrow. That is the way you want
to go. If you follow the path where the ride cups go, that
will lead you back to the platform. You need to follow
the arrow to progress to the final area of the level.
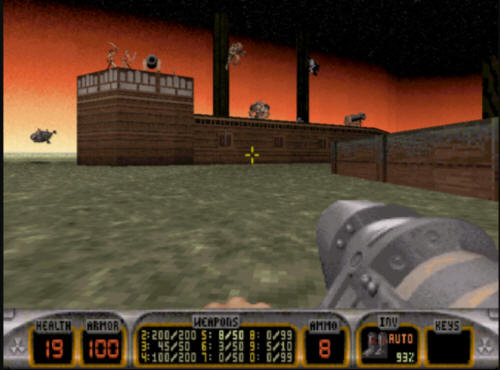
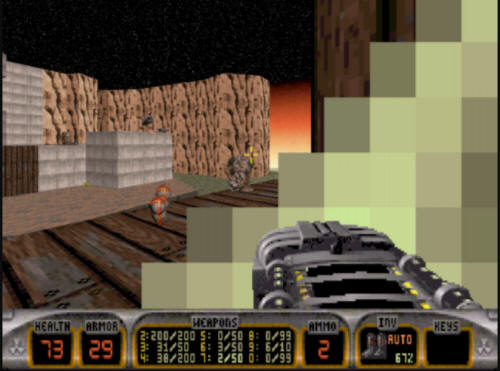
When you make your way into the main
room here, you will encounter a part of Babe Land that has a boat
and a castle attacking each other. You can see it in the
screenshot below. This area is rather tricky, as there are two
Battlelords to contend with, not to mention a ton of various other
enemies, plus two cannonballs shooting from side to side, so health
will be at a premium here. If you are low on health, the best
thing you can do here is submerge as soon as you get into this room,
otherwise the Battlelord on the boat will take you out.
Once submerged, you can spend some time
looking around for items down here. There are two groups
of slimer eggs guarded by Octabrains. The one on the far side
of the underwater area is guarding some scuba gear, so if you don't
have any, go there first.
If you go to the other side of the
underwater area, the other group of eggs and Octabrains are guarding
a secret room, but it is not a true "secret" in the level.
Take out the crack in the wall, and it will reveal another room
where you can get a health pack and some ripper ammo.
Once you are done exploring the
underwater area, it is time to get on with progressing in the level.
You need to make your way under the boat, and then surface inside
the boat. The inside of the boat is mostly emtpy, but the far
end of the room has several barrels and various enemies (mostly
Octrabrains) all guarding a teleport.
After you clear out the end of the room,
make your way through the teleport, and you will be on top of the
boat, but be careful up here, as you will be point blank up against
a Battlelord. You can try taking him down with the shrinker
that is provided next to the teleport, it is probably the easiest
way to deal with him from point blank range. The cannons
on the castle and the boat are an annoyance up here.
Once you deal with the Battlelord, you
will find two switches up here. One looks like a light
switch, which turns on some of the lights in the castle across the
way. The other switch, though drops the door to the castle,
which unleashes the second Battlelord in this part of the level.
There is a freezer weapon and some
health up on the upper portion of the boat which can be useful
against the second Battlelord. There is also another teleport
up here, but it leads back to the start of this particular ride,
this is pretty much a Dukematch teleport. Once the
second Battlelord is taken down, make your way to the other side,
either by jumping off the boat and across, or by going back the way
you came. Once inside the castle, you will see a small
platform with three barrels on it. If you jump up on the box,
and then up onto the wall, you can make your way around the edge of
the wall here to the door on the back side.
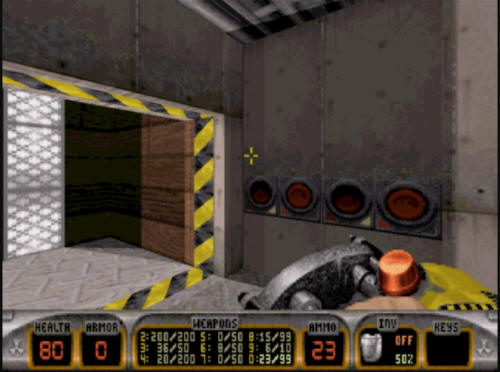
You will find yourself at a door with an
"Authorized Personnel" sign next to it. It is not locked, so
open it and head in. Beyond this door is a switch puzzle, and
a door to the right. First, take the door to the right, it
will put you out on the platform in the middle of the castle.
Grab the items here, in particular the jetpack, and head back in.

To get to the end of the level, you have
to deal with another switch puzzle. The combination here
is to hit the first and third buttons, leaving the other two alone.
Doing this will open the door to your left.
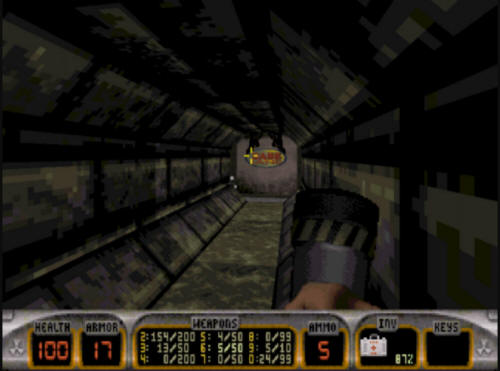
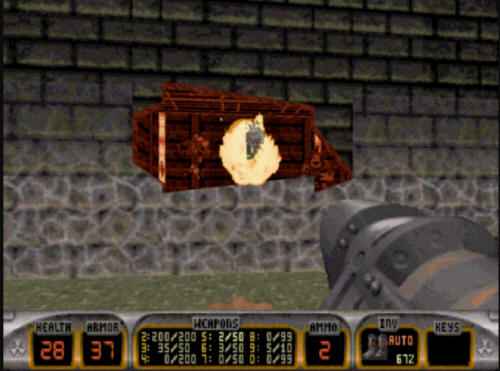
Going through this door will reveal a
few more enemies for you to deal with (at quite close range).
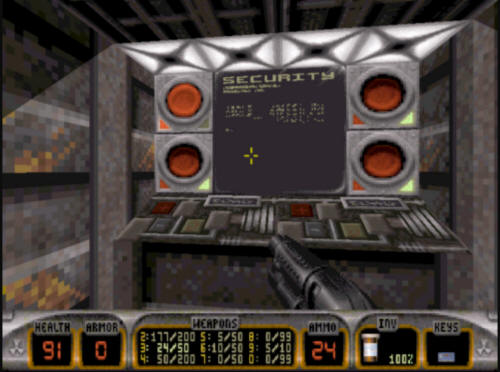
Get past them and open the next door, and you will see a rather
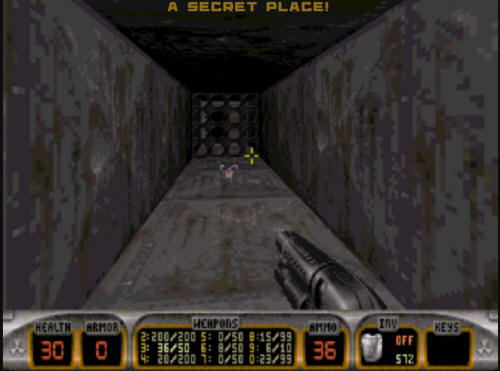
tricky path to take. You will see a rather fast firing
gun shooting down the next corridor. It kind of looks like
this (it is hard to represent this thing in a single screenshot):
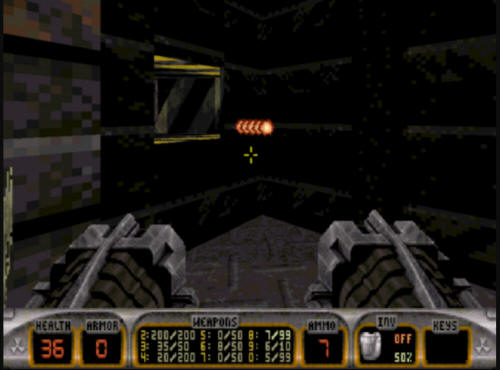
The projectiles coming out of this gun
will kill you in two shots, so what you need to do is crouch, and
stay crouched the entire way down this section of hallway.
When you get to the end, you can go into the next section and
uncrouch. There is another door at the end of this hallway.
Open it to have the exit to the level revealed (and yet one final
enemy).
Hit it and be taken to Level 5, "Pigsty". |