|
The Queen
Episode 4, Level 11
(Boss / Final Level)
[ Previous
| Next | Main ]
This is it. The last level in both
Episode 4, and in the game. Finish this one, and you're done.
It's a medium to large size level, but it does have a lot of combat,
particularly with the Queen at the end. Let's get to it.
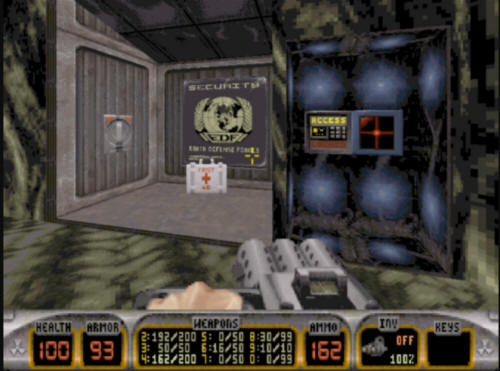
You start off in a room that has nothing in it, so just head through
the teleport.
You will be left in front of where the
yellow key goes (much later in the level). There are several
sections to this level, and the parts before the boss can be divided
into two halves. These two halves mostly mirror each other, so
once you do the first half, the second will feel familiar.
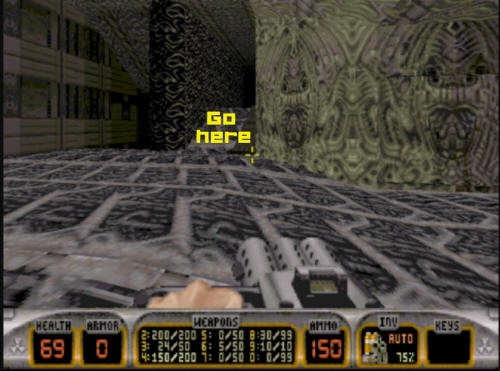
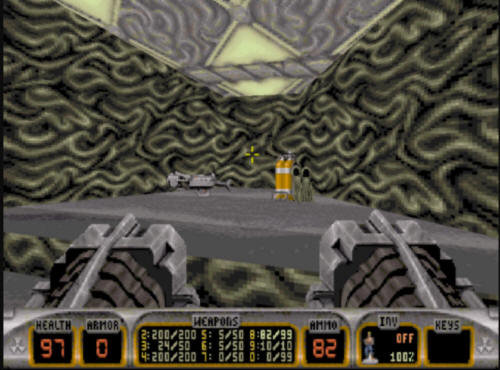
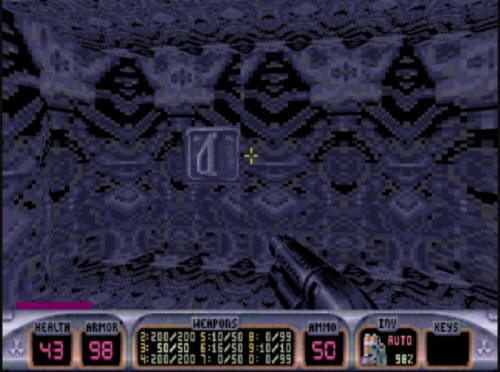
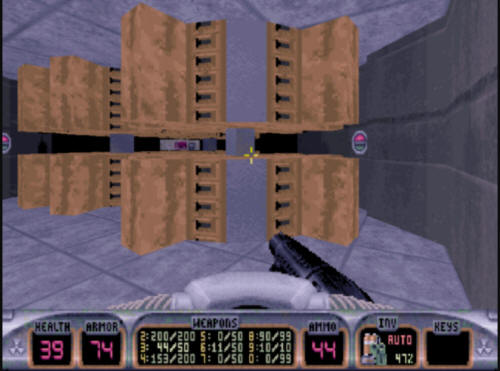
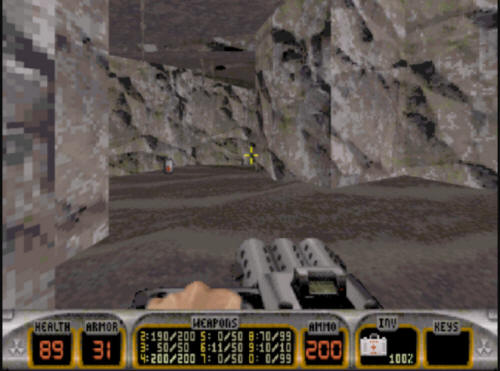
Anyway, from your start point, you want to go to the left side of
the pillar in front of you. From there, you can choose two
paths. Take the right of the two paths as shown here.
Make your way down this corridor, and
about halfway down (if you make it all the way to the end where
there are slimer eggs, you went too far) you will see some
passageways that go off to the left. This is where you want to
go.
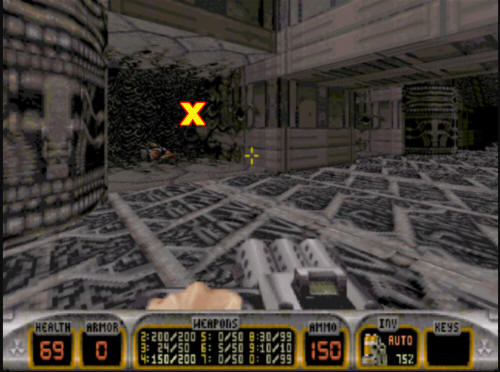
If you walk to where the "X" is and turn
around 180 degrees, you will see a short stairwell that leads
upwards. Head up the stairwell.
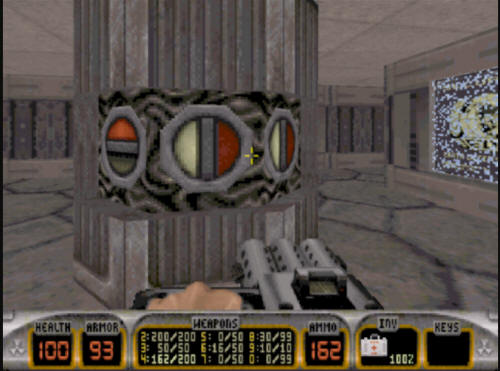
Once up the stairwell, you will see a
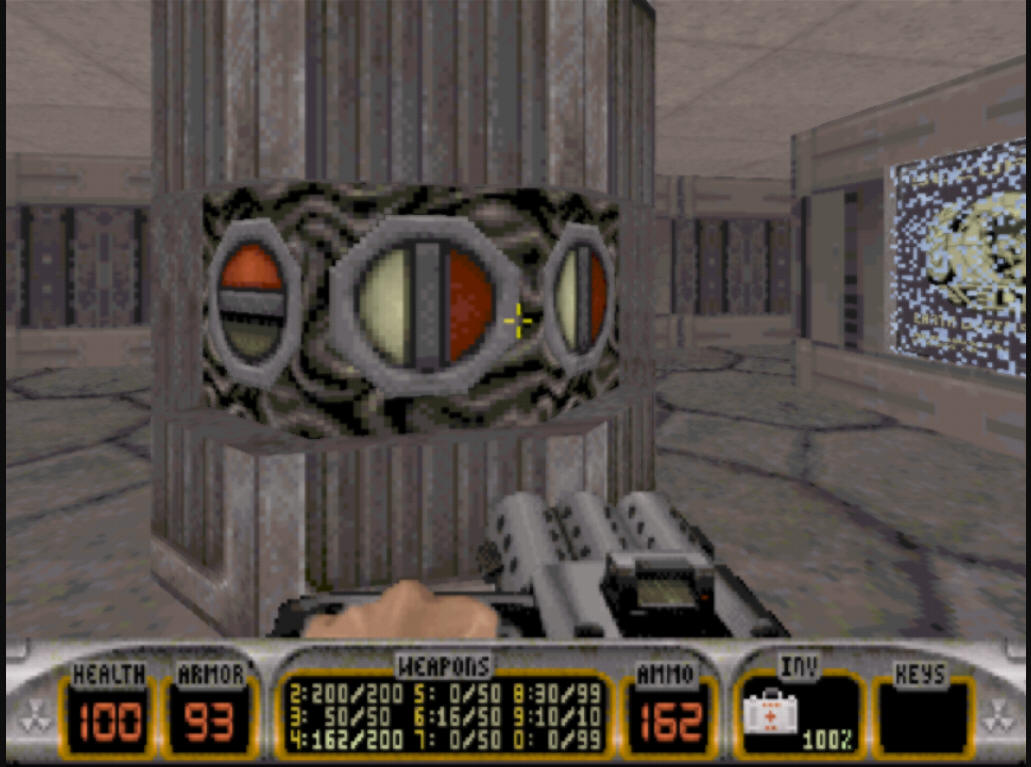
podium in the middle of the room with a switch puzzle on it.
You need to complete this switch puzzle to allow you access to the
next part of the level. You need to flip the first and third
ones, making the puzzle look like the shot below. There is no
text saying "unlocked" like most of these say, you just have to go
look.

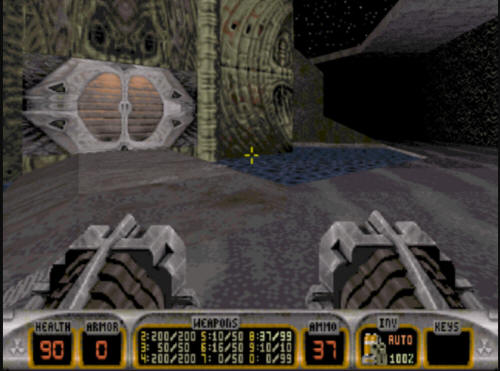
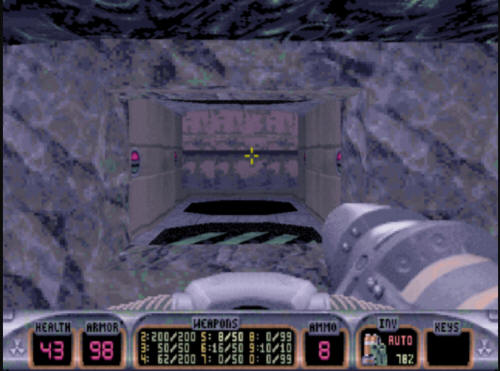
The switch puzzle opens up some doors at
the bottom of the short stairwell you took to get up here, it looks
like the shot below. From here you can run around a circular
room (going up and down various ramps). While there are some
enemies to fight here, this is a recommended move, as you will pick
up objects you will need later in the level.
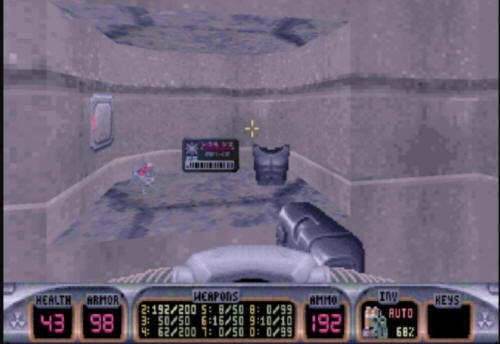
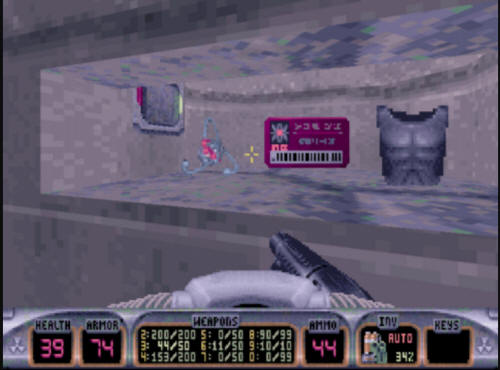
As you are making your rounds around the
room, there are several alcoves with items in them. One looks
like this screenshot. You want all this stuff.
Once you have made it around the
circular room, you will end up back at the entrance. From here
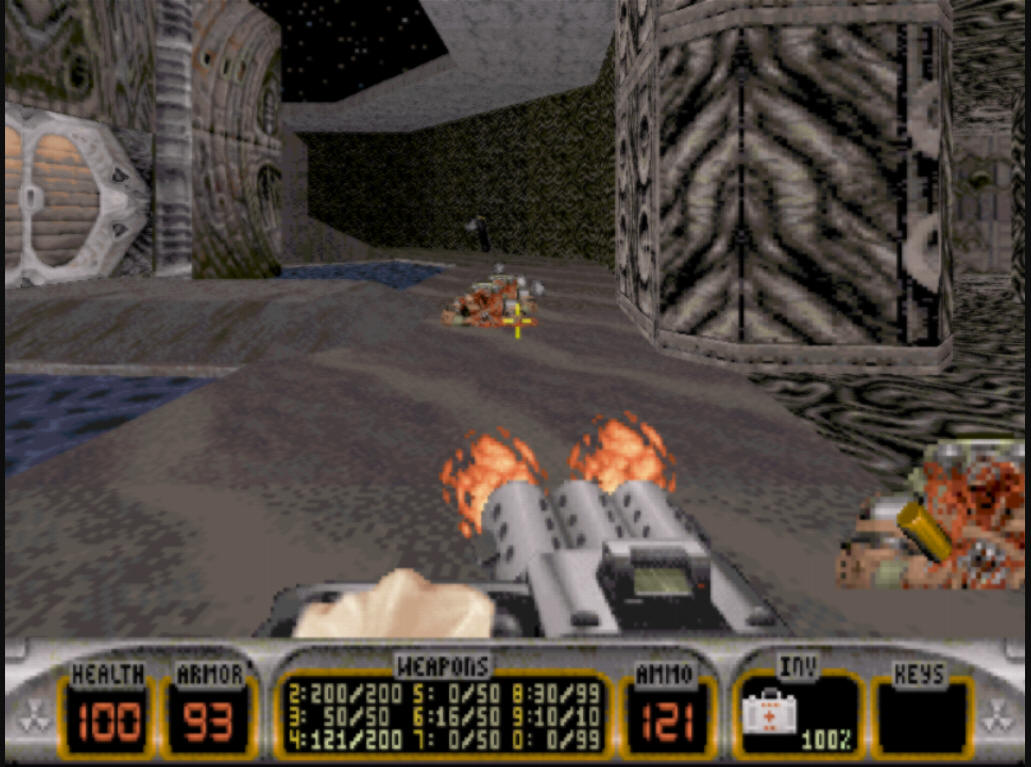
you need to enter the door in front of you. Opening the door
will let out a lot of enemies who will attack you. While you
can ignore them, they will get in the way in a little while, so if
you can, take them out.
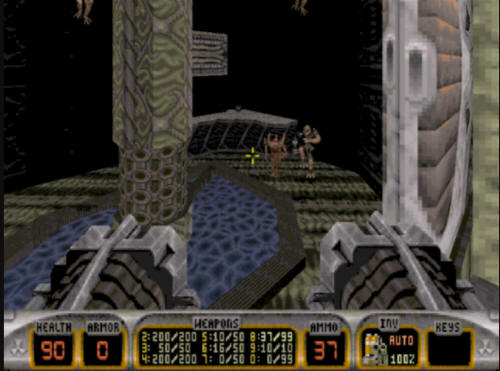
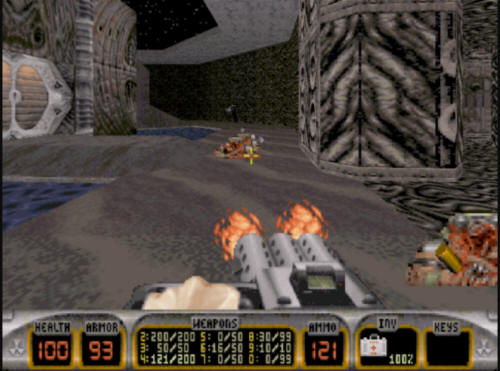
After you've taken out all the enemies,
you need to go jump up to where the small ledge is in the screenshot
below. Do not go up to the door above it yet - that releases a
Battlelord, it's not time for that yet.
Going up on the ledge will open a wall
to your right, and it will reveal a small pool of water, and another
Enforcer. Take out the enforcer and make your way into the
small pool of water.
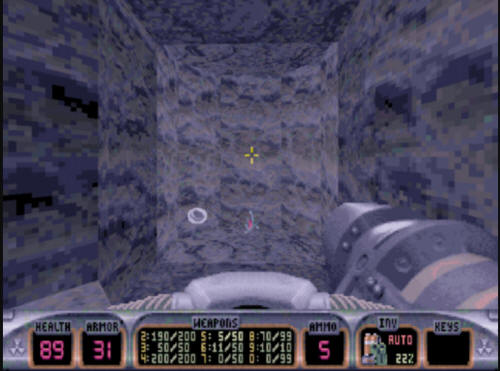
At the bottom of the pool, you will come
across a room where there is a switch in the back that looks like
this. Go in there and flip the switch.
It will reveal another switch
immediately to the right, which you also need to flip, as it opens
up a door elsewhere in the level.

Come out of the pool, and then jump into
the water in the middle of the room (still don't go to the upper
ledge, you don't want a Battlelord yet). You will find
yourself in the large underwater area that the little room with the
switches looked out into. As you make your away around
underwater, you will find a small alcove with a couple of crushing
pillars in it. This is where you want to go.
What you need to do is swim in here,
avoid the pillars, and hit the four switches on either side of the
room. This will open the door at the far end, allowing you to
get the blue key, an Atomic health, and some armor.
After you collect these items, you need
to swim back to the room you jumped into the water from. The
one where you were twice warned not to release the Battelord.
Well, now it's time to release the Battelord. Or more
importantly get to something in the room where he is.
Take him down if you can. The goal here is to get past the
Battlelord and use the blue key.
After disposing of the Battlelord, head
into his room, and use the blue key. This will open a wall
with a switch and a medkit. Flip the switch, take the health.
The switch here opens up another part of
the pillar in the central room you went to back near the start of
the level. Remember that? You need to head back there.
This is the part of the level where everything starts to seem
familiar. You are about to essentially redo what you just did.
Another switch puzzle, another circular room, another couple of
switches in a pool, etc. It's not 100% duplicated, but for the
most part it is.
Anyway, make your way back to that small
room with the switch puzzle in the middle of the level (overlooking
the river of purple acid). The combination to this
switch puzzle is to flip numbers two and three.
Turn around, and make your way down the
second stairwell (not the one you just came up, but the other side).
It will lead you into a nearly identical circular room that you just
went through on the other side of the level. Make your way
around this circular area, picking up the various objects and items
around here.
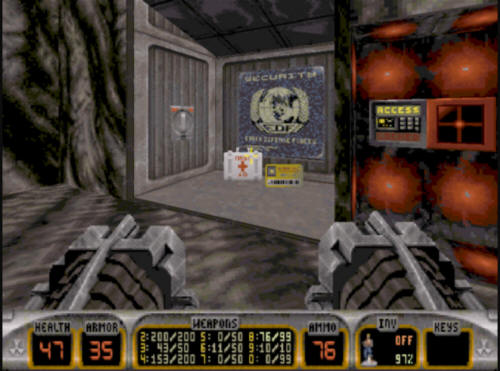
As you are making your way around the
circle, you will pass an alcove that has these items in it.
YOU DO NOT WANT TO FORGET THE BOOTS - they are probably the single
most important thing you can pick up. The reason is you cannot
make it to the boss area without them.
After making your pass around the
circular room, make your way back to the door to the inner room, and
open it, taking out the enemies in here. This room too will
look identical to the earlier one. Clean it out, get up on the
ledge (but again, not the second), and open up the wall. You
will need to go down into the pool area, flip the same two switches,
and make your way back up to the top of the pool, jump into the
water in the larger part of the room, and swim out into the larger
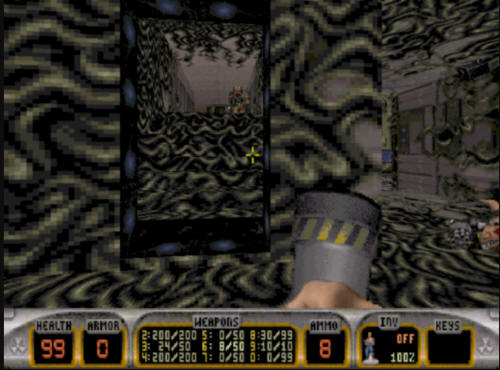
body of water. This time though the room you are not looking
for crushing pillars, you are looking for a room with rotating
gears. It looks like this:
What you need to do here is follow the
blueish colored part of the gears around in the circle until you can
get to the switches on the wall (this time three), and eventually
make your way to the back of the room where the red key is. If
you try to go around the gears in the non blue areas, you'll
probably get squashed - it's pretty easy to do that in this gear
puzzle.
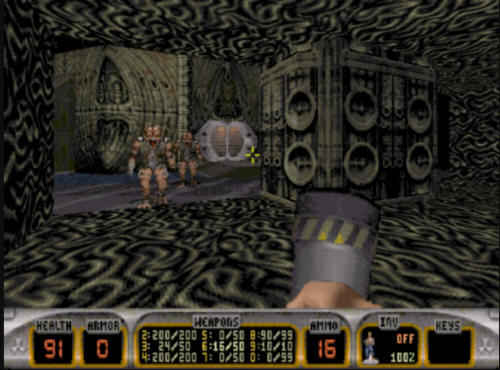
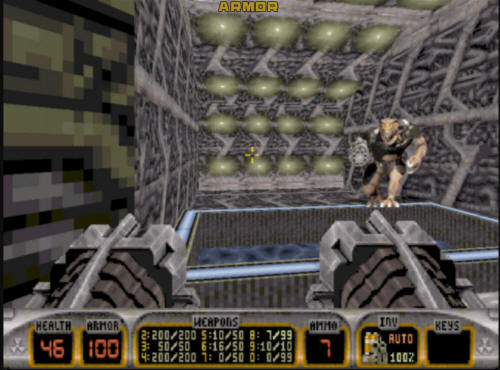
Once you have the red key, it's time to
make your way back and release the Battlelord. Swim back into
the room, head up on the ledge, and release Mr. Battlelord.
Again, like the other side, you need to use the red key slot behind
him, so take him out, as there's no time for you to do that while
he's shooting at you. After the Battlelord is gone, use
the red key. It will open up a wall revealing the yellow key,
some health, and a switch. Take the items, and flip the
switch, and it's time to make your approach to the boss.
Make your way to where the yellow key
goes, and use it. It will give you access to the river of
purple acid that is directly behind you at this point.

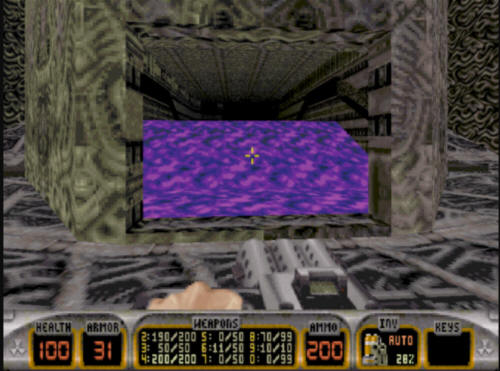
THIS IS THE POINT
OF NO RETURN!
It is probably a good idea now to make a
run around the entire level and pick up any health and items you can
find. Because once you get across this slime, you can't get
back (not without a save game or the 360 replay feature, anyway).
This slime/acid/whatever hurts. A LOT. Remember the acid path
in Derelict? We're talking that. If you don't have the
boots, forget it, you can't get there. The jetpack is useless
too, as you take the same damage whether on your feet, or in the
air. Steroids help a lot here, but aren't necessary.
Basically if you start with boots at 100% here, they will be gone
right before you get to the other side. You also need to run
the entire way. If you dawdle or stop anywhere, you're dead.
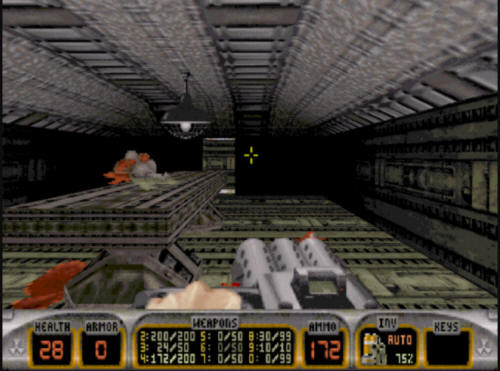
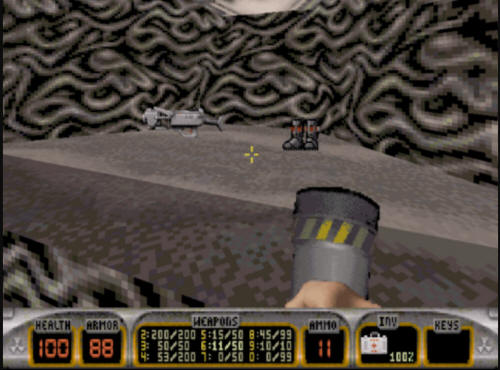
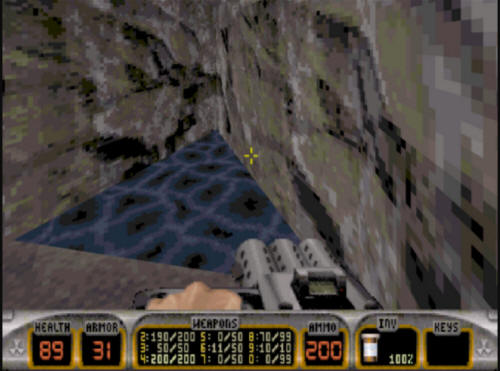
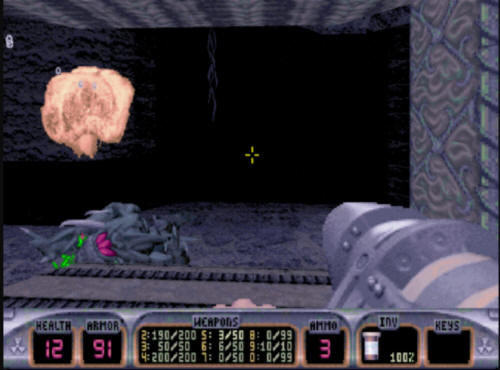
Once you get to the other side, you will
encounter a small rock pathway. A word of advice. You
will find some health here. If your character health is at
something like 89% (like in the shot below), don't get the 30+
health pack you see here. You will need all the health
you can get, and wasting 19 health like that will probably hurt you
later.
Once you make your way to the end of the
path, you will see a wall with an Atomic health in front of it.
Going up to it will reveal the final area of the level, where the
Queen is.
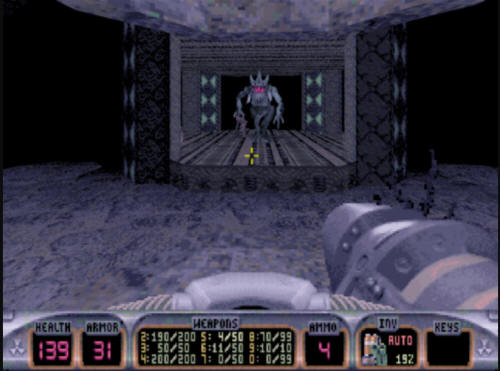
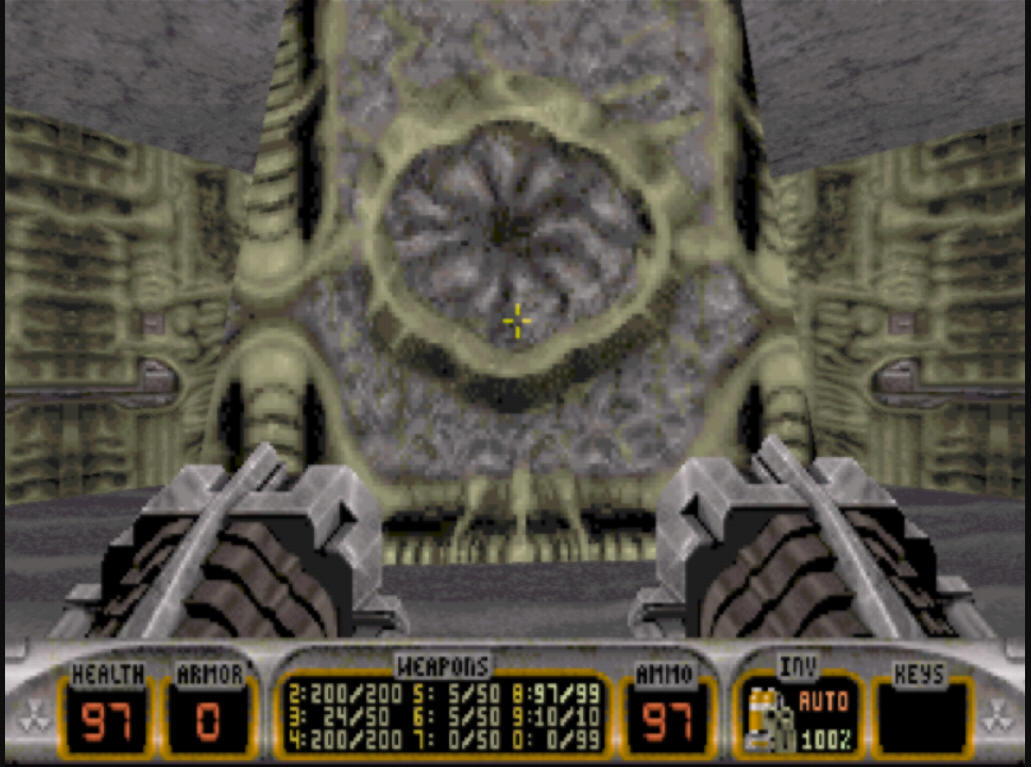
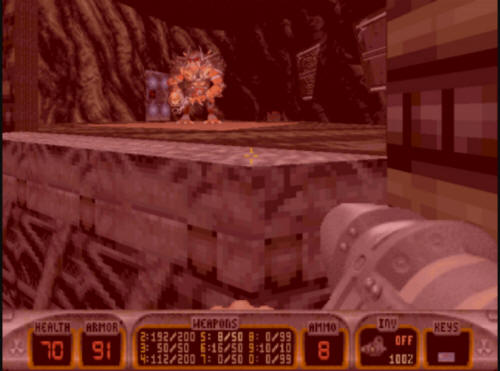
Excluding just outright stepping on you,
the Queen has two main modes of attack. The first is
electrifying the water, which looks like she is covered in
electrical sparks.
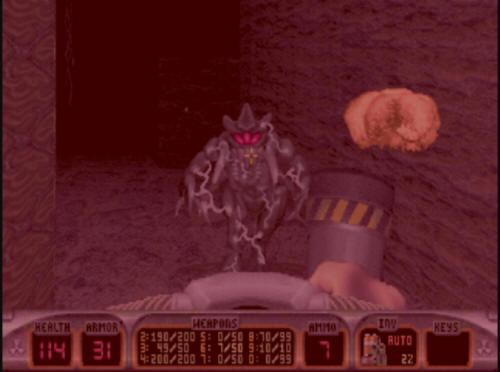
The other mode is an indirect one.
She will "give birth" to Enforcer drones. If you let her do a
lot of them, it can quickly become a nightmare, as you can end up
with 12 or 15 of them which get in the way of you trying to attack
the Queen. Try to disallow that as much as possible (which
isn't easy).
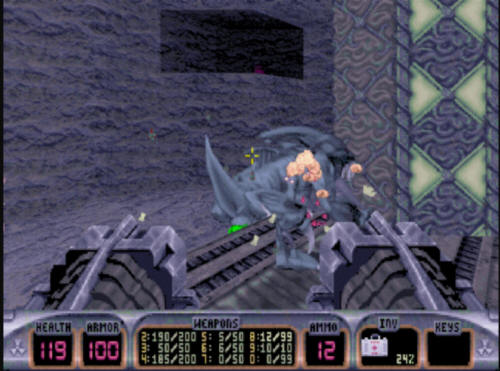
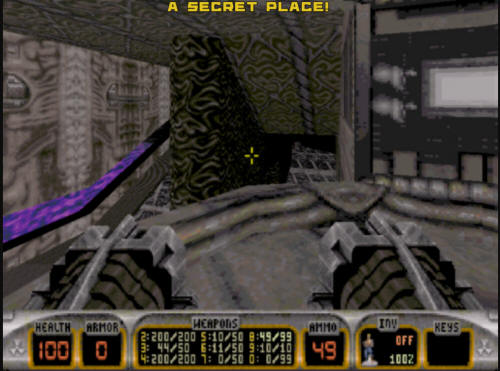
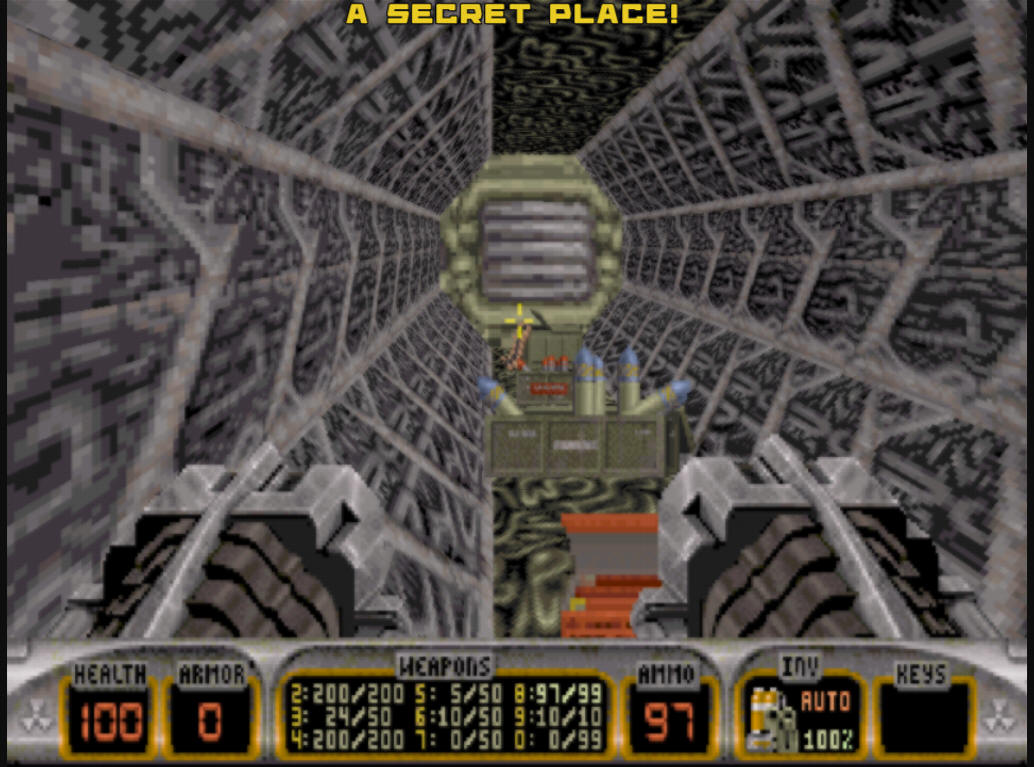
There are a few areas around the Queen
room that provide ammo and health. One in the ceiling is a
secret area, the rest are not, but can be used if you need a
breather, or need to pick up some health. That's about it for
strategy in this area. Just shoot the Queen a lot, and try to
not let too many Enforcer drones be born.
Once the Queen is dead, you will get to
see a short cinematic, then the final level tally screen, and that's
it - Game over man, game over!
 |