|
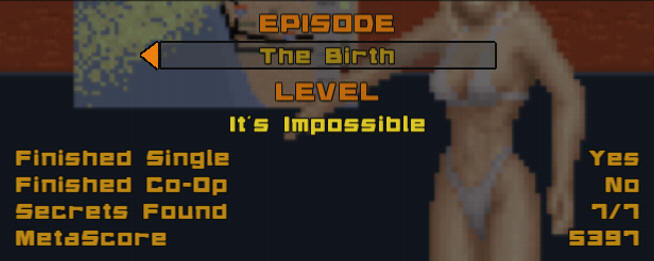
It's Impossible
Episode 4, Level 1
[ Previous
| Next | Main ]

It's Impossible has several references
to the obvious namesake here, Mission Impossible (both the original
and the Tom Cruise movies). This level is chock full of
references to other "spy things" from movies and shows. We'll
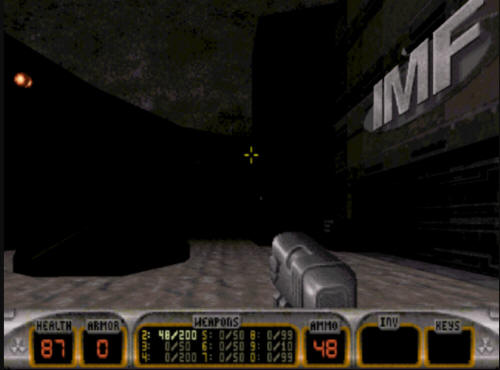
try and point out a few here. The first one is staring
you right in the face, the IMF - or "Impossible Missions Forces"
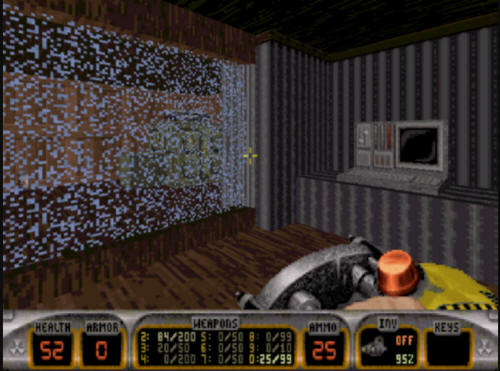
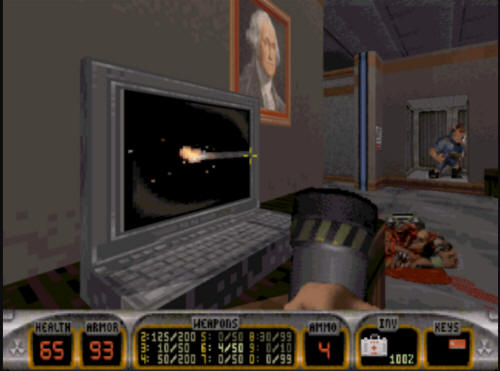
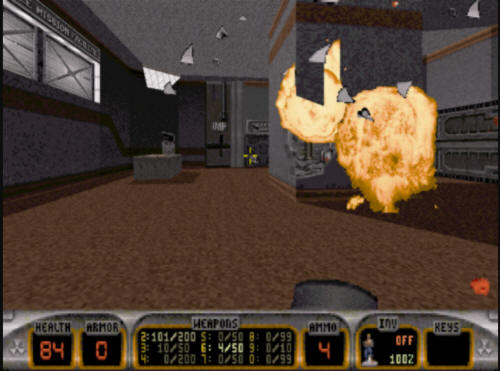
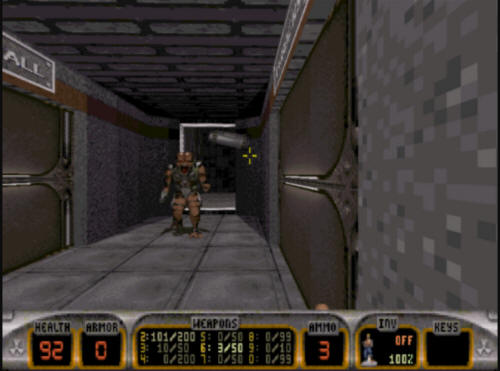
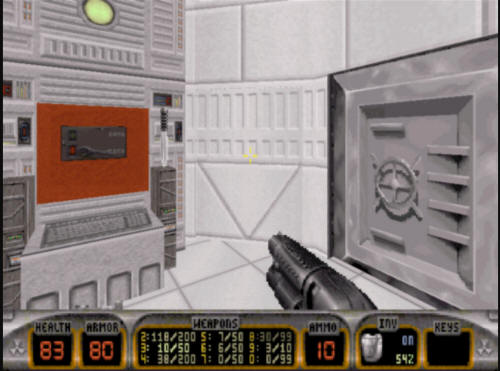
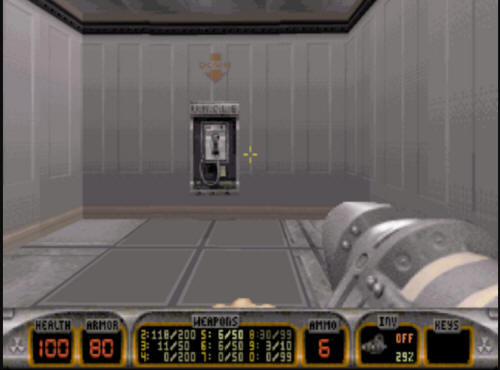
headquarters is where this level takes place. Opening
the door reveals the lobby of the IMF with some troopers to take
out. On the far corner of the room is a table with a tape
recorder. This is another homage to the original Mission
Impossible, as the recorder goes "This tape will self destruct on
one second", and then does.

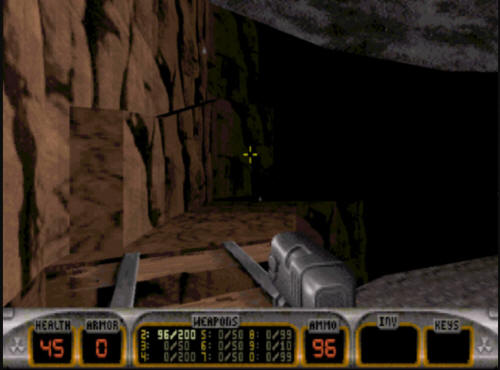
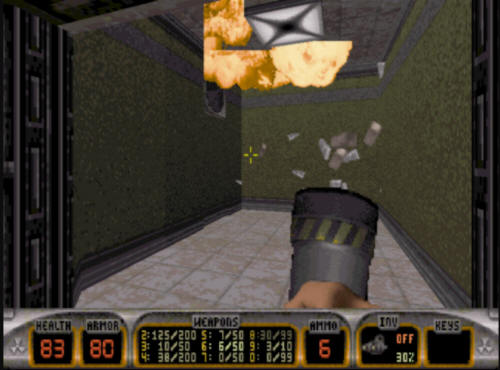
Before you make your way out of the
room, you will notice there is a crack on the central column.
Blow it up with a pipebomb or rocket, and you will reveal three
health packs - go in there and grab a health boost if you need it.
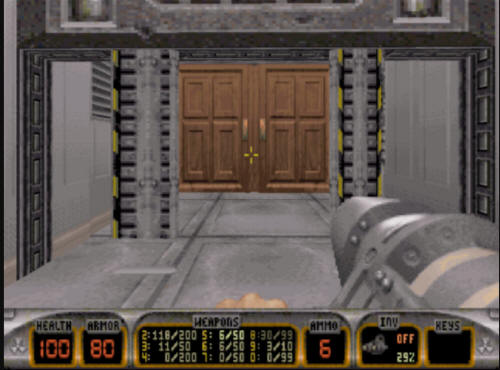
After you are done in the lobby, make
your way into the open hallway, not the closed "Briefing Room Door".
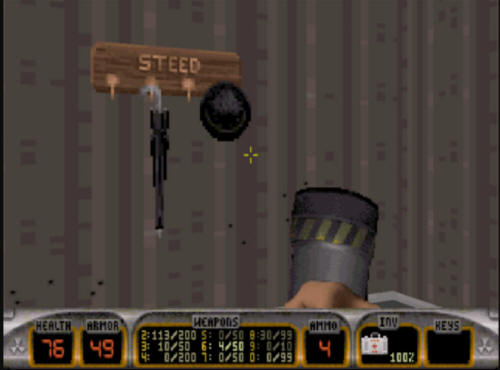
You can explore the briefing room if you wish, but it is not
necessary to go in there to finish the level. There is a spy
joke in there, a "Steed" umbrella & hat hanging on the wall.
This is a reference to the character of "John Steed" from the old
British show "The
Avengers".
Anyway, once you make your way into the
hallway, you make a right, and then an immediate left into another
hallway. This second hallway has two doors on either side of
it, and an open door at the end of the hallway. The two
doors on either side lead to quarters as well as a mess hall.
You can explore these for health and items if you wish (and some
more combat), but they're not necessary for completion of the level
(unless you want some secrets that are in those rooms).
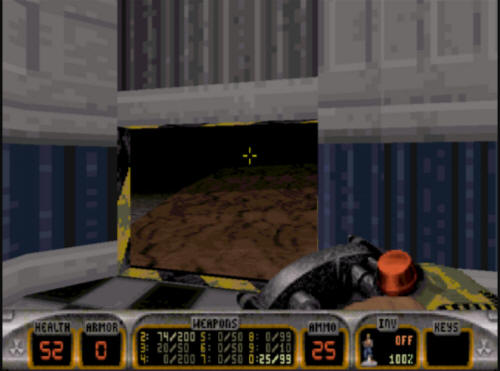
One thing about the mess hall area.
This does not count as a secret, but it is really useful if you are
playing Dukematch in this level. There is a shortcut out of
the mess hall back to the rocky area at the start of the level.
In the corner of the dining area, there is a wall texture that is a
different color than the others. Open it to get back outside.
This wall also opens from the outside in the same way, too.
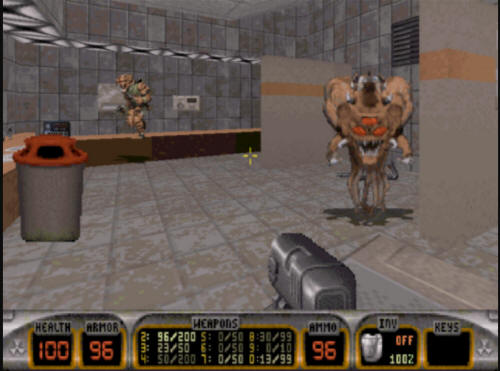
Make your way past the two doors into
the open area at the end of the hallway. This is bathroom.
One suggestion. Before you turn the corner, turn on the light
switch. This will make your life a lot easier in this room.
There are a few troopers and an Octabrain in here. Take 'em
out. Also in here is the blue key.
Come out of the bathroom, and take a
left at the end of the hallway, and then an immediate right.
You will come across a switch puzzle and a couple of enemies.
Take them out, and then you need to do the puzzle. Leave
the first switch alone, and flip just the middle and right ones.
The combination should look like this. Open up the door and
take out the enemies in this room.
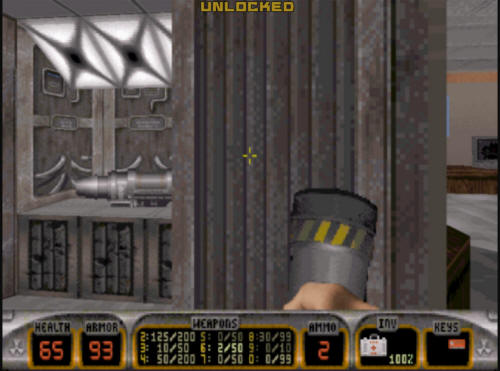
Once you have taken out all the
resistance, you need to open up the blue key door. A
note about this. The shots by the troopers and pig cops cannot
get to you, nor can your shots get to them. However, if you
lob a pipebomb right next to the forcefield, they can be damaged by
that. If you lure enough of the enemies over to the forcefield,
you can take them out before you open up the room.
Once past this forcefield, take out any
remaining enemies, and grab the red key card, which is sitting on a
desk. Once you make it out of here, you will run into another
switch puzzle. This one can be unlocked by flipping the
first and third switches, leaving the middle one untouched.
Go through this door, and head down a
short elevator, and you will end up on a platform. The door
here leads to the briefing room from earlier. This is a level
with multiple paths to get to where you are going. This might
be why you are reading this walkthrough going, "Hey, I don't go that
way!", that's a hazard when you have levels with multiple paths like
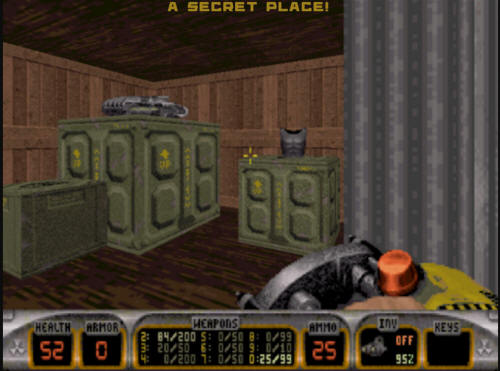
this one does. Anyway, go down the second elevator here, and
you will be left in a storage room in the basement with several
metal crates, and a few sentry drones. Once you've
gotten rid of them, head over to the red key door and open it.
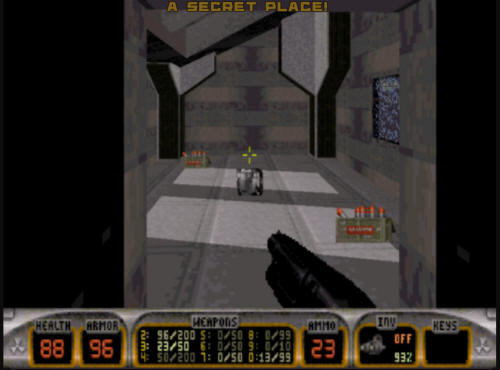
Opening the door will reveal a small
closet with some cleaning supplies and a fan in the ceiling.
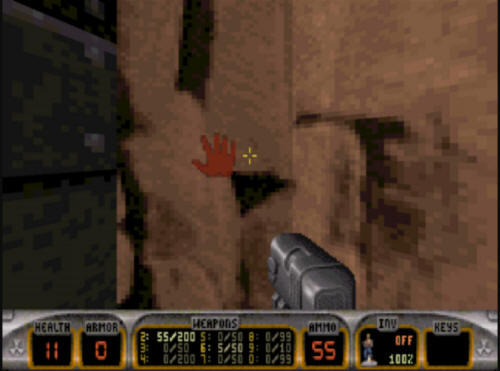
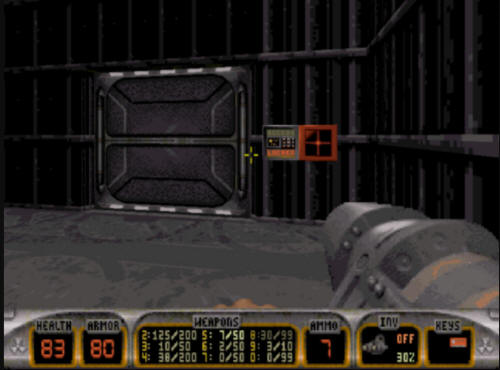
You need to grab the pipebombs, shoot
out the fan, and jump in there. But don't go blundering in,
you need to go slow up here. You will eventually find another
fan which has several tripmines on top of it. It looks like
this.

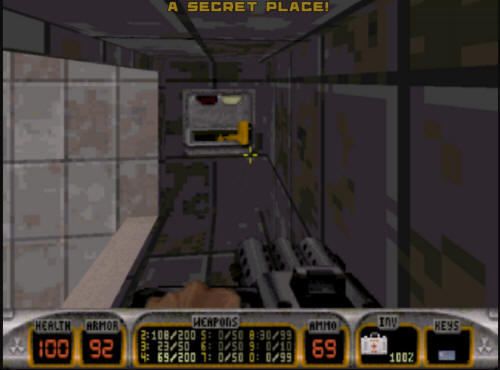
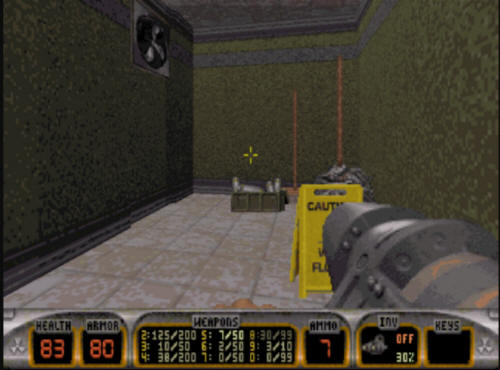
Do not run into the tripmines, you will
absolutely die. What you need to do is back up a bit,
and throw a pipebomb. But before you detonate it, back
out of the vent, and out of the small cleaning supplies closet as
well. Blow up the tripmine and watch the carnage from outside
the locked red door. You'll find out why in a minute - there
is an ENORMOUS explosion that results from all this.
Once the explosion has finished, go back
up into the vent and make your way to where the tripmines were.
This way is clear now, but a word about where you are going.
If you remember the first Mission Impossible movie with Tom Cruise,
there was a scene where he was suspended in midair in a white
computer room.
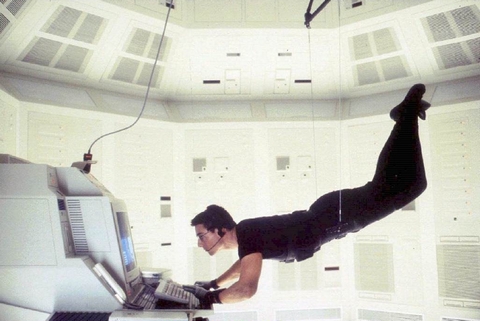
The room you are about to go in here
mimics that scene. If you drop into the room and hit the
floor, enemies will pour out from the four corners of the room.
If you have a jetpack, it is a good idea to use it here, so you can
hover in the middle of the room.
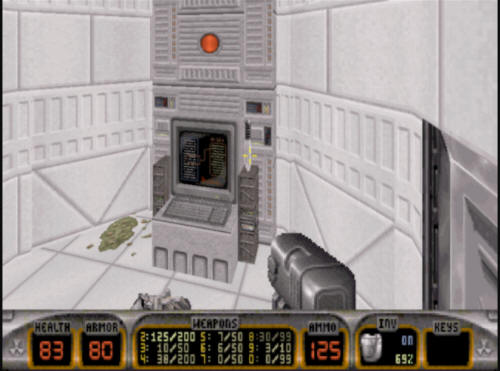
Hit the single red button at the top of
the computer console here. It will raise a switch puzzle
out of the wall on the other side of the room. If you
are running low on jetpack power, you can stand on the computer
console DIRECTLY in front of the single red button shown above while
you do the other switch puzzle.
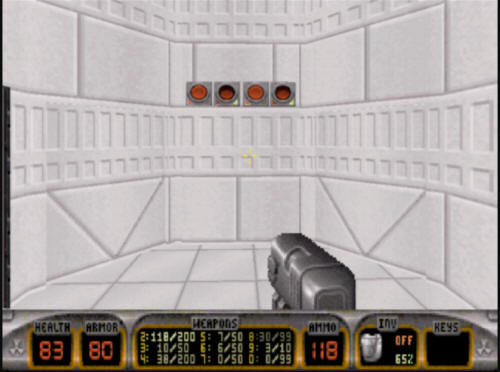
The correct combination on this switch
puzzle is to shoot just the second and fourth buttons. When
you do this, the platform under the large single red button will
lower, revealing a switch. Flip the switch, and the large door
to your right will unlock with a way out of the room. If you
still have any jetpack power left, you can jetpack out of the room
after opening the door, not releasing any of the enemies in the
white computer room.
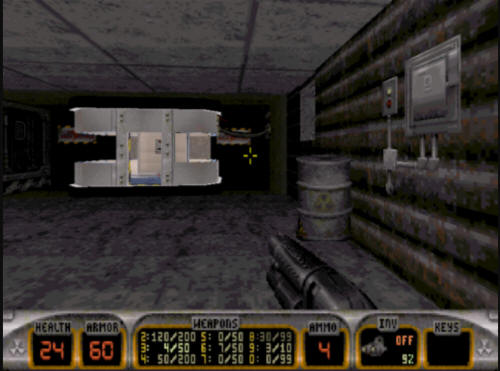
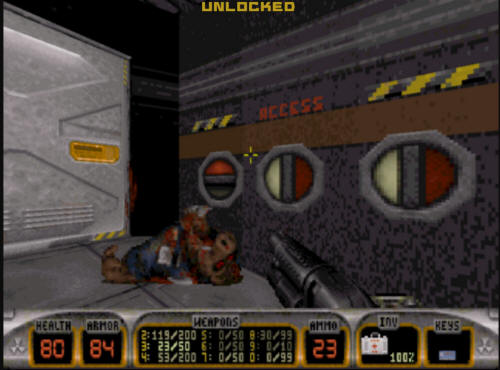
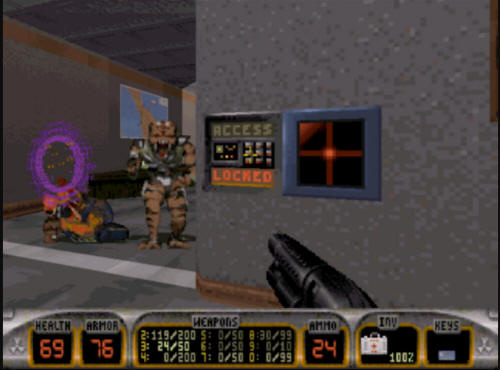
Once out of this room, there is a small
control room to the side of the large locked door (labeled security
access). Walking over near it will open up the window, and
several enemies will attack you. Take 'em out.
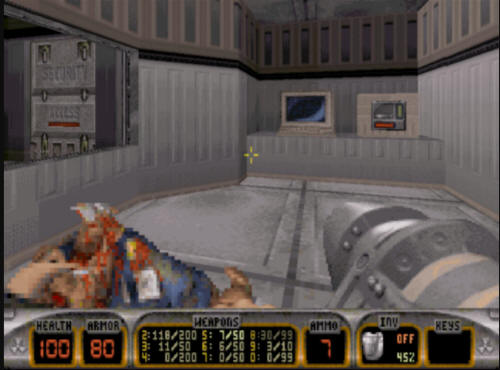
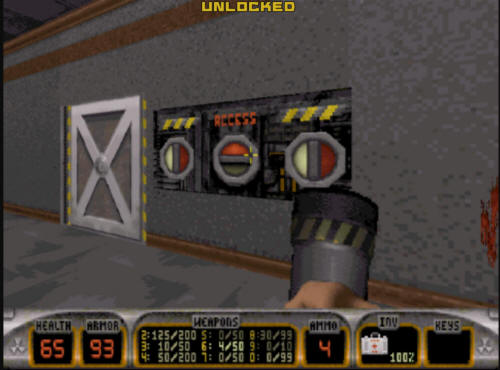
Go into the room and flip the switch in
here - it will allow you access to a large sequence of doors that
will open as you walk through them ending with a telephone booth at
the end of the hallway. This is a mimic of the opening title
sequence of the old 60's spy comedy, "Get Smart".
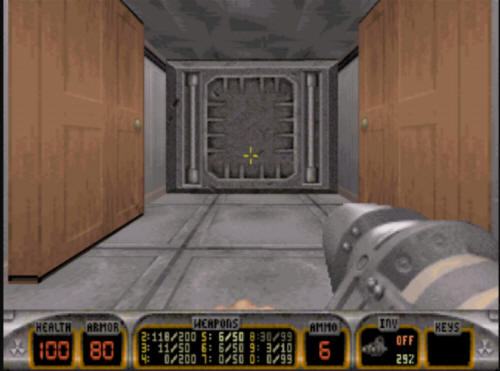
Once you make it through the Get
Smart doors, you will come to a telephone. This telephone has
U.N.C.L.E. on it, which is yet another reference, this one to
another 60's spy show, "The
Man from U.N.C.L.E." If you go over near the phone
the darkened platform will descend down to a lower level of the
building when you use it.
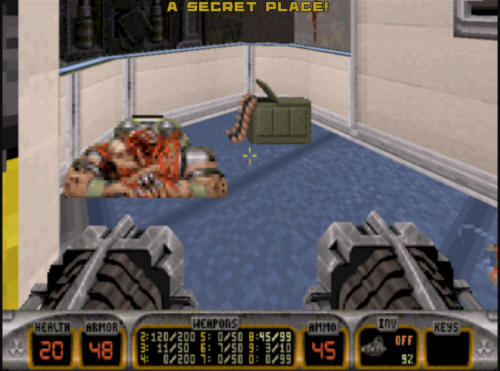
Do this, and you will encounter a door
with a crack and a pipebomb. Blow up the door with the
pipebomb, but it might helpful to plant the pipebomb, go back up the
elevator and then set it off. Once you do all this, you
will be introduced to a new enemy for Episode 4, the protector
drone.
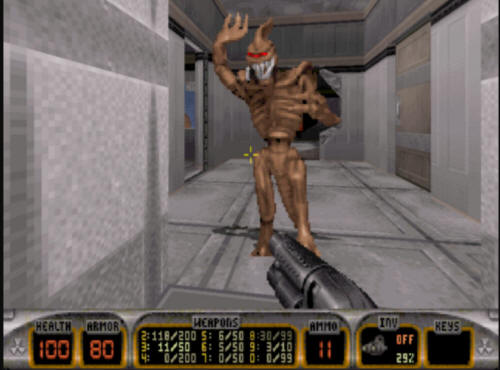
Take out the protector drones and all
the other enemies that were down here, and you will eventually find
yourself with the exit.
Hit it and be taken to Level 2, "Duke
Burger". |