|
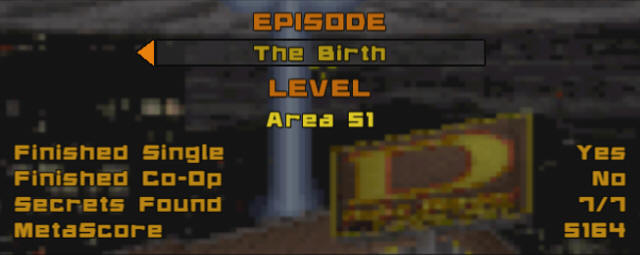
Area 51
Episode 4, Level 6 (Secret
Level)
[ Previous
| Next | Main ]
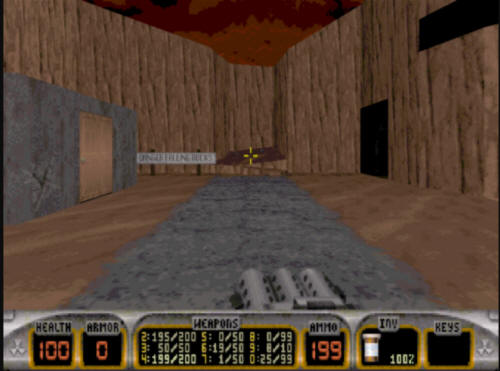
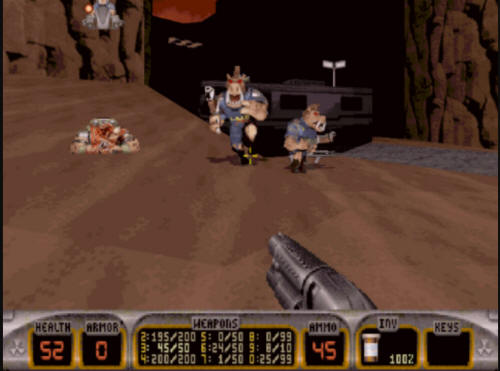
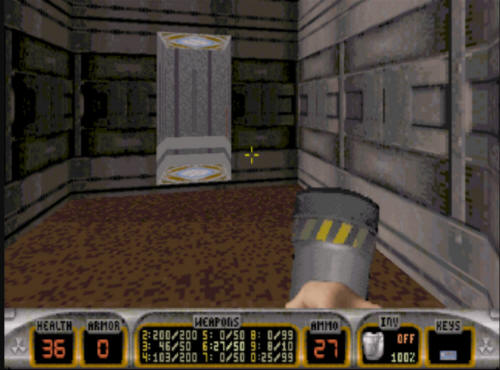
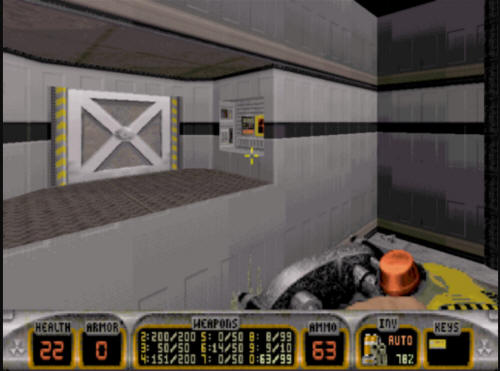
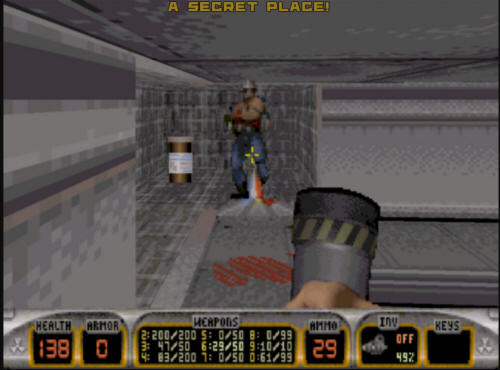
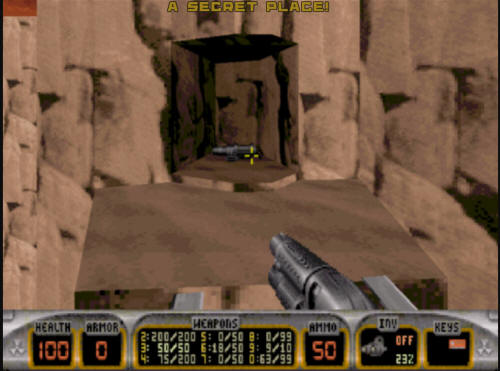
Area 51 starts out in a non descript
outdoors rock area. Out here are two troopers, as well as some
pipebombs on the ledge at the far end of the shot above. You
will also see a crack on the small building. Throw a pipebomb
at it, back up, and set it off. This will collapse the
small building, and reveal a switch.
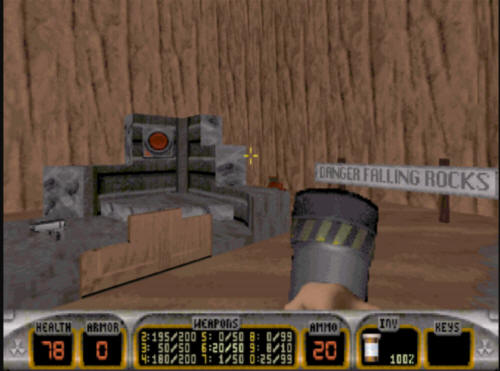
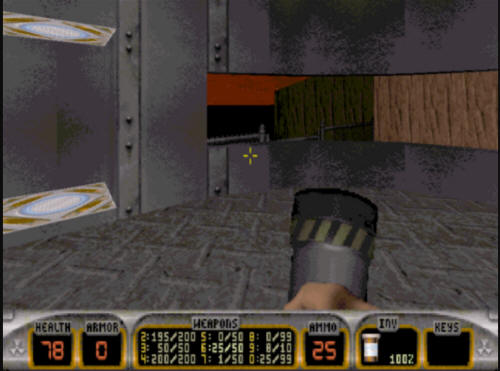
Flipping the switch will open up an
elevator door in the larger building behind you. Go in there,
and take the elevator up into a small (mostly empty) room. In
this room is a teleporter. Take it, and you will end up in the
next major part of the level.
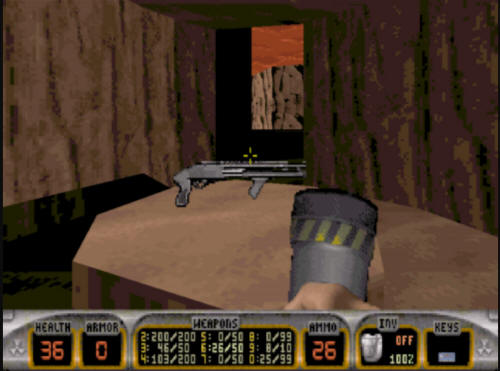
The other side of the teleport will
leave you behind an RV camper, and in the middle of several pig
cops. This means immediate combat. If you are low on
health and ammo, going around to the other side of the camper is
probably not a good idea now, as there are worse enemies over there
(Pig Cop Tank for one).
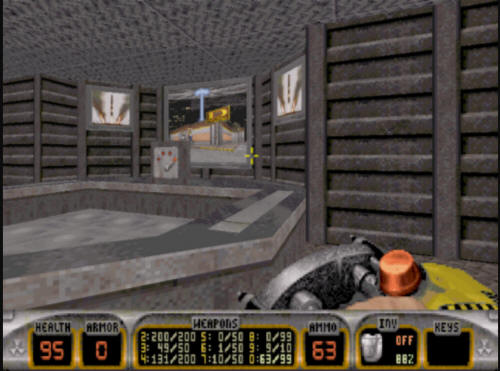
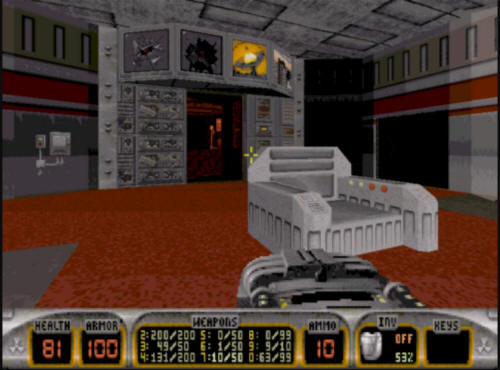
Once you finish with the combat in this
area, make your way back to the side of this area, you will see a
fan (assuming it hasn't been destroyed by gunfire). If the fan
is still here, shoot it out, and jump in. It will leave you in
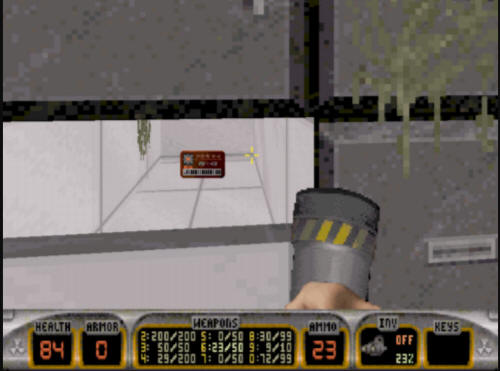
a small circular room. Looking around the area you are in
(without moving off the place you are standing), you will see some
switches on the walls. One of them will open the outer walls
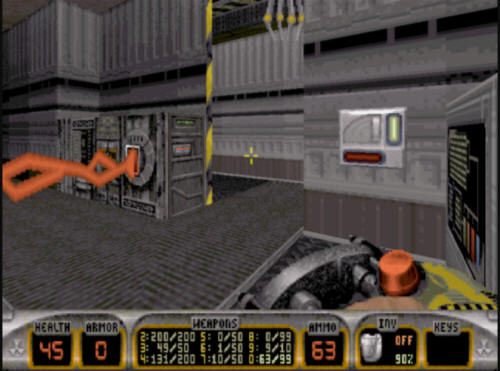
around you, allowing you to progress. Doing so will open
up a command room that looks like this:
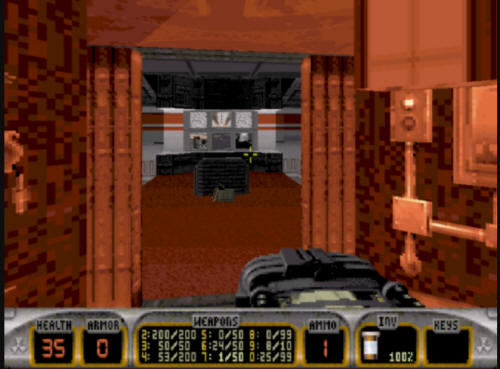
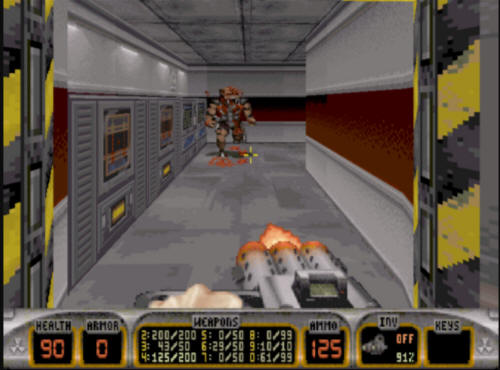
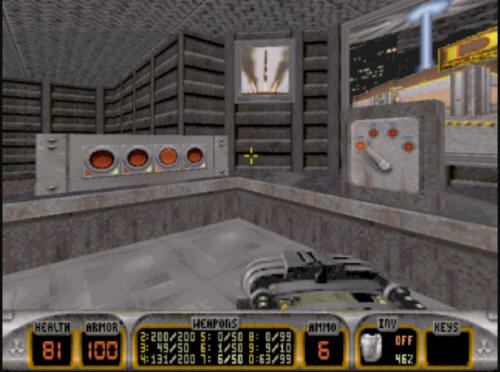
Going into the room will immediately set
off two pig cops to come get you. Shoot them, and when they're
dead, make your way to the other side of the chair, where you can
see the blue key. Grab it.
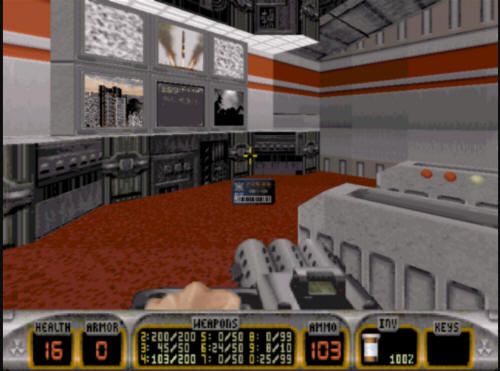
Taking the key will open two doors on
either side of the room you are in, releasing more Pig Cops and
troopers to get you. If you are low on health (like I was when
I was making this screenshot), this can be a problem, as there's no
health in this area to get.
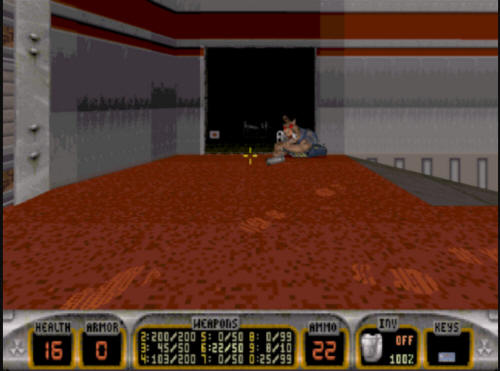
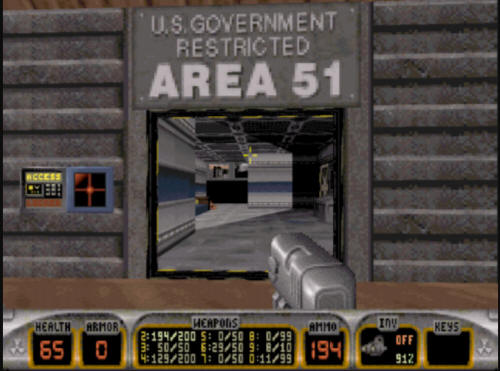
Once through the Security Access door,
you will find two small doors, and another Security Access door.
The left of the two smaller doors leads into an interrogation room
where you can get a freezer weapon. The other smaller door
leads to the other side of the one way glass for the interrogation
room. There's a few pig cops in here, so if you go in here, be
prepared for some combat. There is a tripmine and some health
in here to get. Once you clear out the room, one of the doors
will have a teleport in the back. Take it.
This will leave you a small room that
leads to a rocky alcove overlooking the fan you just jumped into a
minute ago.
Jump out and make your way back around
to the other side of the RV from before. If you did not take
out the enemies from before, you will have to do so now. Once
you have cleared out the area, use the blue key and go inside the
door.
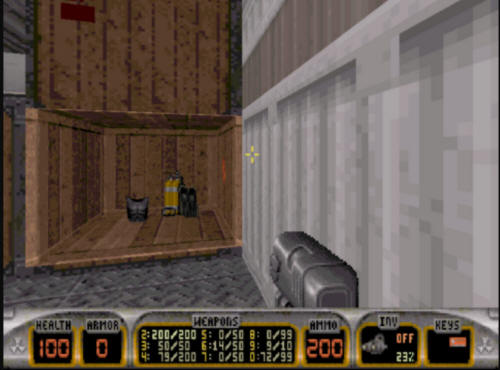
On the right wall, there is a double
door that opens up and down, and is a cream color. Open it,
and head in there. In the back of the room behind some
green boxes are two health packs. Once you've grabbed them,
head through the other door down here, and take out the trooper that
is behind it. Make your way through this area, and you will
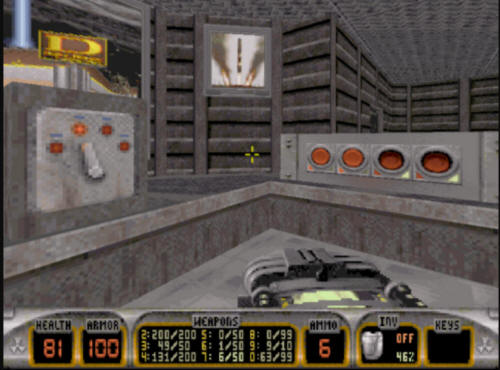
come back up into the main control room.
Make your way to the back of the room
where you will see a switch puzzle. You only have to push one
button to unlock this one - its the one in the middle.
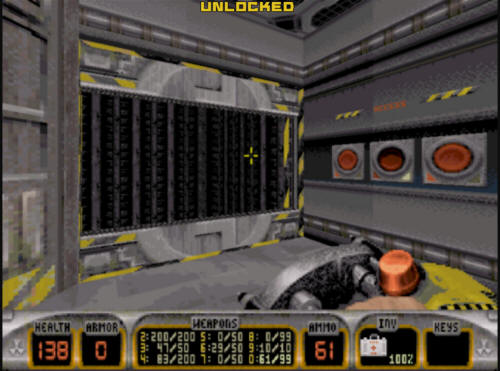
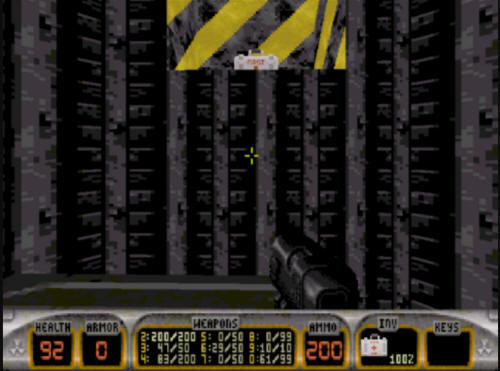
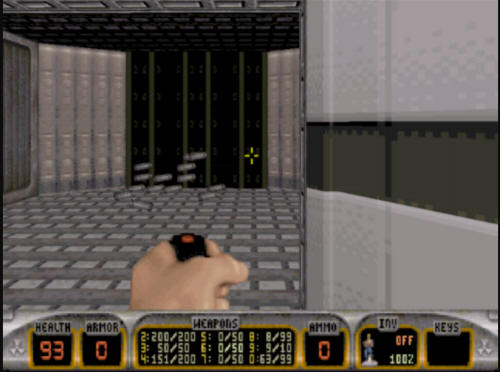
This unlocks the elevator shaft, which
is the way to go. There is no elevator, and if you happen to
have a jetpack, this is the easiest way to get down. If
you don't though, you have to take a big jump down. There is a
way to ease the fall a bit. If, when you jump in here, you hug
the left hand wall, you will land on a platform about half way down.
This won't hurt as much. However, this entire move
really needs you to have a decent amount of health if you're going
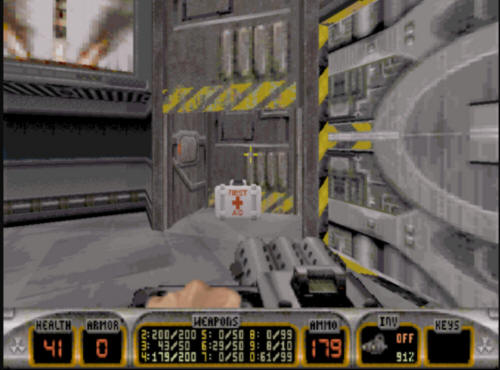
the jump route. The platform about half way down will also
have a medkit on a shelf. Grab it and use it, as you probably
need it now.
Once you have healthed up on the ledge,
jump off again and make your way the rest of the way down the shaft.
This will leave you at the bottom, and on another platform with a
Devastator. Take it, and run into the room and take out the
couple of enemies that are here. This room can effectively be
called "The Hub", as there are three doors leading to elsewhere in
the level, which are blocked by forcefields. You can use the
forcefield trick from It's Impossible and Duke Burger here, too.
That will help later, as you can use the trick to lob pipebombs at
enemies that are behind forcefields, and can't get you. There
is a control room in a central pillar here which will allow you to
drop two of the three, but the switch for the third is broken.
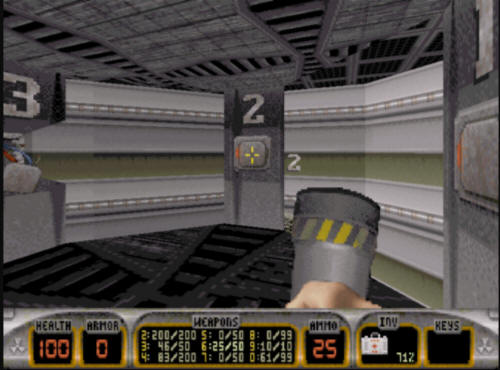
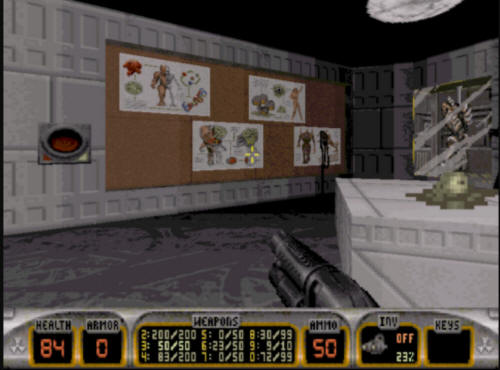
Take down the forcefields for 1 & 2, and
then head into the "1" room, which appears to be an alien
examination room. On one side of the wall is a red switch.
Hit it, and a door will open in one of the morgue compartments on
the other side of the room.
Inside this newly opened area is the red
key. Crouch down and head in there to get the key.
You open the little lip here to get in by standing on the table in
the room that has the surgical tools on it. Going in
here will let two more enforcer drones into the room you need to
take care of. Once you dispatch them, head out and make your
way to the "2" room.
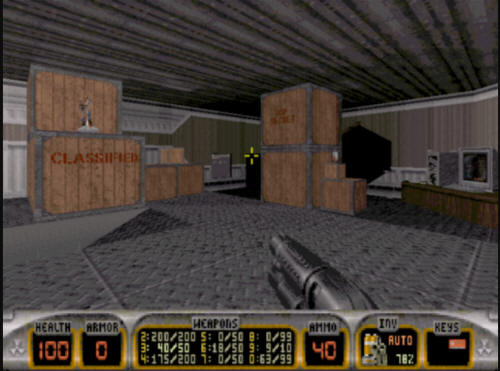
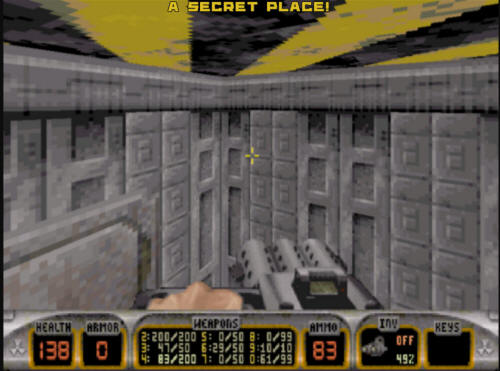
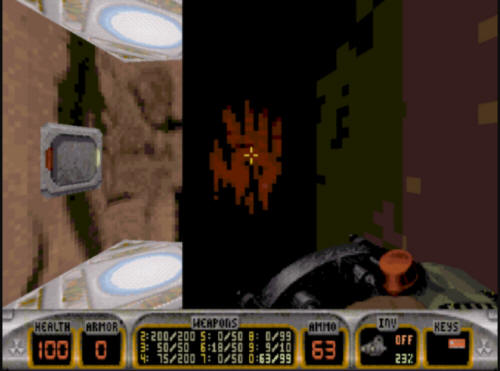
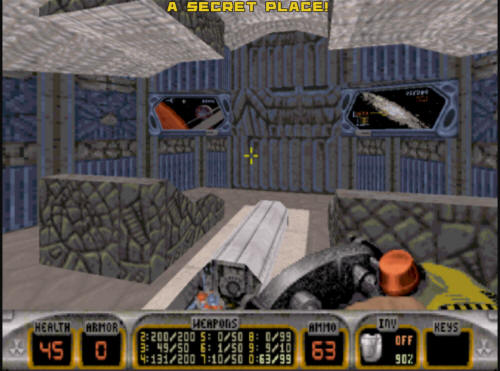
Going into the "2" room will show you a
room of crates, as well as several Octabrain to take out.
After you take out the Octrabrains, there's some heath in here to
get (plus a few secrets, see below).
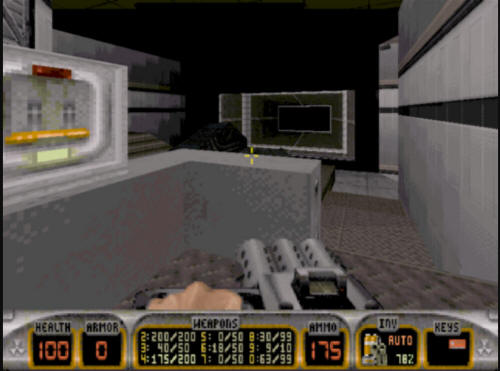
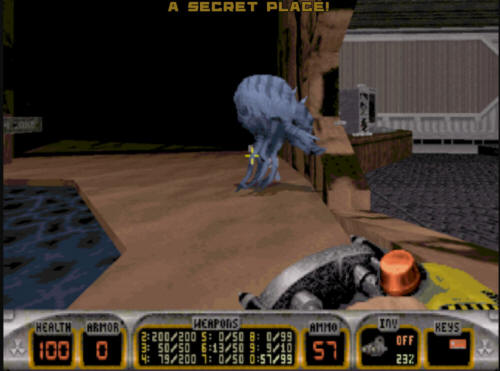
Once you are done in the crate room,
make your way out the small exit door, and around past the conveyors
into the room with the UFO. Several protector drones will
attack you (four in all). Once you have finished with them,
you will find a switch, which doesn't do much more than open up what
appears to be a launch path for the UFO here (which looks
suspiciously like the alien ships from the movie
Independence Day).
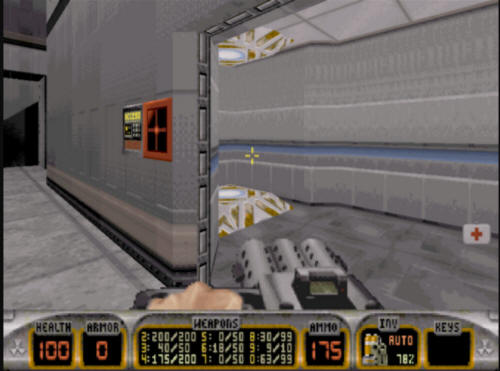
The place you want to go however, is
around the other side of the room where the red key door is.
Open it. Inside here is a teleport.
Taking this teleport will put you inside
a room that you could previously not get to. You could see
this room both from behind the room earlier where the blue key was,
and also this is behind the "3" forcefield from the hub.
However, the most important part of this room is that it contains
the yellow key. It also has a Fat Commander you need to
take out. The switch in this room merely unlocks the windows
here so you can look out over the UFO. If you like, you can
drop the various forcefields and make your way back into these other
parts of the levels, but the way out of the level is not those ways.
Once you get the yellow key, make your way back through the teleport
you just used to get here.

When you get back to the UFO room, you
will find some more enemies have spawned. Take them down, and
then make your way to the yellow key door in this room. There
was a bridge here originally, it may have been knocked down during
your combat, but it won't prevent you from getting to the door, just
jump over.
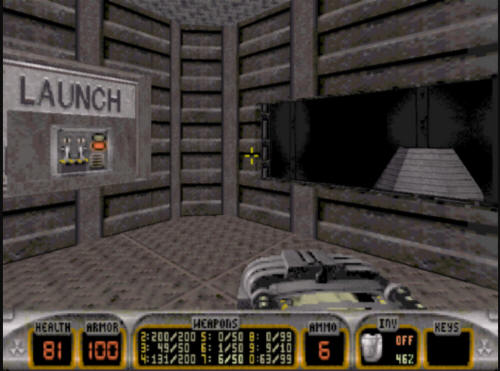
Once you unlock the yellow key door, you
will have access to the elevator next to the yellow key slot.
Take it downstairs, but look out - there's a Battlelord waiting for
you at the bottom! At this point in the level, you are
likely to be low on health, so a trick like sending 15 pipebombs
down the elevator after the Battlelord can sometimes help. :)
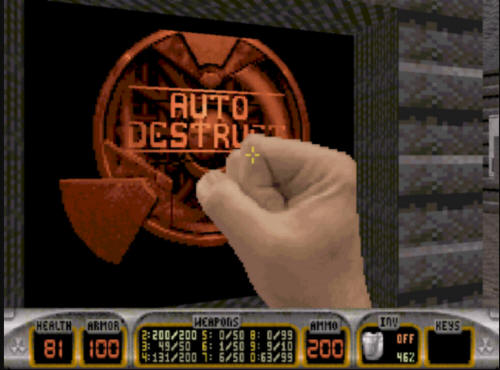
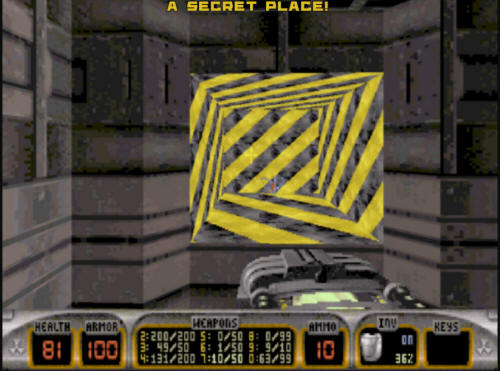
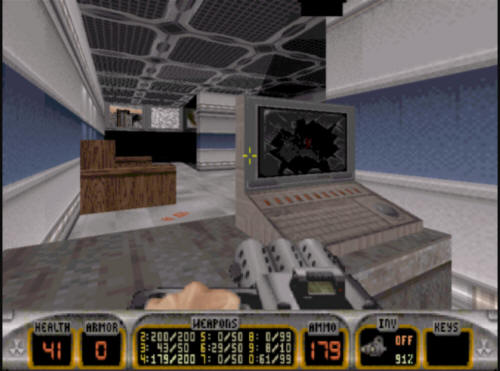
Once you get down to the bottom of the
elevator, you will be left in a room with by far the most
complicated switch puzzle in the game. The picture at the end
of the hallway is another Independence Day reference, this time in
connection with Duke-Burger.
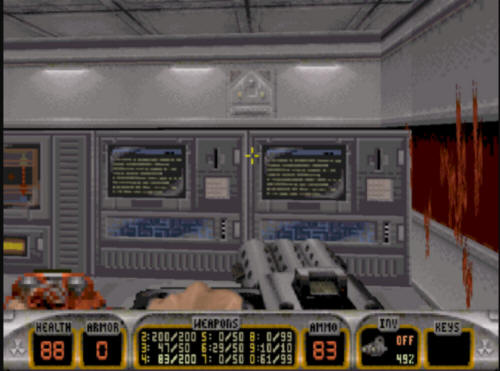
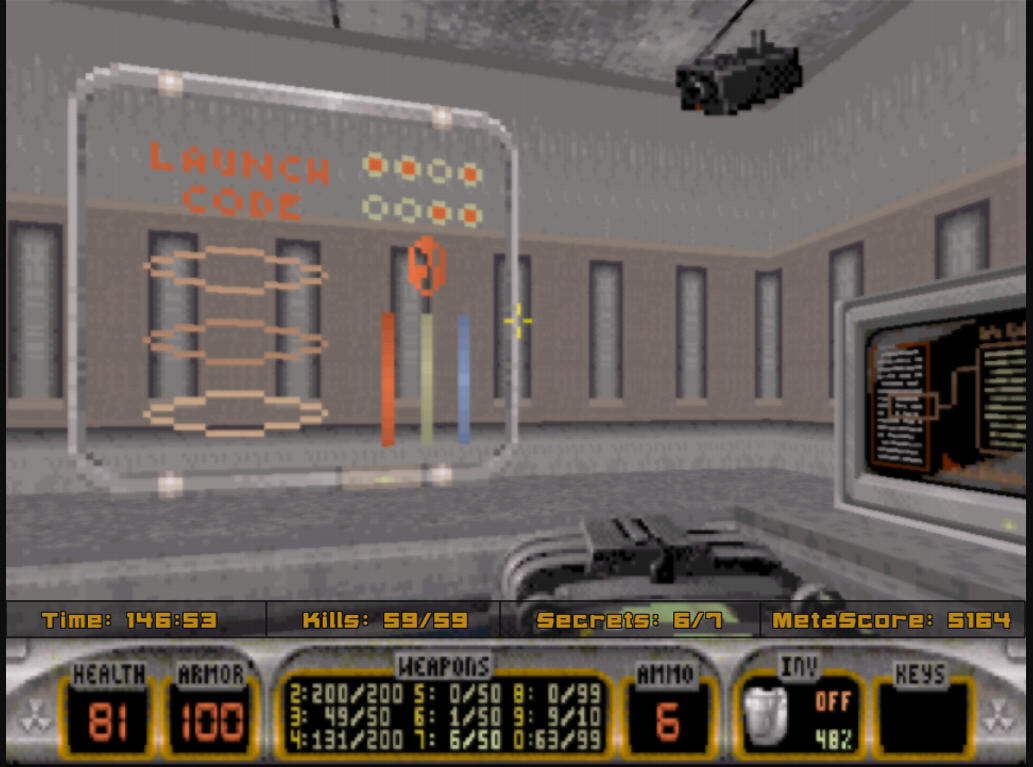
The codes to the switch puzzle were
actually shown to you earlier in the level. Immediately behind
where the yellow key was was a panel that
shows them to you
- most people ignore that and just keep going. But it's the
answer! Here's what you do. The switch with four
positions has these functions in order.
-
Show Left Controls
-
Show Right Controls
-
Show Launch Controls
-
Close All
Flip the switch the first time, and
it will show you the left set of controls, which you need to make
look like this:
Flip the switch a second time, and it
will show you the right set of controls, which you need to make look
like this:
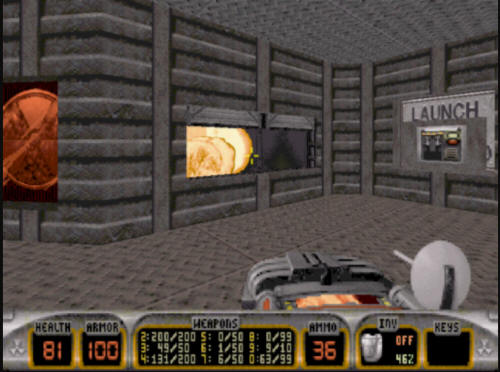
Flip the switch a third time, and the
buttons will lower into the table, revealing launch switches on both
ends of the hallways. They look like this:
If you do not do the switch combinations
right, you will instead of seeing the switch see a message that says
"Launch Codes Required", in which case you need to do the switch
puzzle again. Once the switches are revealed, go flip
both of them, and both rockets will launch.
Once you launch both of them, a panel
will open up in the wall, revealing the level exit.
Hitting the exit and be taken to Level 7,
"Going Postal". |


