Duke Nukem 3D Walkthrough


Spaceport
Episode 2, Level 1

[ Previous | Next | Main ]

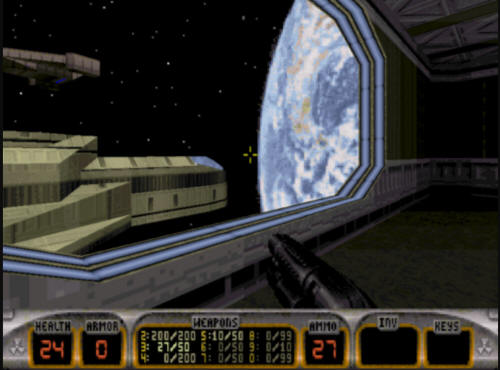
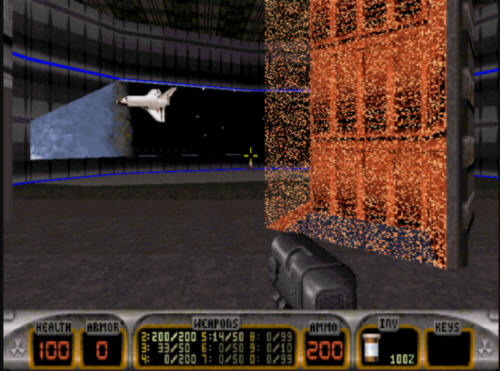
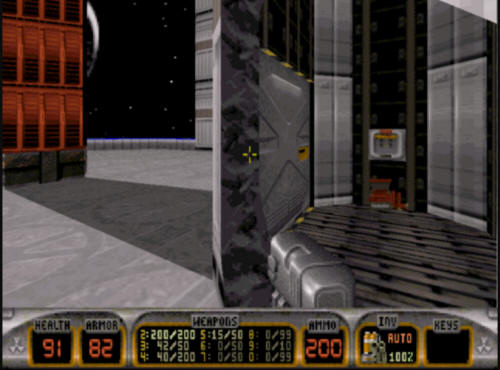
Spaceport starts out with Duke looking out the window of a Space Station.    From this point, you can turn around, and there is a teleport behind you.  Using it will take you inside a spaceship (Duke's?) where you can pick up an RPG.  This is especially useful if you are starting a new game from this level, and did not bring any weapons with you from the previous levels.  A word of warning about the window you are looking out.  If you just sit here for an extended period of time, you will eventually get killed by a spaceship that is on an orbit around the station.  It will take shots at you as it flies by, and the flak from those shots will hurt you.


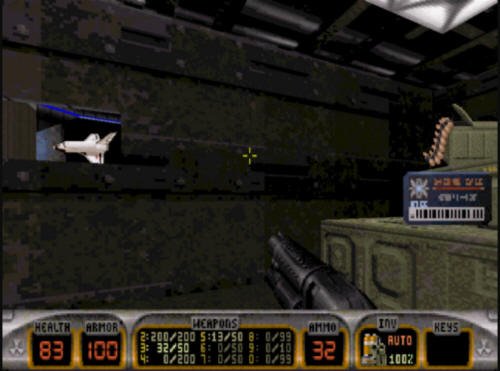
After you pick up the RPG from the spaceship, go back out the teleport, and head forwards past the 
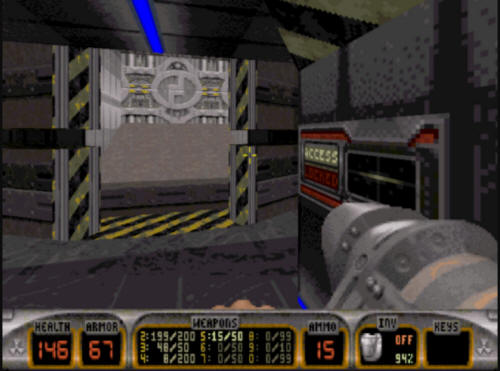
starting point, and take a right.  You will see a door blocked with a forcefield.  The switch for it is around the back of the wall next to a bank of computers guarded by a few lizard troopers.  Take 'em out, and flip the switch to allow you to proceed further.

Once through the forcefield, there is a water fountain which you can use to health up if you need be before progressing further.  Once you're ready, open the door and head into the hallway.  It will lead you to a room with a big vertical forcefield in the middle of the room, and a large window looking out into space.

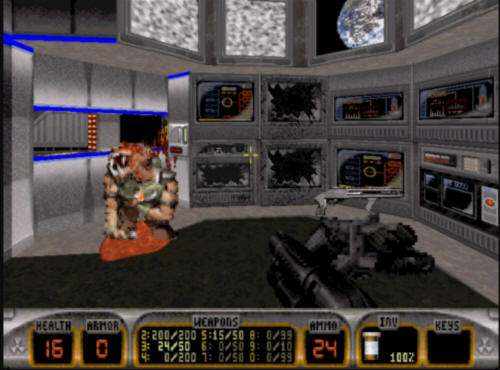
There is a door in the corner of this room that is unlocked you can go 
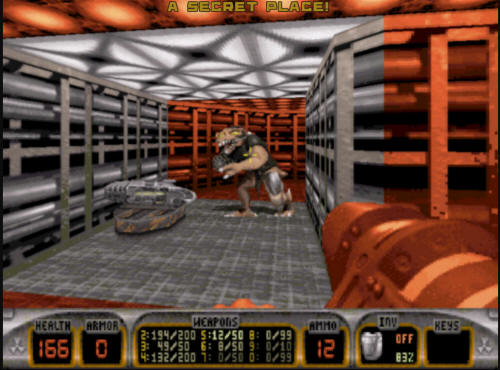
through.  In this room are a few items (scuba gear, medkit), but most importantly the blue key is the back of this room behind some crates.  Also there's an Enforcer in here, so look out, or you'll get blasted in the face.

After collecting the blue key, you need to make your way back to the room you were just in.  At the far end of the room is a raised control tower room.  Use the elevator to get up there and then you can use the blue key.  Doing this will unlock the elevator door at the far end of the room, which had previously been locked.

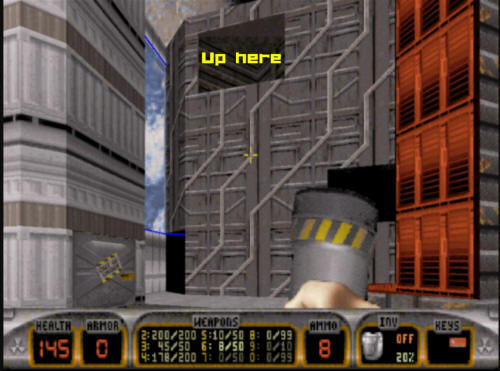
After going through the elevator, you will be left in a large room that has an "outdoor" look to it...   You will see some yellow canisters at the far end of the room - shoot them, as they will open up an area you need to be in to progress further.   As you move around in the room, you will attract the attention of several Enforcers, so make sure they don't take you by surprise.  The exploding barrels will open up a wall on the backside of an elevator shaft that has an "Out of 
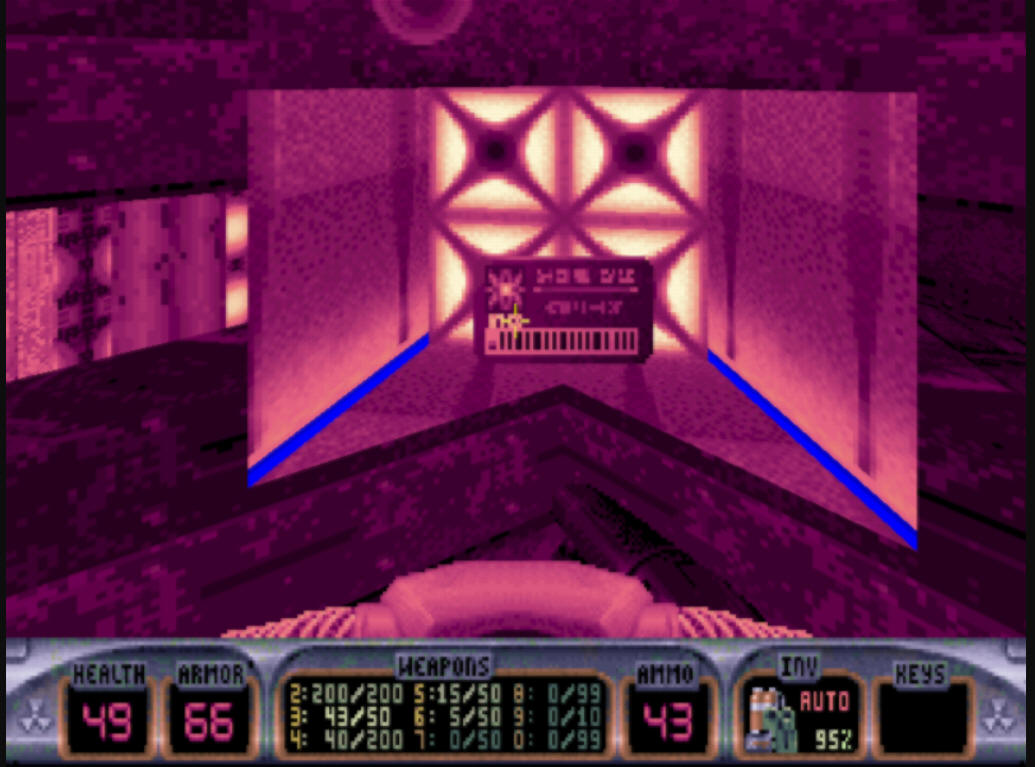
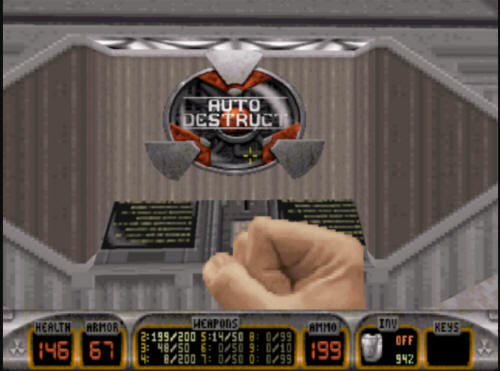
Order" sign on it.  Inside the elevator shaft is a switch.

Going into the elevator shaft at all will cause a few more Enforcers to spawn behind you, trapping you in the shaft - be ready.   Flipping the switch will open a 
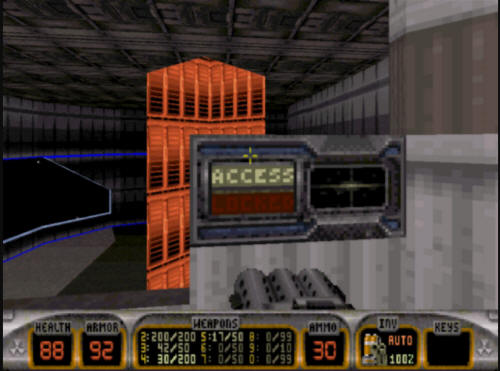
closed control panel that you will need access to in the next
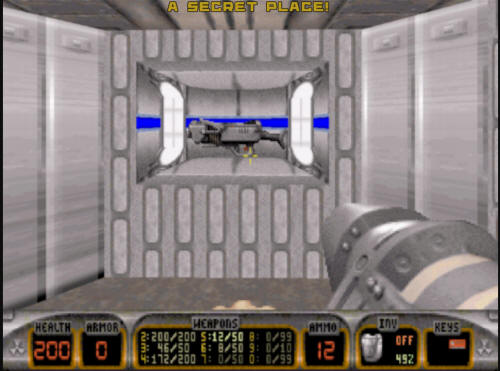
 picture.

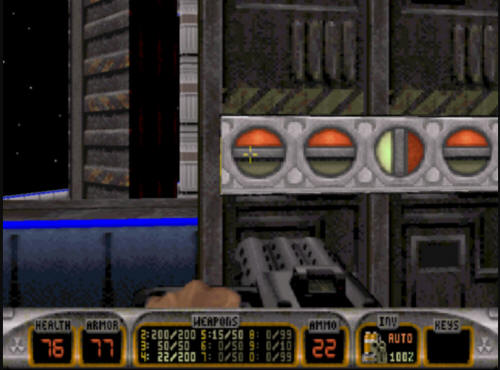
The control panel shown above is what is opened up from the switch in the last step.  This control panel will turn off the red forcefield around the vertical drop you can see out of the window.   The proper combination you need to turn off the forcefield is shown in the screenshot here.  There is no "unlocked" message that comes up for this, you have to look out the window at the forcefield, and see that it is off.   Once it is off, jump in there - you fall a ways, but land in water, so you won't take any damage.

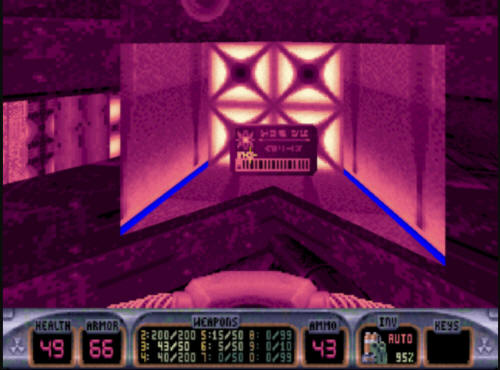
In the water area at the bottom is the red key, which you will need to use to unlock the final door at the end of the level.   Also down here is a button on the other side of the room.  If you push it, a small compartment will be opened up where you can collect a couple of Atomic healths and a jetpack.  The jetpack is immediately useful, as you can use it to go back up the tube you fell in to get back where you were when you jumped in.   You can just surface here, and make your way back through the elevators, but the jetpack is faster.

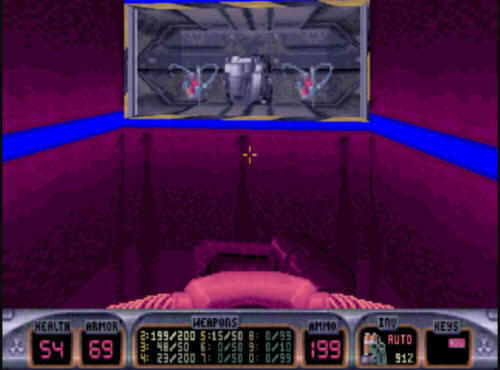
Once you reach the spot you were at before you jumped in, you need to make your way through a door on the opposite wall of the switch puzzle from earlier in the level.   Going through here will lead you to the red switch.  Use the key on it, then two large circular doors will open, revealing the end of the level.

Going through the two doors in front of you will reveal the end of the level.

Hit the exit, and you're on to Level 2, "Incubator".


Spaceport Secrets

Spaceport contains six secrets in all.  The secrets can generally be retrieved in any order, you are not bound to the order shown here, but a few of them are so closely related, it's probably easiest to just use the order here.  These are the areas that are recognized as secrets by the game.  There are a few other areas that are not recognized by the game as secrets.  This secrets area will only show the "true" secrets in the level.

Secret #1: Secure RPG Ammo

The first secret you encounter is right at the start of the level.  When you come out of the spaceship, turn left instead of turning right.  You will see a security screen at the end of a rather narrow passageway.   If you go stand next to the screen you will trigger a door.  You don't need to use the screen to do this, just stand there.  If you turn around quickly, you will see a newly opened area on the far wall.  Move quickly, and jump up there to grab the RPG ammo and the first secret.  If you wait too long, the door will close, but you can go back to the security monitor to open it up again.

Secret #2: Fake Bank of Computers

The second secret also occurs fairly early on in the level.  In the area right next to the switch which lowers the first forcefield is a bank of computers.   The second one from the left is the fake one.  If you "use" that bank of computers, a secret area will be revealed.  Back there is a lizard trooper and an Atomic health.  Go in there and grab the Atomic health for secret number two.

Secret #3: Jumping in the ducts

The third secret is in the room where the blue key is.   Once you collect the blue key, you'll see there is a vent at the far end of the room, about halfway up the wall.  Assuming you haven't already blown out the vent via combat with the Enforcer that was in here, do that now.  Once you do, jump into the vent.  It will lead you down a path which appears to be a dead end.  However, if you jump up, you will land on a small ledge.  From that ledge, you can jump up a second time and be taken to another path of vents.  This will give you the third secret (as well as some pipebombs).   From here, you can either go back the way you came, or if you go forward, you will jump out into a hallway you previously had been to in the level.

Secret #4: Devastatingly way up high weapon placement

When you are at the bottom of the water where the red key is, make sure and get the jetpack, as this next secret requires the use of it.  Fly up, but keep going upwards.  Going all the way to the top of the shaft will reveal a small observation tower where a few objects are, but that is not the secret.  Right below that in the shaft is a room where an enforcer is all the way to one side.  Take him out, and in that room is a Devastator weapon.  Going to collect the weapon will give you Secret #4.

Secret #5: Big fallen room

Secret #5 is a secret that is time based, and requires you to visit multiple locations.  If you don't do it fast enough, you will miss the open door elsewhere in the level, and will have to repeat this.   First off, make you way to the large "outer" room where the exploding yellow canisters were earlier.   You will see several ledges in the wall.  You will need to jetpack up to the highest one (shown here). 

Once you get up there and collect the Atomic health, you will hear the sound of a door opening.  This is elsewhere in the level.  To get to this door, you need to jump into the shaft, falling all the way to the bottom.  Quickly surface, and inbetween the elevator and the door in this room, a secret will have opened up.

Go inside this room for the fifth secret and some ripper ammo.

Secret #6: Shrinker time!

Right in front of the area where the red key lock is, you will see a well lit section of floor.  If you stand on this section of floor and "use" it, the floor will lower into a hidden room.  Come off the elevator and enter the small circular room to be credited for the sixth and final secret of the level.   In this area is an Enforcer and one of the most fun weapons in any game ever, the shrinker.   Come back up the elevator to finish the level.   There is also an alternate path out of this room via ducts, but no further secrets are gained by going there - it is primarily a path designed for Dukematch play.

[ Previous | Next | Main ]