|
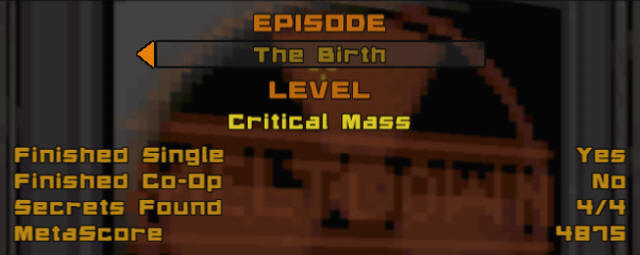
Critical Mass
Episode 4, Level 9
[ Previous
| Next | Main ]
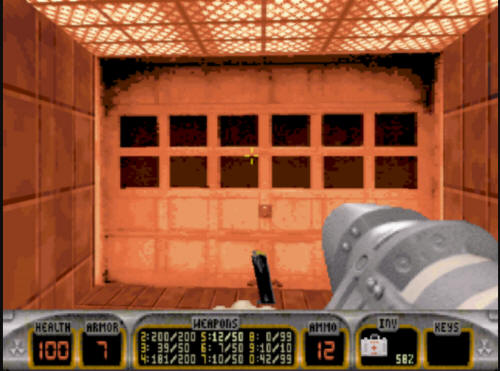
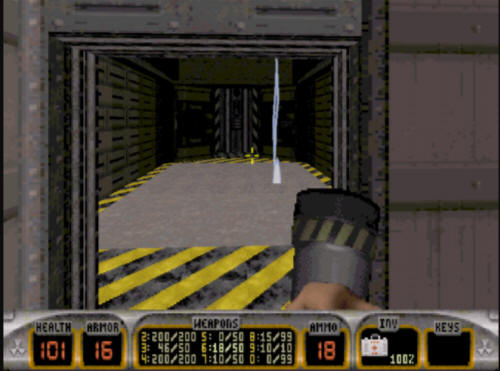
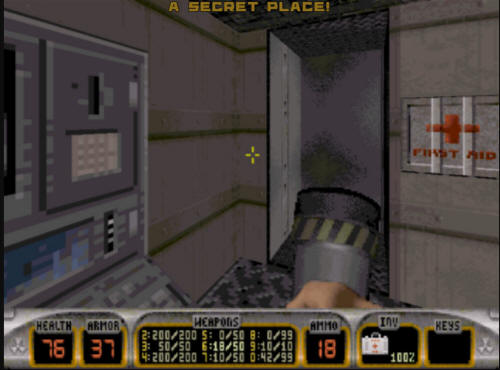
Critical Mass starts off inside a
garage, similar to the way XXX-Stacy ended. When you open the
garage, you will be attacked by a Pig Cop Tank, which you will have
to dispose of before entering the building.
After the tank is gone, head over to the
right hand door, and you will see an operational switch (there's
another here that is broken). Use the switch, and the garage
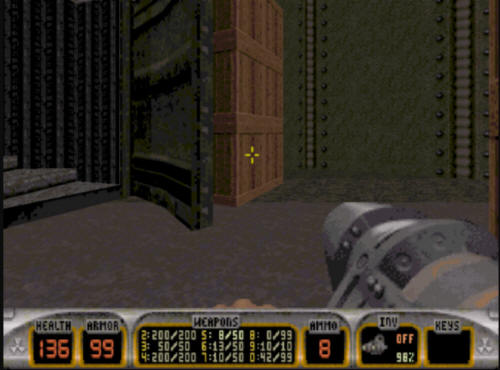
door will open, revealing a large room with plenty of.. wait
for it... CRATES!
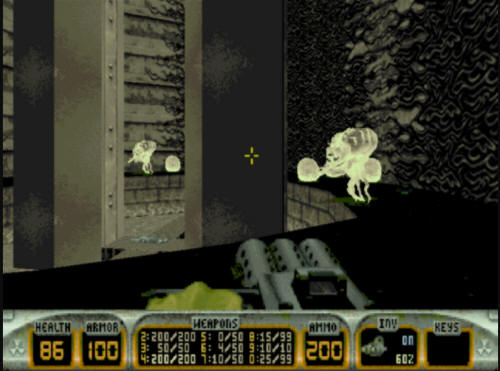
Once you have gotten rid of the couple
of Enforcers in this room, you can hop around on top of the crates
for several items that will be useful (health, ammo, etc).
When you've finished, make your way up the spiral stairs in the
middle of the room.
Special Xbox 360
Cooperative Note:
When we were developing the Xbox LIVE
Arcade version of Duke 3D, one of the things we looked at in detail
was co-operative play. More specifically, whether or not the
original level construction would leave you stuck with no way out.
We spent a lot of time looking for this, and found only one place
where this was possible. It was in Critical Mass with the
spiral stairs shown here. During the normal single player
path, going up the spiral staircase would cause them (and the room
at the top) to collapse, leaving you with no way to get back.
This is a non issue in single player, but in Co-Op play, we
discovered a problem.
In Co-Op, if you got past the collapsing
stairs, and then died, you would get taken back to the start of the
level. The problem with that is that now the stairs are
already collapsed, and you were stuck - there was no way to get past
the stairs in Co-Op.
We examined the map data, and discovered
that in Dukematch play, this map had special map data so that when
the stairs were down, there was a way around. In Dukematch,
there is a switch on the wall that was not there in single player or
Co-Op originally which would open up a teleport and let you bypass
the collapsed stairs. The decision was made to alter the
original map data for this instance. We changed the map
so that when you played Co-Op, this teleport was also available to
you. It is NOT available in single player, and this is the
only instance in the entire game when we went back and changed
existing map structure for the Xbox LIVE Arcade version.
Otherwise you'd get stuck.

Getting back to the walkthrough..
Go up the spiral stairs. This will put you in a room that as
you start moving around, will collapse.
You will need to move quickly to the far
end of the room where there is a small area you can wait out the
collapse.

Once the room has fully collapsed, two
doors will open up on either side of you releasing a Protector Drone
from the right side one. After you deal with him, make
your way to the left room where you will see a small vent on the
floor. Kick it out, and jump in.
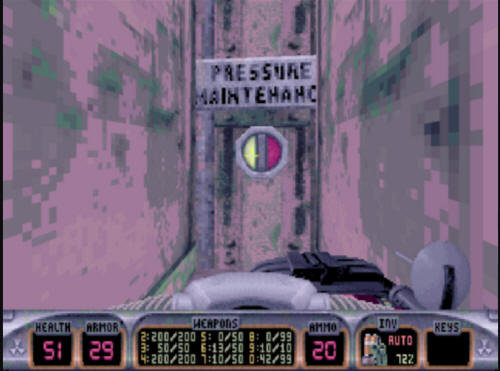
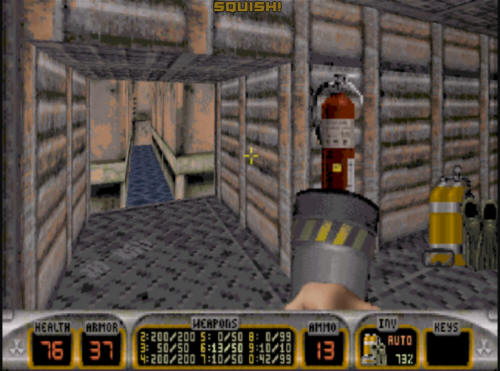
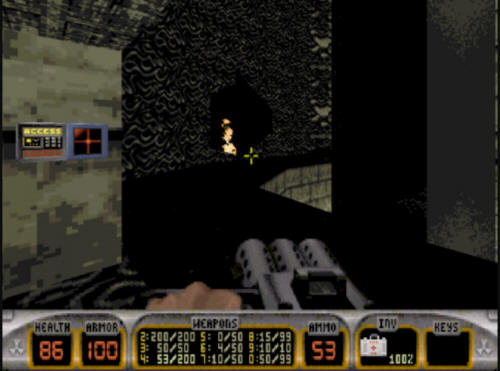
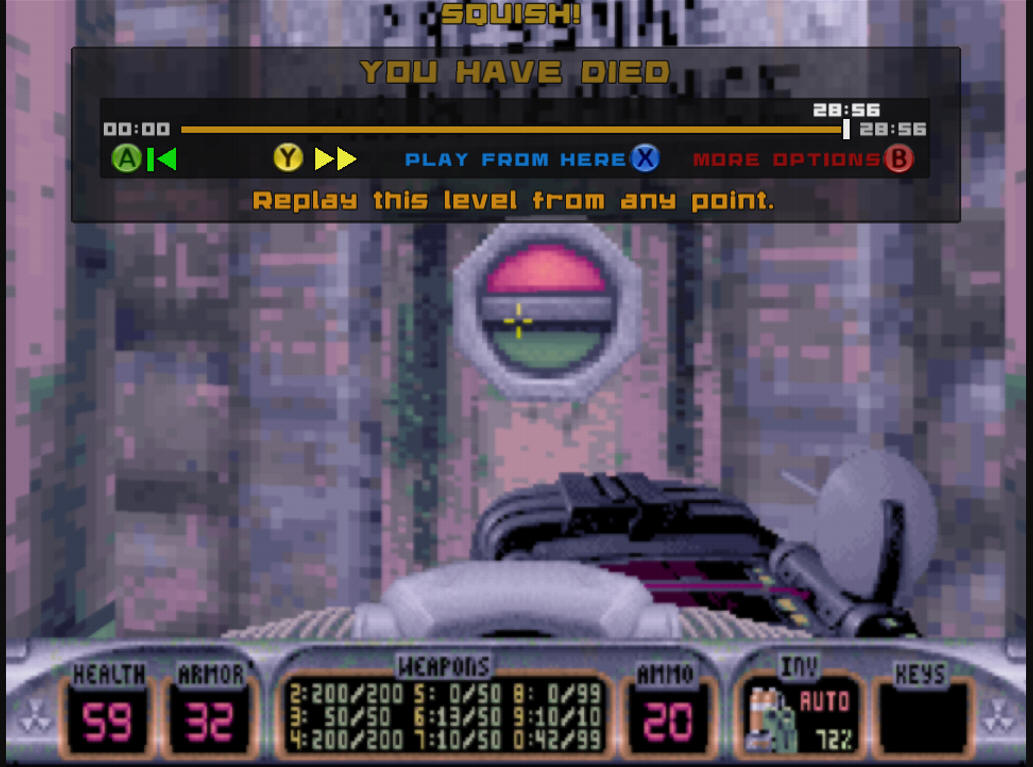
When you go into the grate, you will
fall into a trash compactor with water in it. This is
reminiscent of a similar scene from the original
Star Wars movie. You have to go under the water, and
find a switch marked "Pressure Maintenance", flip it, and this will
allow you to use an exit door. Of course, you have to do all
this before you get squashed (which
did happen to me
in trying to take this screenshot):
After you get out of the compactor room,
you are in a small hallway. Turn around, and there is a metal
door to open with a seemingly boring hallway. Go through the
hallway, and when you get to the other side, the two walls will open
up, revealing several enemies you have to take out. Do so.
The next room after this one has more or
less the same trap. Go in the room, and the walls will raise,
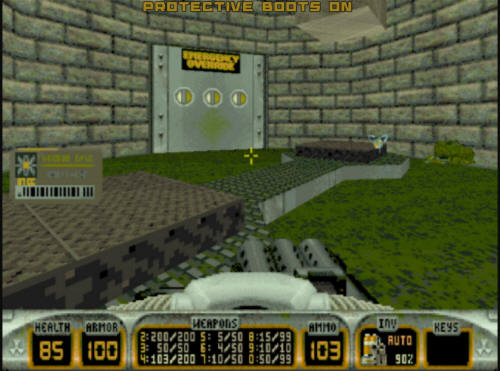
revealing more protector drones. This room however will cause
you damage if you don't have boots on due to the floor (and the
lightning). These doors do not stay open, they will close
again, but there is a switch in here you can use to open them up if
you need to go in and get the items (like boots).
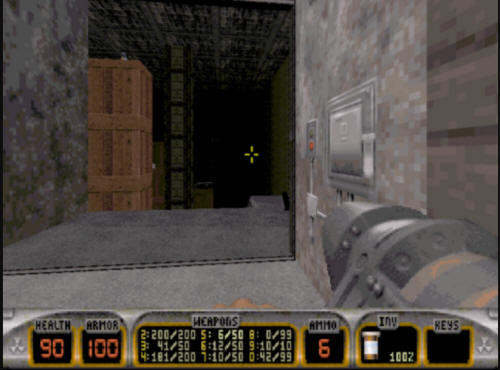
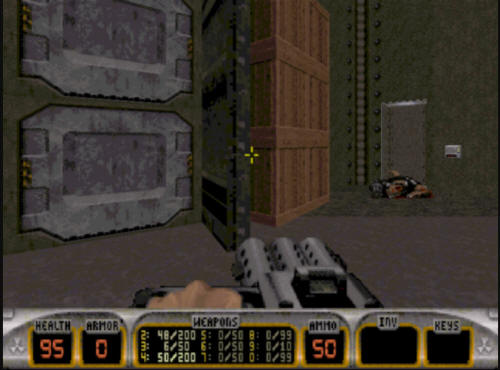
Take the elevator up on the other side
of this room, and it will leave you in a room of boxes, with a few
Pig Cops. Take out the pig cops, and collect the various items
in the room. Once you have done that, there is a switch next
to a closed door. throw the switch and make your way through
the door.

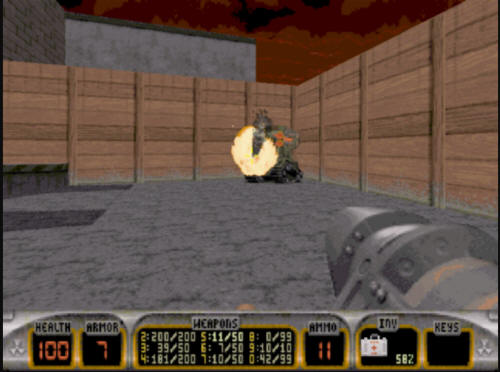
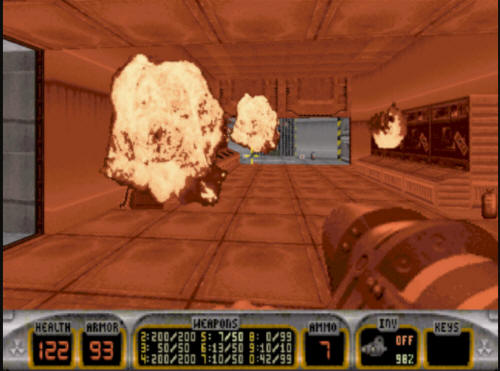
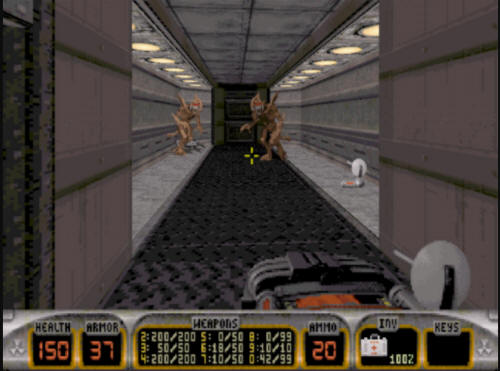
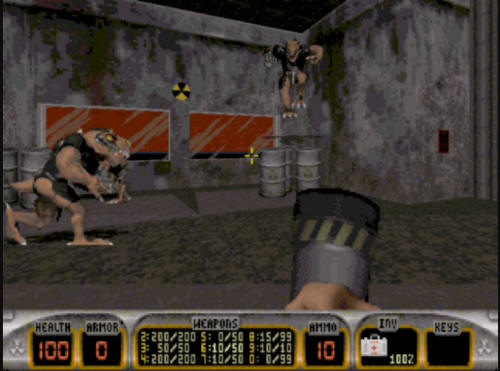
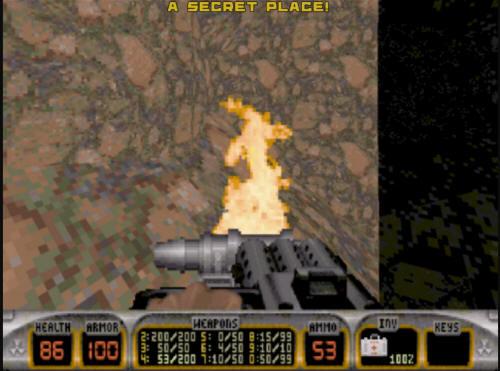
Once you are through the door, you will
see a section with several barrels and several Enforcers.
If you see the screenshot below, then it is probably too late, they
will be on you. However, if you make your way through the
door, and throw a pipebomb around the corner, it can help take out a
few before they're all on you at once.
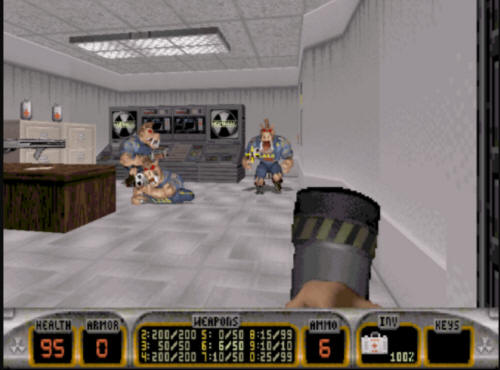
After the Enforcers are gone, go into
the silver door just to the left of where they are, and you will see
several Pig Cops. A single pipebomb in the middle of them will
take them all out.
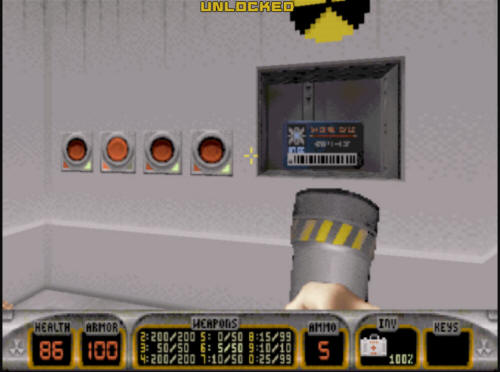
After the Pig Cops are gone, stay in the
room where they were, as there is a key to get. There is a
switch puzzle on the wall, which, when completed will reveal the
blue key. The proper combination on the puzzle is to hit the
first, third, and fourth switches, leaving the second one alone.
This will unlock the small door next to the puzzle, where the key
is.
Take the blue key, and head to the large
doors that are locked with the blue key. This area is
extremely dark, and if you have night vision goggles, it would
probably a good idea to turn them on right before you open the
doors. There are Octabrains and slimer eggs aplenty in
here. Take them out, as there's a few things to do in
here, and it is a lot easier without facehuggers bothering you all
the time.
Once you are done clearing out the room,
submerge in the water, and look around for a switch puzzle.
It's not really much of a puzzle, more like three switches.
Flip all three, and the pillars in the water here with you will
rise, revealing an Atomic health, and a yellow key. It will
also keep the level shaking for the rest of the time you spend in it
- the reason for that will be evidenced at the end.
Once you grab the key, surface, and make
your way back out of the generator room, taking a right down to the
yellow key door. Use the key and unlock the door,
revealing more enemies to fight.
A special note again about Co-Op.
Due to the nature of the way this level ends, an additional exit is
stuck at the end of this hallway in Co-Op (in PC & 360 modes).
The Co-Op note above is only for the 360 version, but this one will
let you end the level here due to the unique way this level ends.
This door is immediately to the right of the locked red key door
(which you don't actually need to do in Co-Op if you don't want to).

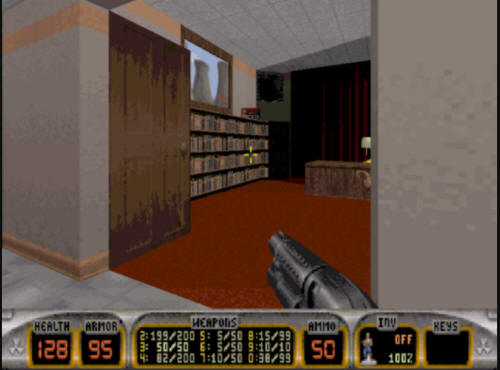
Once you've gotten rid of the latest
batch of resistance, make your way down to the end of the hallway,
where a large wooden door is. Open it, and it will reveal an
office, with the red key on top of a bookshelf. Go in there
and grab it.
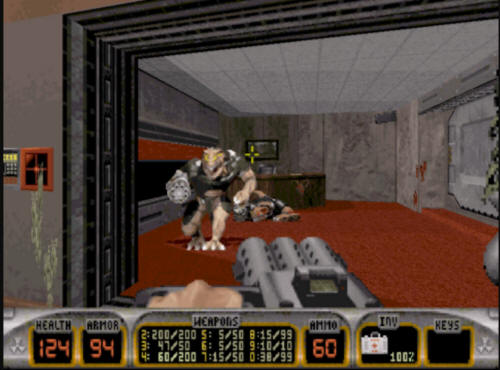
You don't have to go far to use the red
key, the door for it is right next to the office here. Open up
this room and head in, taking out anyone that might be inside.
Once you come into this room, the other
door will try to open, but will only open a little bit. When
you go outside, you will find out the reason for the shaking - the
entire building will collapse behind you!
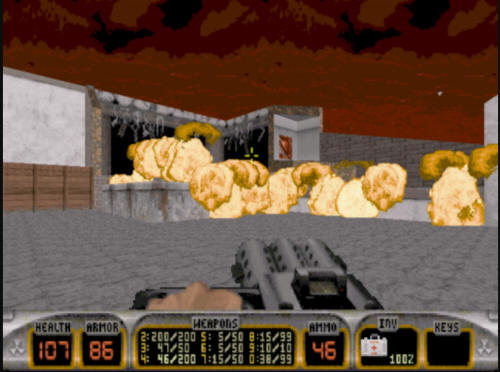
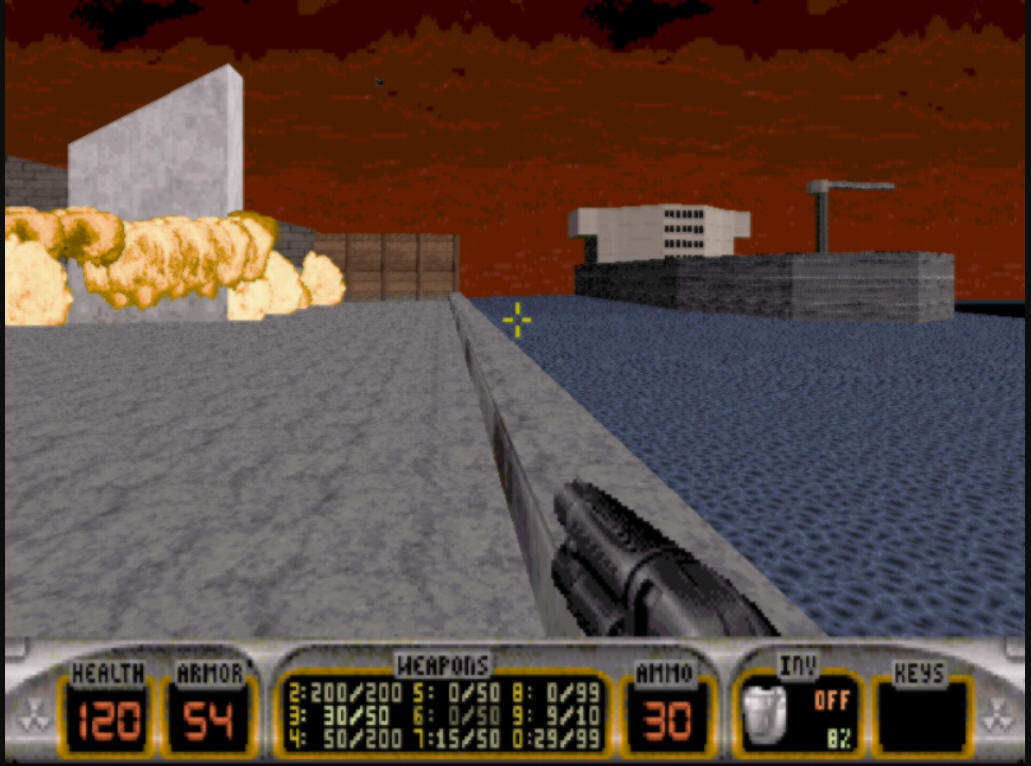
Once the building is totally down, you
can explore the rubble for some health, but you cannot get back into
the building (hence the Co-Op note a few steps above). Also,
if you look off into the distance from here, you can see what
appears to be a boat -
this is actually the
boat from the next level in the game. Once you are done
looking around up here, hop up the rubble to the end level switch.
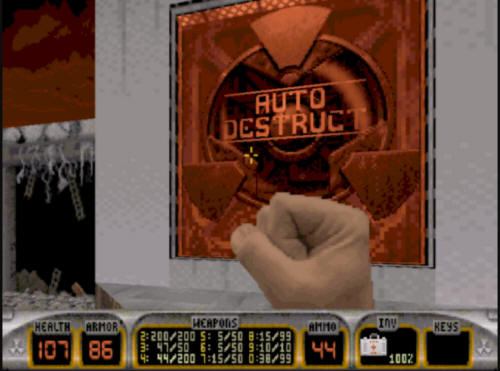
Hitting the exit and be taken to Level
10,
"Derelict". |


