|
Toxic Dump
Episode 1, Level
4
[ Previous | Next |
Main ]
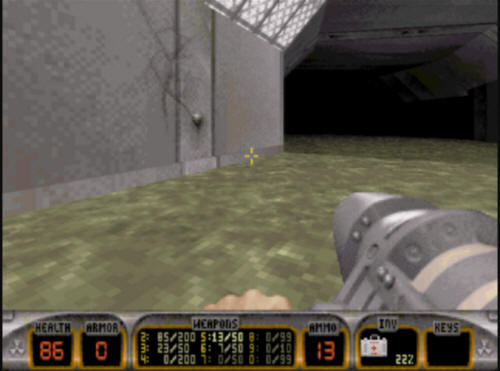
Toxic Dump starts off inside the same
submarine you ended the last level in. Except now that it has
been attacked and is sinking - the water is rising in the cabin you
are in. You can't actually drown; the cabin will fill up, but
you can float where there's air. When you're done
pretending to be an apple, you can submerge, which is the only way
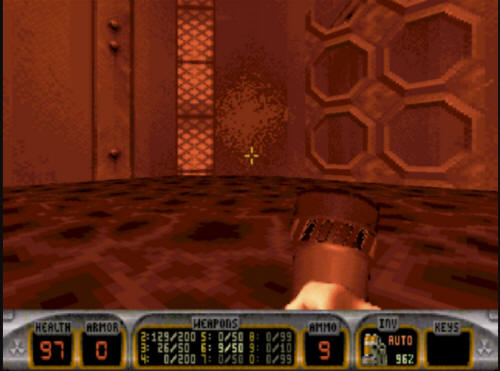
out. You will see a puzzle on the wall with switches.
You will need to flip the top and bottom switch to unlock a door in
the sub. You will hear a click - and if you turn around, you
will see a door opening with the way out.
You can drown down here, so you don't
want to dawdle a lot. If you're underwater too long, you will
start losing health, and you will need to come up for air at some
point. To help counteract this, when you exit the sub, instead
of going straight to the surface, go down to the floor. Behind
some seaweed is a set of scuba gear which will help you breathe
underwater. This is good, as a decent percentage of this level
is underwater.
When you get to the surface, you will be
shot at by a couple of turrets on the building next to the water.
You'll want to take them out (it is helpful if you've brought a
rocket launcher from the previous level), otherwise you'll be shot
at the whole time you are out here until you get inside the
building. The building is not where you want to go yet - as
there is a locked door there. You'll want to turn around, and
go up into a hole in the wall near the water. Follow that
path, until you come out on top and you can see out on top of the
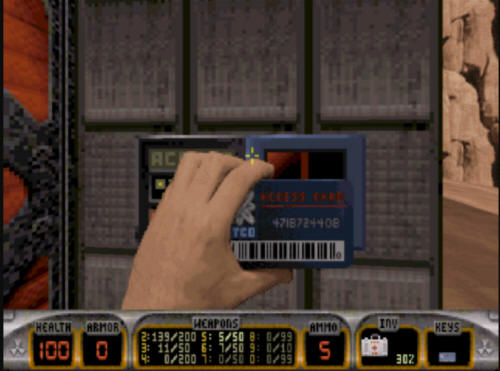
boat. From here you can grab the blue key which you will need
to get inside the building.
A word of warning about the blue key.
Once you take it, don't sit there admiring the view, as two turrets
will appear on either side of the position you are standing in and
will start shooting at you. While you are up here, you should
definitely get the rocket launcher - it will be helpful shortly.
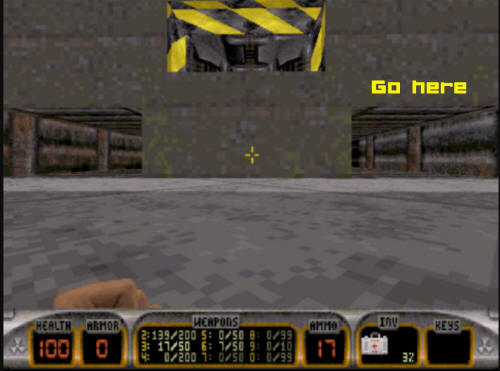
After getting the blue key, you will jump down off the ledge and
head to the locked blue door on the building in front of you.
As you come near the building, some lizard troopers will be revealed
in an opening window. You can shoot them if you wish, but you
will need your rocket launcher, so don't waste too much ammo on
them.
Once you get inside the blue door, you
will see a few lizard troopers. Take 'em out. Behind
them is a door behind two laser trip mines. Don't go there,
that door is locked anyway. Take the red door that says hard
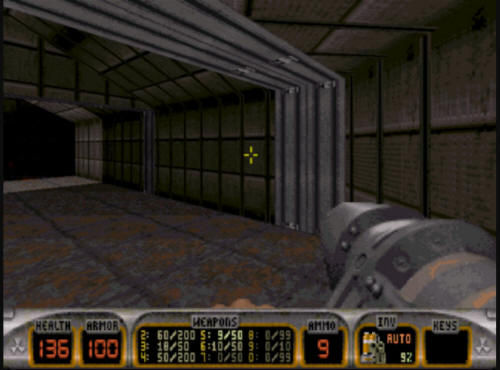
hat area. If you go in here, it will reveal a large room with
a conveyor belt system and an operational crane. The
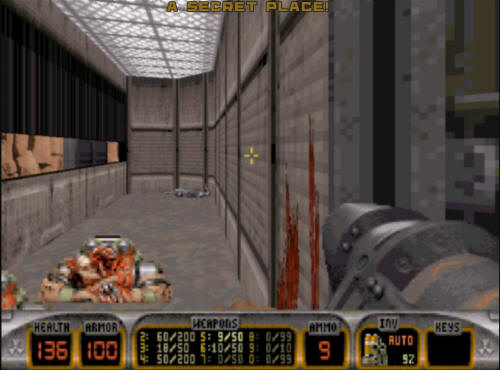
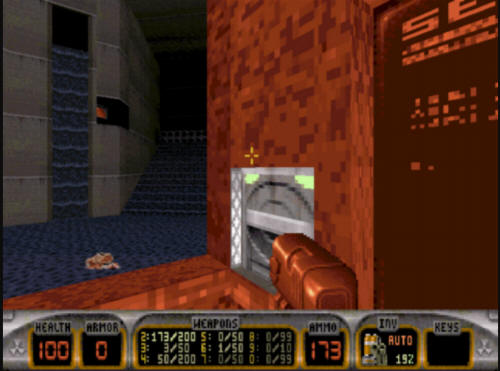
first thing you should do is to take out a laser trip mine. If
you look around in the room, you will see one on the ceiling here:
This trip mine is one of the cheapest
shots in the game - you have to pass straight through it later on in
the level, and most of the time you do not have the health to
survive it. Take it out with a rocket launcher - make sure it
really is gone, because sometimes your shot can miss, and the trip
mine will remain. Once you've taken out the cheap trip
mine, you'll want to take out any pig cops you run into. It's
not necessary, but when you start getting on the conveyor system,
they will start shooting at you; it will make things easier to do
the conveyor with no pig cops around. Once you've done that,
you're going to want to stand on the floor in a specific spot so the
crane can pick you up. Specifically you want to stand on the
black and yellow striped end of the conveyor belt. It does not
matter which way you face. Additionally, you probably do not
want to let one of the canisters get to this spot. The
reason is that if you blow one of them up to make a spot for you to
stand, they will leave a pile of goo where you blew it up, and that
will start hurting you when you stand in it.

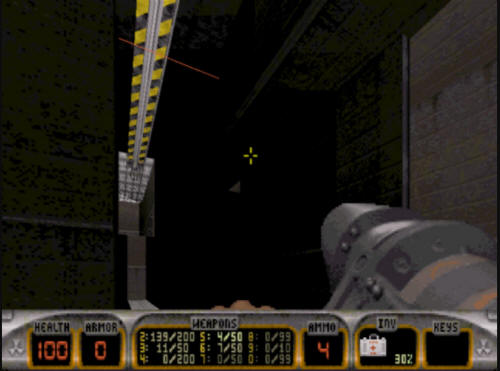
After the crane picks you up, it will
drop you off in a ledge halfway up the wall. There is another
small conveyor on here where you basically need to repeat the same
procedure. After being picked up by this second crane, you
will get taken through the area where the cheap shot trip mine was
earlier. If you did not take it out, it is likely to take you
out. When you are dropped off, you are dropped onto a moving
conveyor again. You will not want to follow this, you will
want to turn around and take out a glass window.
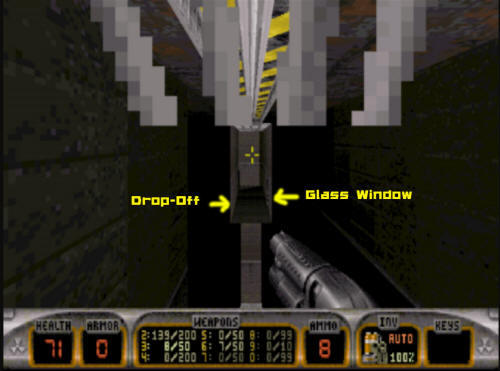
Inside the glass window is a pig cop you
will need to take out, but more importantly behind a small red slot
in the wall is the red key. Take it.
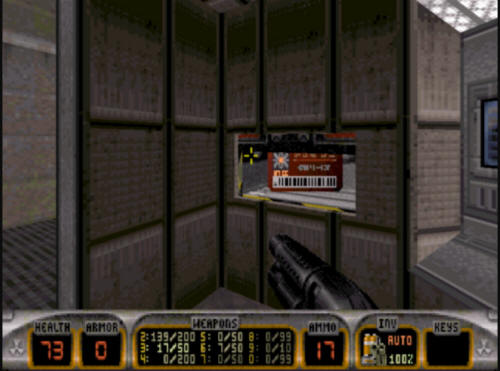
When you get the red key, you can follow
the conveyor belt up, but there's nothing you really need up there
(just some ammo and health). You can head out left and back
down into the large conveyor room. If you haven't already made
it over to the room where the red key is used, you will trigger some
pig cops behind you when you go there. Take them out before
using the red key, as it will make a future part of the level
somewhat easier. When you use the red key, the key slot
will drop, and you will get shot with a shrink ray.
You will want to allow this to happen.
The reason is you get shrunk, and you have to make your way through
small passages on the floor into another room. There is a
small maze in the floor passages however. One rule about
the shrunk passages. DON'T SIT AROUND TOO LONG. When you
expand again, if you're still in the shrunk areas, you will die
immediately. Anyway, when you are first shrunk you will
want to take the right hand opening. Once in there, there's
only one choice of turns to take (it is a simple maze), but MAKE A
RIGHT, and follow the path until you come out in an open room.
Do not take a left at the choice, that's the wrong way.
When you come out into the room, you
will see a lizard trooper on the far end, and you will still be
shunk. Don't go over to the side of the room where the
trooper is, you will get stepped on and killed. Stay on
the far side of the room, the trooper will not come over. When
you expand again, you will need to shoot the trooper. From
that point, there is a switch on the wall that says "Emergency
Lock". Flip that. You will then need to go stand
in front of the other shrinker ray in this room to get back out.

When you head back into the small
passageways, you will be presented with a choice to go straight or
to go left. Do not go straight, take a left, and come out back
into the room where the red key was used. If you do go
straight, there will not be enough time to get out, and you will get
killed when you expand. Once you get back out, you may
have some pig cops to deal with if you did not dispose of them
earlier. You will notice that a previously closed door
is now open. Take it - you will get led into one of the
underwater areas of the level.
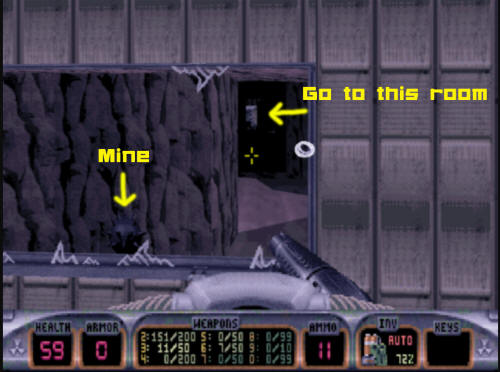
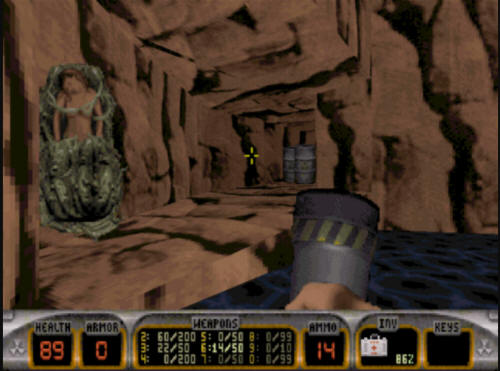
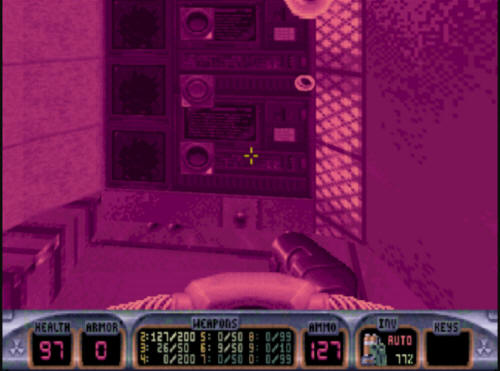
Once underwater, you will come into a
submerged room with a broken out window. You will need to exit
the room (still underwater) to progress. When you do so, you
will want to keep an eye out for several mines scattered in this
area. They're not always easy to see, so keep an eye
out. It is also easy to get confused under here, so you
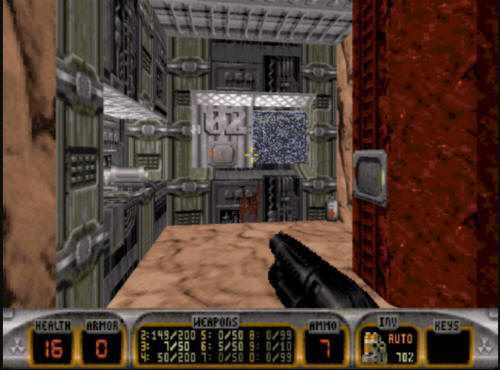
will want to stick to the path. When you exit the first
room, stay right, you will pass a closed door, and then come to a
similar looking room to the one you are currently in (as shown in
the picture above).
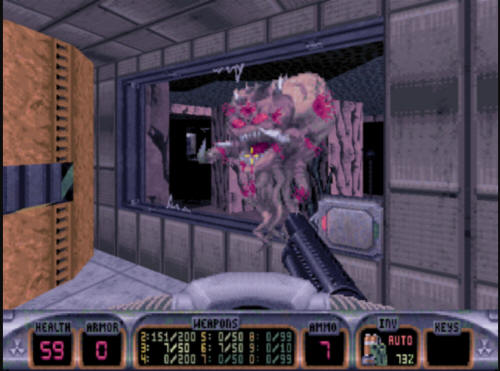
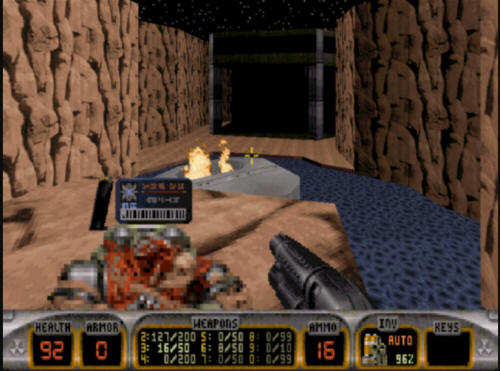
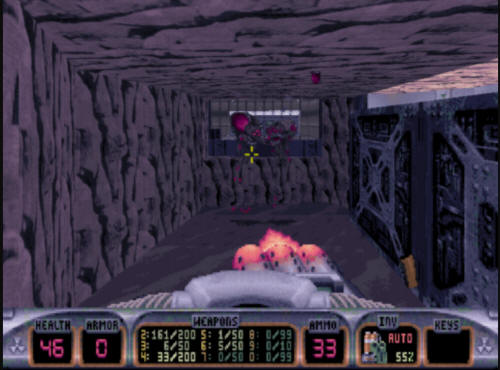
When you get to this room, you will have
to battle an Octabrain or two. Do that, and when you're
finished, push the button shown here. This will raise
the water level in front of you, and allow you to progress into
another area in the level. After pushing the button,
exit the room, and surface in the water. When you
surface, there will be several aliens you will need to get rid of,
as they're in your path. Once you've done that, you will
need to climb up a rock face, and jump over to the other side (see
shot below).
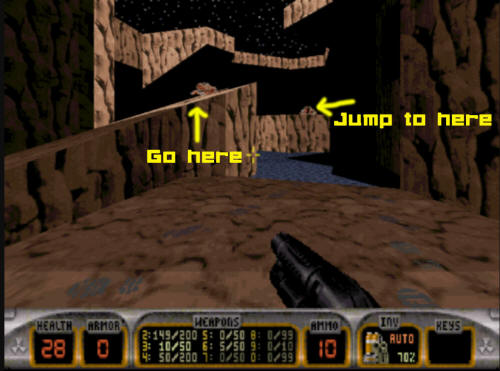
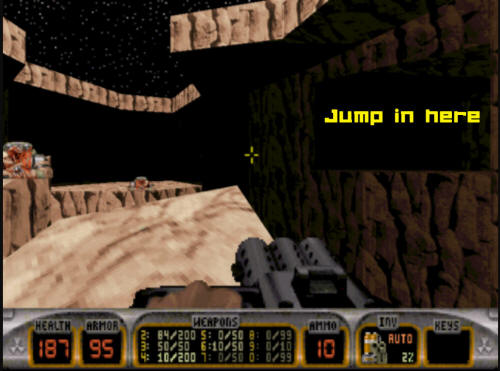
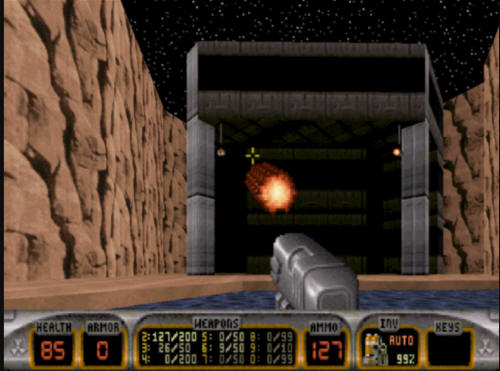
Once you've made the jump, there are a
few more lizard troopers (and maybe an Octabrain) guarding the area
where you need to go, so take them down. Once you've
done that, you will make your way into a small room with a couple of
switches.
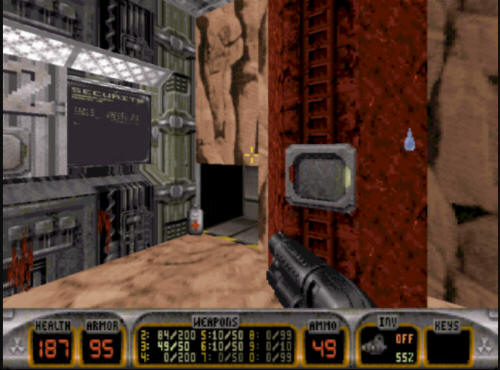
You will want to flip the switch with an
"02" on top of it. Do not flip the switch on the red pillar,
it will lower the water level again. It won't really
hurt you in single player, but if you are playing in Co-Op, it could
prevent your buddies from progressing if they are not far enough
along. Probably best to leave it alone. The "02" switch
will open a previously closed door at the bottom of the underwater
area that was closed when you first went past it. Going
in this door will reveal another similar control room guarded by a
couple of Octrabrains.
Once you make it into the control room,
you will see another switch. Pressing that switch will open
the closed double doors in this room revealing the way out - and oh
yeah. More Octabrains for you to shoot. Behind the
doors is a rotating set of gears. You can try going through
the gears at any time, but you'll get squished if you do not wait
for the right moment. The safe part of the gears is
marked by a blue color. You can get through the gears that
way.
After making it through the gears, you
will come into an area where you can surface from the underwater
area. In this room, you will see a path where the water
goes. Follow it. This path empties into a very
large room. This room has Octabrains all over the place,
so keep an eye out whenever you are doing anything in here.
Once in this area, you will need to make
your way to the control room. This is a small room with a red
light - it can be seen when you first drop into the large room.
Inside this room is a switch you will need to flip. Flipping
this switch opens a door in one of the upper walls of the level.
After flipping the switch you will have
to perform one of the trickier moves of this level. You will
see two large ramps of water running into the large pool of water at
the bottom. There is one that you can go up and get on a ledge
on the right. You will want to go up that ramp, and get on the
ledge. You will see a couple of black pillars and a red button
off to your right.

You will need to get onto the first
black pillar in front of you, then turn and flip the switch (with a
bullet weapon, preferably the pistol). This will start the two
pillars moving towards each other. They will meet in the
middle of the room for a fraction of a second, at which point you
need to move onto the other one. When they return to their
sides of the room, you will be delivered to the other side.
It's quite easy to fall off on the pillar exchange. If you do,
just get back up there and try again. If you have trouble
doing this, and eventually run out of ammo, you're kind of stuck,
unfortunately. Once to the other side, you will have an Octrabrain
or two to take care of in very close quarters. You will see a
small room with a river of sludge leading away.
You will need to get in the river of
sludge to progress. There are walkways along the side if you
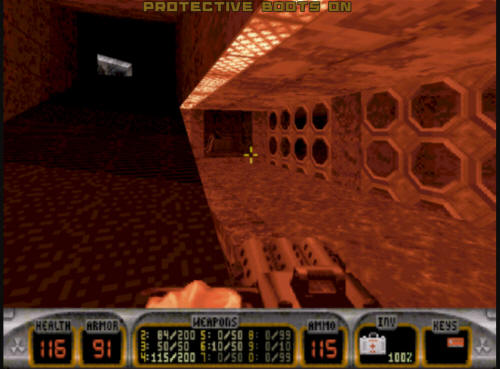
are low on health. Follow the river of sludge - it goes
on for quite awhile. About halfway down there's a room off to
the right with some RPG ammo as well as protective boots if you're
having issues with the slime. There's a ton of Octrabrains
along this path, you can either shoot 'em or run past them.
Your choice. Keep on following the slime until you reach the
end of the level.
NOTE: The way to the secret Level
in Episode 1 is in the river of slime. If you want to see the
way to the secret level, check further down
on this page in the secrets section.
After this level finishes, you're on to
Level 5, "The Abyss", which is a boss
level, and the final level for Episode 1.
|
|