|
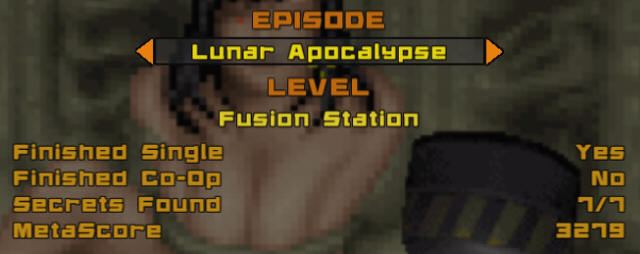
Fusion Station
Episode 2, Level
4
[ Previous |
Next | Main ]
Fusion Station starts in a closed off
green color room. This level, despite it's large size is
actually fairly linear. There's not a lot of choice in where
you can go here. There's a lot of combat, and several places
where you have to shoot switches from a distance, but it's fairly
straightforward, if rather lacking in the "short" department. ;)
Going forward, you need to make your way through several rather dark
passageways. If you have the night vision goggles, they
are a huge help here. You will eventually end up in a
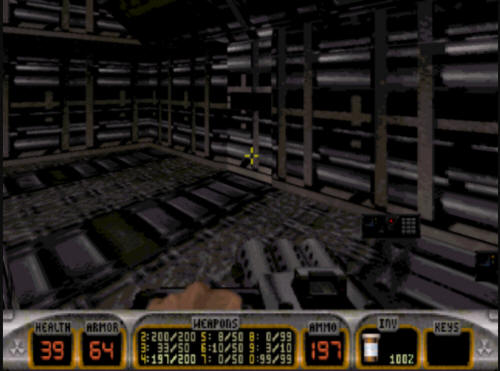
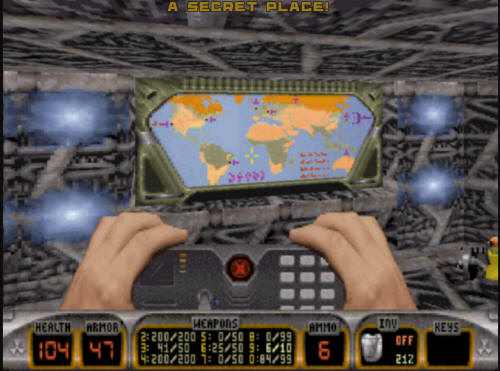
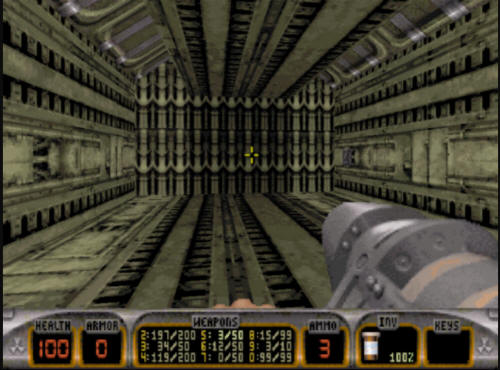
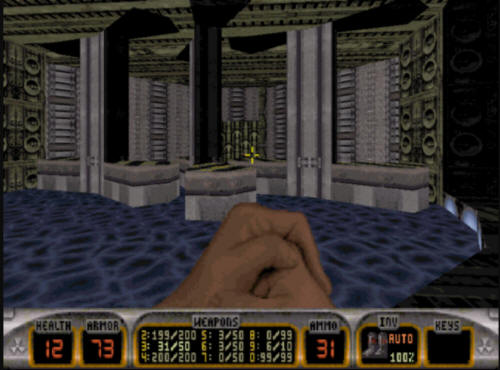
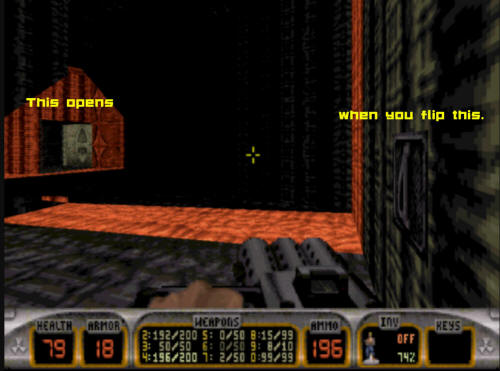
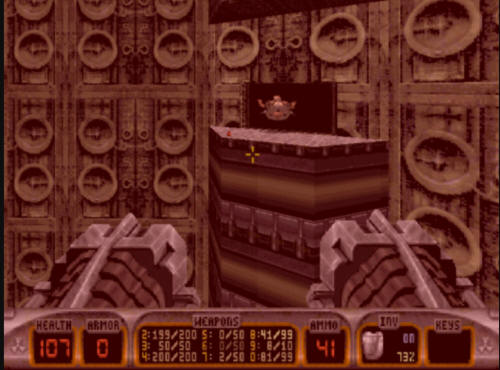
room with a window looking outside and an RPG. It looks like
the picture below.
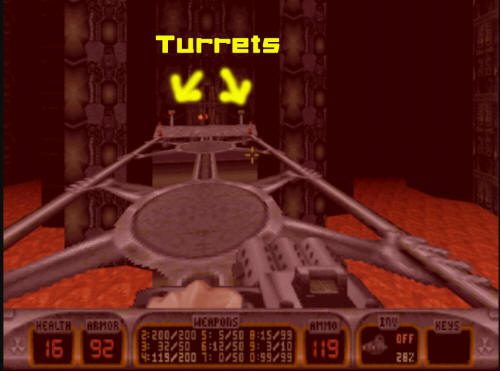
After you clear out this room, you will
flip the switch, and it will reveal another door. That second
door leads to the outside where you will immediately be shot at by a
couple of turrets on a platform. You will want to take out
these turrets (and any others you encounter in the level), as they
will shoot at you until you shoot them. Once you shoot
them, make your way through the door that is between them.
Open it, and take the elevator down.
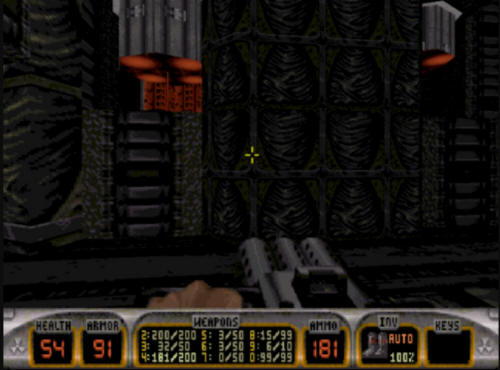
Once down there, you will encounter
several areas of close combat, usually with Enforcers, so be
prepared. Once down there, you will encounter several pillars
going up and down into a raised section. The next
section requires you go go into the pillar area, so it is quite easy
to get squashed.
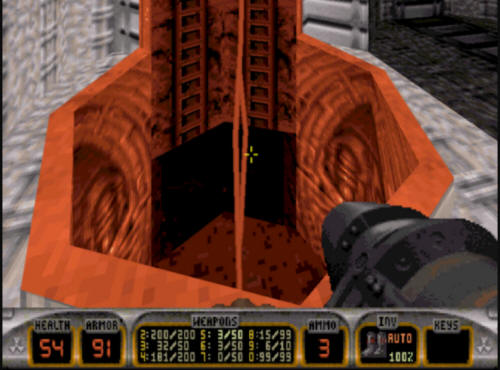
There are several pillar areas in this room, the right one you want is
the first one you will encounter upon entering this room from the
elevator above. There is a small passageway at the bottom, you
need to make your way in here.
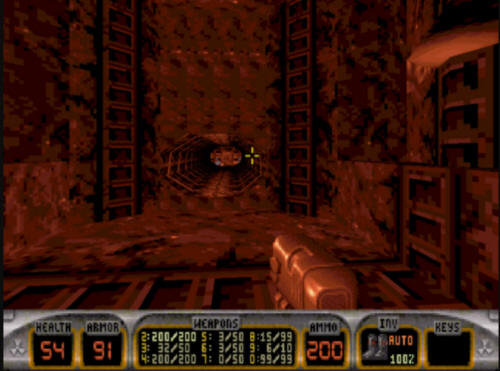
Once down here, you will see a passageway on the floor. You
need to crouch to see it. You will see a switch at the far end of
the tunnel. You cannot get down here on your own, but you
can shoot the switch from here. Doing this will open a door, which
is your way out of the room you are in.
After you flip the switch, it will reveal an elevator that was
previously not there. Make your way out of this area, and
head to the elevator, and take it up. You will end up in a room
with a couple of rotating pillars (that kind of looks like a water
generator). The next place you need to be is underwater in this
room.
Once underwater, you will find some
switches on either side of the room. You need to flip
both of them, and some small sections will raise right above the
switches. This will show you that something has opened above
the water has changed. Once you've flipped both switches,
surface in the water.

A door will have opened at the far end
of the room with several Enforcers to deal with. After you've
done that, you will want to take the newly available elevator.
The elevator will leave you on a ledge
where several lizard troopers from the other side of a large chasm.
You will want to take out the lizard troopers, as you will have to
make a precision move, and their shooting at you won't help at all.
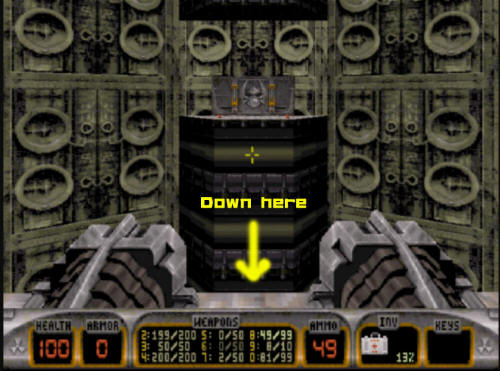
Once you've dealt with them, you will need to shoot the red button.
It will move a small section of flooring over to where you are.
You will need to step out on this section, and then shoot the red
button again. It will move the platform (and you) to the
other side. Once over, go through the door, and there
will be several rooms here with a lot of slimer eggs.
Use your pipebombs in here quickly, or you will be swimming in a sea
of slimers fairly quickly. Once you get through with all the
slimers, there is a door in the back side of the room which leads
into the next hallway. Going into this hallway will
trigger a big explosion, so you will want to set it off, and then
back out. Once the explosion has subsided, you can then
proceed through the hallway.
There is a second hallway after this one with the same kind of explosion
that you will need to trigger and be careful not to get in the way of.
After the second exploding hallway, you
will find another elevator to take. Take the elevator
up, and you will be left off in a darkened room with red lighting.
Going into the room will trigger an explosion on the far side of the
room. Some aliens will appear, once you dispose of them,
you can pick up the

After the combat has died down, you will
find a green door, and a switch. These are connected.
The way out is the green door, and you open it with the switch, but
it is another timed switch. If you take too long to get out
the door, it will close, forcing you to open it again.
After getting through the green door,
you will be left on another ledge similar to one from earlier in the
game. There are several troopers on the other side you
can see in the windows who will be shooting at you. It
is in your best interest to take them out now.
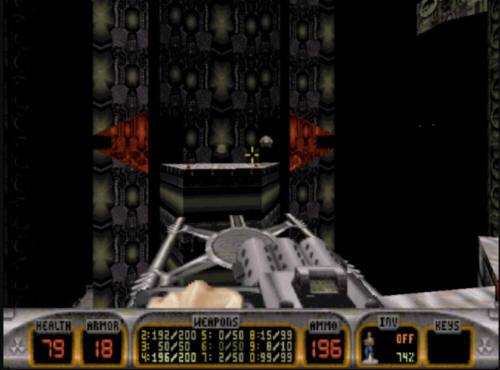
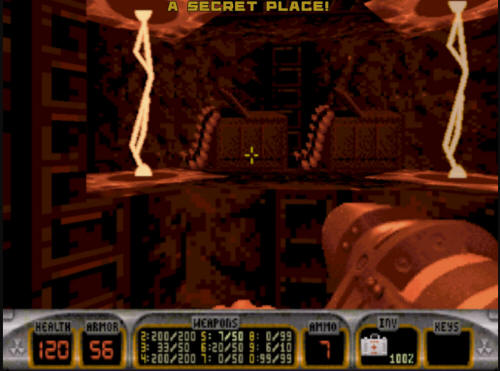
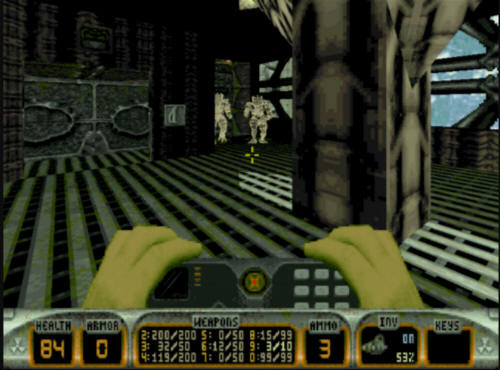
After you've taken out the troopers, you
will need to step out on the platform you see in the shot above.
Shoot the switch on the other side to be delivered to that side of
the chasm. Go around the back side of the wall, and you will
see a large room where you will be attacked by several enemies.
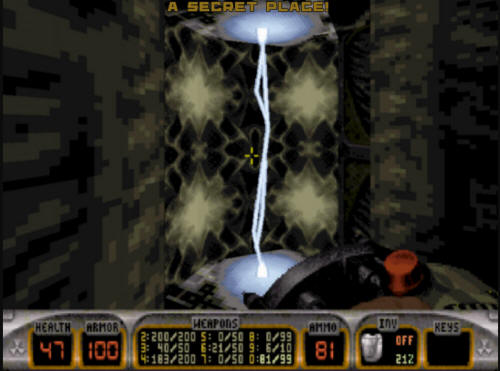
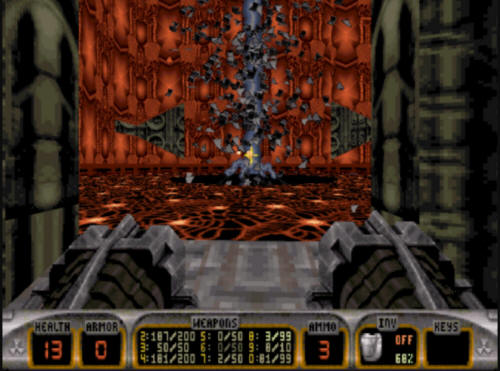
Going into this room will trigger the central column to drop,
revealing a column of energy. After dealing with
whatever enemies are left in this room, you need to take out the
column. It can be blown up with some sort of rocket
weapon (RPG, pipebomb, Devastator). Doing that will set
off several explosions, so don't be too close.
After the explosions subside, a door to
another elevator will be revealed. Opening this door will free
a fat commander, take him out, and then go in the elevator.
Taking it to the top will reveal another ledge. This one
will appear to have no way across. If you have a
jetpack, you can use it to get across to the other side.
If you do not, you will need to take a "leap of faith". If you
jump off the ledge you are on, and hug the wall in front of you, you
will land on a ledge with a jetpack and some health. Pick up
the jetpack and fly back up to the ledge you see across from you.
Landing on the ledge will open the door,
and two fat commanders will attack you. If you have a jetpack
at this point, it will really help out, as there is little room to
fight them on the ledge if you do not.
After you get rid of the fat commanders,
you can land on the ledge and make your way into the final room in
this level. This room will be fairly dark, and will have
yet another fat commander guarding some podgirls and slimer eggs.
Take him out.
In the back of the room, you need to
make your way around the pillar in the center of the room.
Doing so will trigger the central column to rise, revealing the
level end, and a final fat commander.
Hitting the exit will take you into
Level 5, "Occupied Territory".
|