|
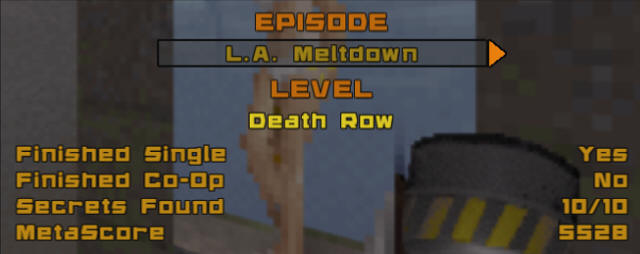
Death Row
Episode 1, Level
3
[ Previous | Next |
Main ]

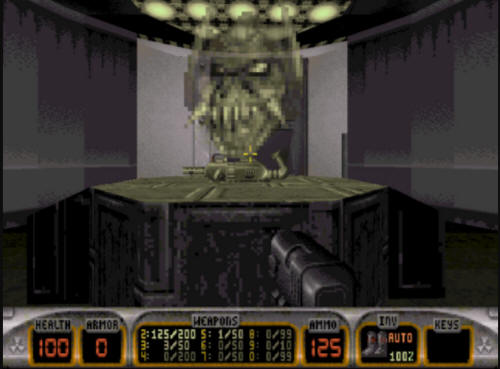
Death Row starts off differently than
all the other levels. To follow up the "story" from the end of
the previous level, you start the level in an electric chair.
The pig cops are trying to kill you. If you don't move, you'll
eventually get zapped, and will respawn in the same spot to get
killed over and over again (in a bit of a Captain Jack moment).
Anyway, in addition to being in the electric chair, any weapons you
had from the previous level are no longer in your possession - you
have none at the start of this level (except your foot).
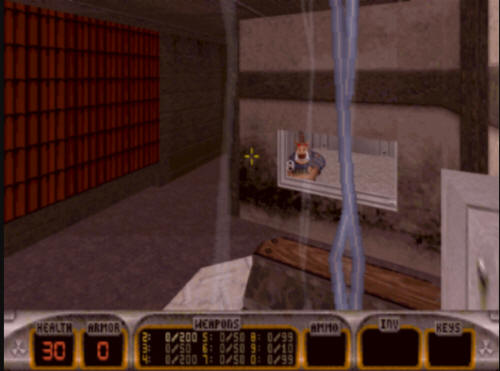
You're not strapped to the chair, so you can get off it at any time.
Doing so will reveal a control room to the right where pig cop is
stationed. You will have to take him out before you can
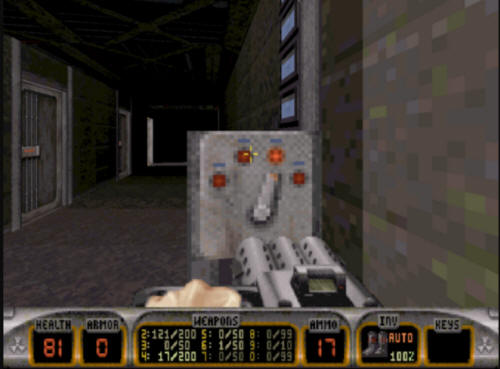
progress further. If you're fast enough, there is a pistol in
this room behind a wall panel you can use. Additionally, when
you go into this room another pig cop will spawn outside of the
room, so if you're low on health, look out.
After you've dealt with the two pig
cops, there are a couple of buttons in this room you can press.
The one on the left will lower the electric chair, revealing an area
with a shotgun you can get as a weapon. The other switch opens
the curtains to the viewing area where several pig cops and lizard
troopers are. You will need to dispose of them.
Once you do that, go grab the medkit that is there, you will likely
need it by now. There is also a pig cop sitting in the middle
of the hallway behind the viewing area. Take him out, and
there is a room to your left on the hallway. There is nothing
in that room you need to finish the level, so we will skip it here
(although there are some secrets in there we will get to later).
If you keep going down the hallway, it turns to the right where
another pig cop will be waiting. Take him out and proceed down
the hallway.
Once you get about 2/3 of the way down
the hallway, a wall behind you will explode, revealing an area you
had not seen up until that point. If you continue in the
hallway, you will come to a locked blue door. You will need to
proceed into the new area you just uncovered.
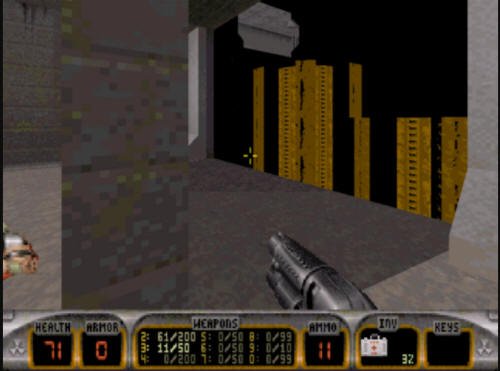
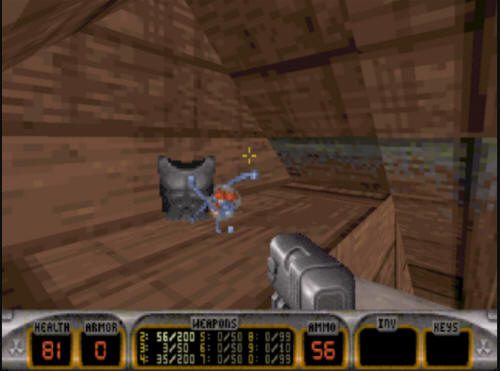
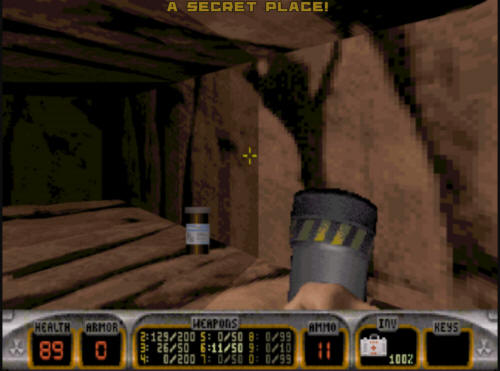
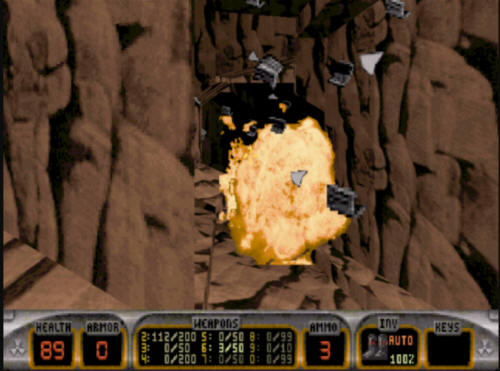
Inside this room you will see some
rotating gold/yellow gears. You will need to jump up on
the gears to get to a room that is above the highest gear.
You'll want to be careful jumping in here, because if you fall off
the gears, you will plummet to your death below after a very long
fall. A successful jump will reveal a small room where a
a couple of lizard troopers are guarding the blue key. The key
is behind a small door at the end of the room - go take it.
While you're down there, pick up the rocket launcher on the floor.
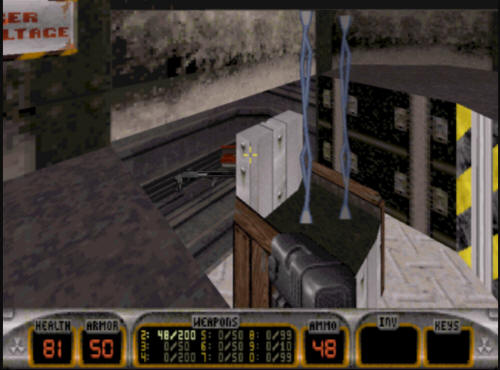
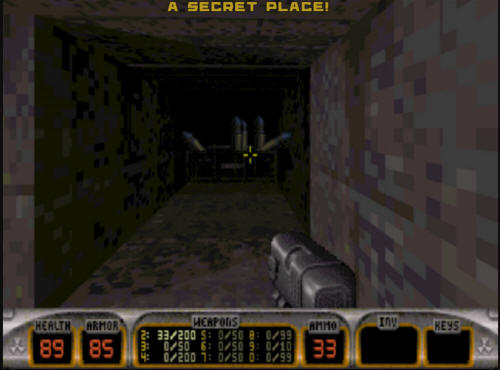
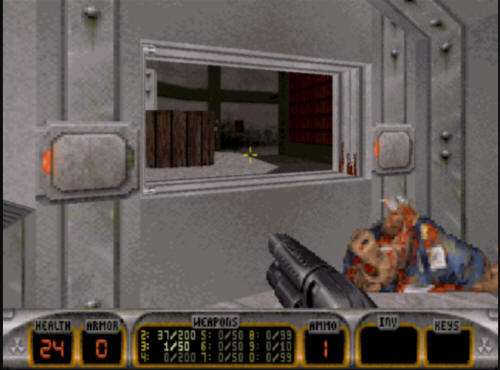
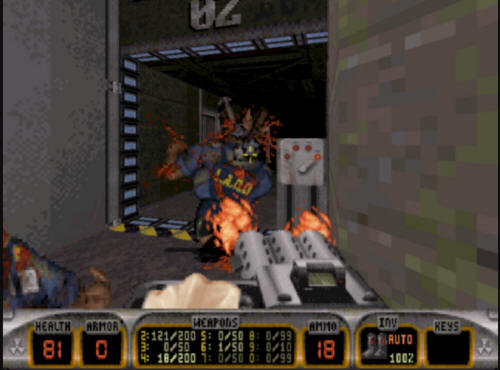
After you get the blue key, you'll head
back to the locked blue door. You will need to open it,
and will likely encounter a pig cop or two in the hallway right on
the other side of the door. The second one is behind the
first appearance of the trip mine weapon in the game - it can be
seen with its trademark red laser sight.
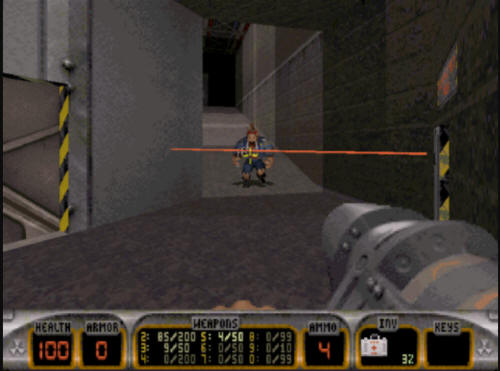
The pig cops are fairly stupid with the
trip mines, if you wake them up, and keep 'em from shooting you,
they'll eventually walk right into the thing, likely blowing
themselves (and the tripmine) up. That's a strategy that
can serve you well as you play the game. Once you've
gotten past the pig cop and the trip mine shown here, continue up
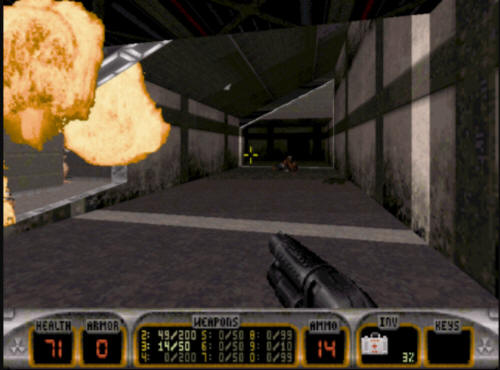
the hallway to the top. You will see a few more trip
mines in front of a room with the yellow key in it.
There is a pig cop waiting there to shoot you in the back, so don't
forget about him.
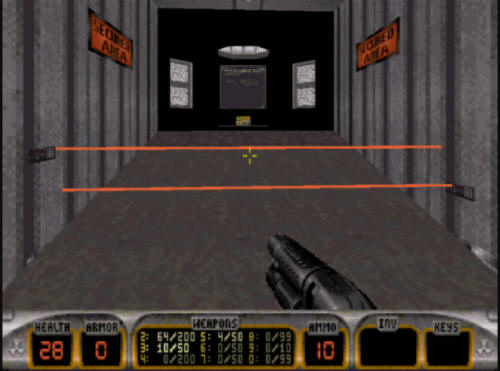
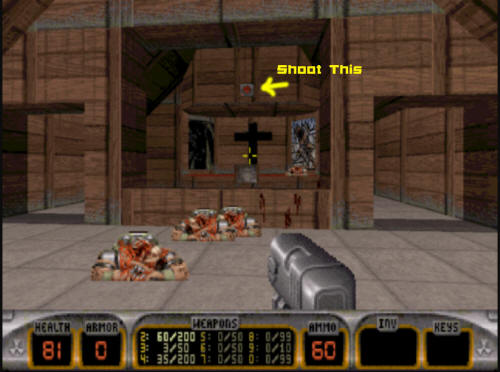
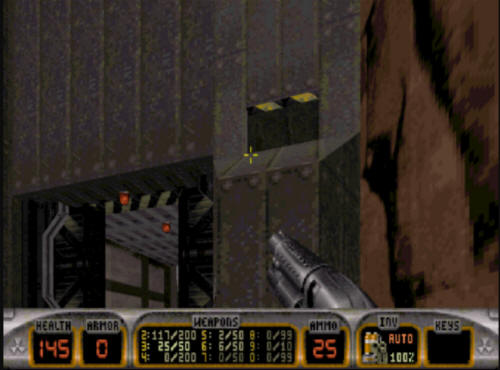
Getting the yellow key and getting out
without taking serious damage can be tricky. If you have a
rocket launcher still, you can use it to blow up the tripmines shown
in the shot above, or you can jump over them, if you're running fast
enough. Thing is, once you pick up the yellow key, more
tripmines will appear, making it rather difficult to get out of the
room unscathed. How you tackle this is up to you,
there's no easy way to tell you how, as it's a timing thing.
Once you do get the yellow key, there's some health in the shower
area next to the yellow key room, but so are a few troopers, so take
that into account.
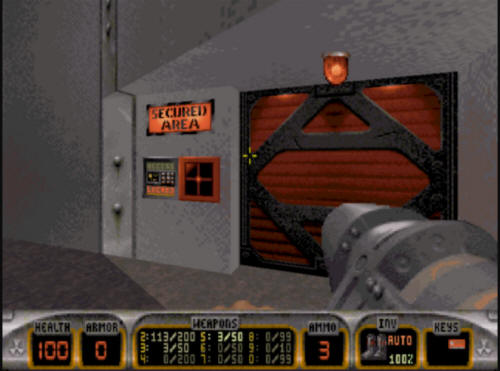
After you take care of all this, you
will see a few doors with red forcefields behind them (labeled Cell
Block 1 & 2). That will be used later in the level.
For now, you need to head back down the ramp you came up, and then
open a door into a larger room where some pig cops will be waiting.
In the lower level of the room will be where you need to use the
yellow key. Use the key, and then you will head
outdoors. Several pig cops will be in here (and right outside
the door).
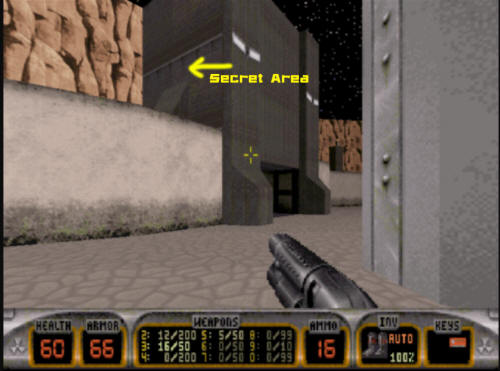
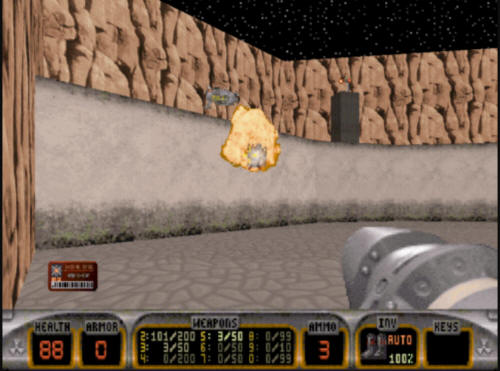
Once you are outside, you will see a
door in front of you that you cannot open (yet). You'll want
to take a left when you get outside and head to the end of the area,
where you'll find the red key. On the way there will be
a few flying pig cops, and a few stationary turrets which will be
all shooting at you. You'll either need to take them out, or
have enough health to make the run for the key.
After picking up the red key, you're
going to want to head back inside. Once inside, you'll see a
couple of locked red doors in the room. It doesn't matter
which you take, they both lead to the same room, although the one on
the left usually has a pig cop behind it, where the one on the right
does not (usually).
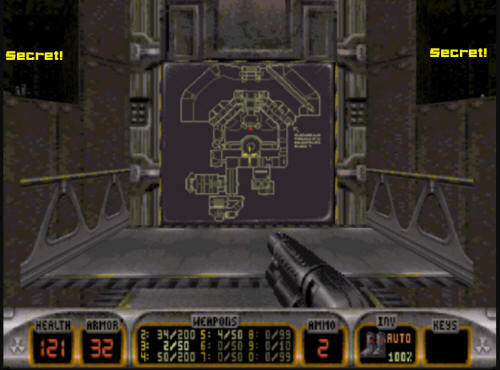
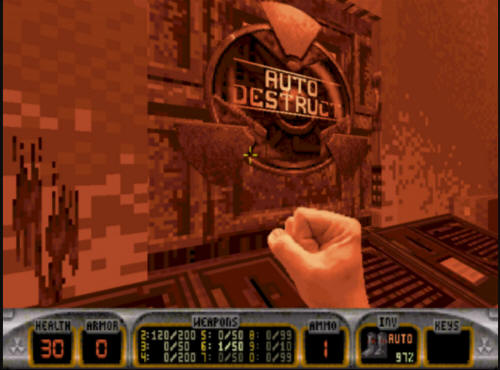
After you go through the locked red
door, there will be a ramp with a button at the top. Go
up there and push the button, a circular room will open up revealing
hologram of one of the boss aliens from later in the game, who
taunts you. In here is the ripper gun - grab it.
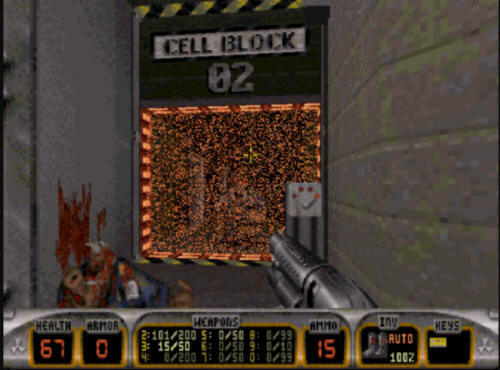
You will see the back side of the
buttons you flipped to open this room. You will need to hit
them again. The ramps you just took will close off, but the
room will open up a couple of smaller rooms off to the side.
You will want to take the one on the right (that says "02" on the
back wall once you open the door). In that room will be
a pig cop, take care of him. You will need to flip the
switch in the room which will disable the red force field from
earlier in the level. Take the pipebomb, too.
After you flip the switch, you will come back to the circular room.
If you flip the switch underneath the grate, the room will turn
again, re-opening the ramps you used to get up here. You
will want to go down the ramp and head back to the area where the
red forcefield was earlier.
Once you get there, the pig cop that was
previously behind the forcefield will have been released, so you
will need to get rid of him. Once you do that, you will be
presented with a (small) puzzle. The switch in the front will
open the cell room doors. As you flip the switch, you will see
the doors open, and the light from the outer courtyard will come in
and be visible in the hallway. You will want the door
open to the third door, which will correspond with the third choice
on the switch. Make your way down the hallway and into the
open cel door. Taking out the couple of lizard troopers in
there will reveal a cel room with no apparent way out.
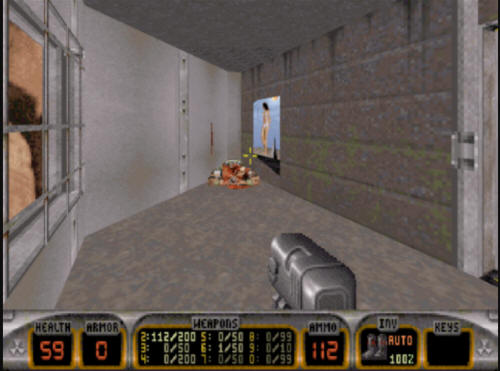
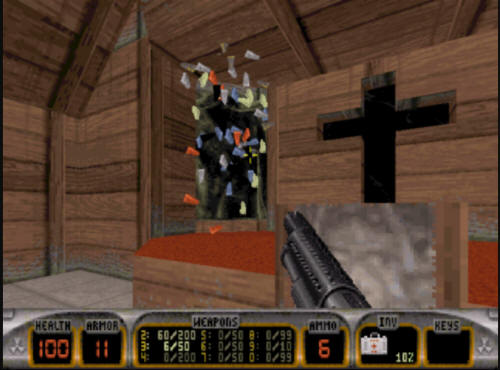
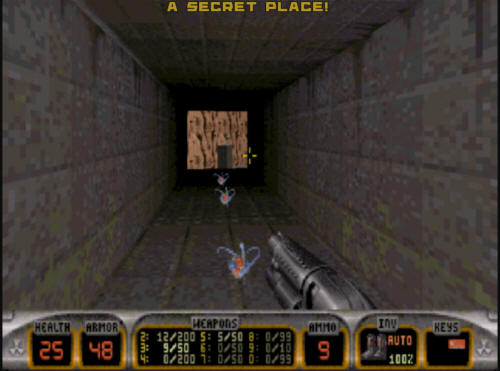
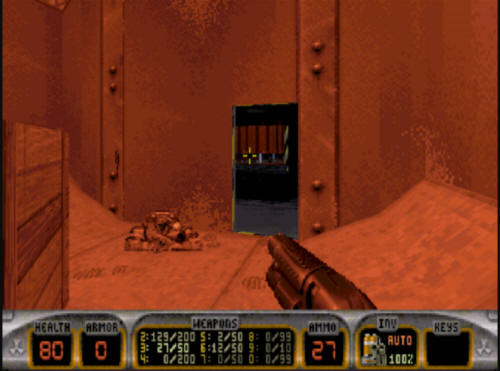
This is where one of our mass media
references comes into play. The way to progress in this level
is
through the movie poster, where you will go through a tunnel.
You will come to the end of the tunnel where you will see several
pipe bombs. If you don't already have one, pick them up, and
then throw the pipebomb at the wall you picked it up from,
detonating it.
The resulting explosion will then reveal
another part of the tunnel, where you will need to repeat the
pipebomb trick. After that, you will find yourself in a
sludge tunnel. Follow that to the end of the tunnel, which
will reveal an open area with a boat, and several aliens to shoot
at.
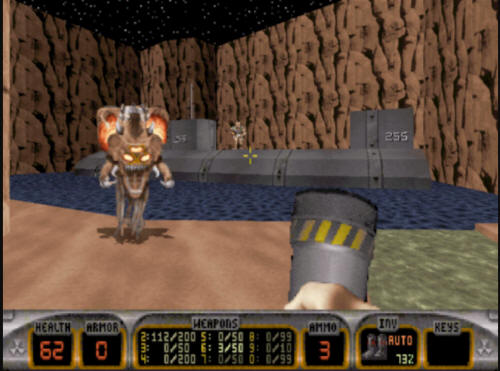
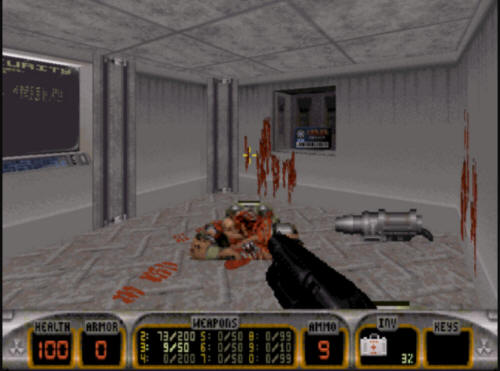
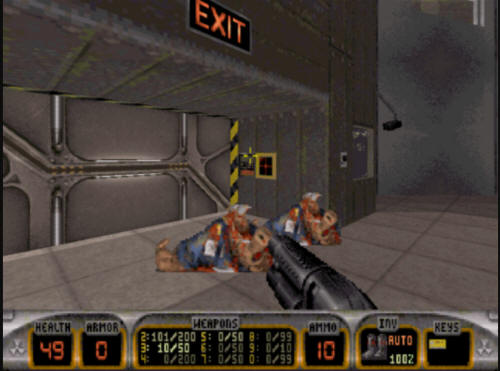
Once you've disposed of the aliens (or
you choose to ignore them), you will need to go underwater.
Once down there, swim under the boat, and you will come up into the
inside of the boat where you will see a lizard trooper at the far
end of the boat. He is guarding the exit to the level.
Wipe out the trooper, and slam the exit to complete the level.
After this level finishes, you're on to
Level 4, "Toxic Dump".
|
|