|
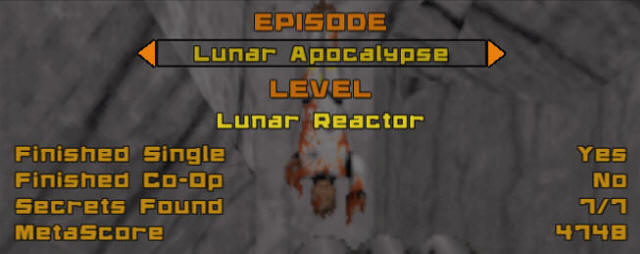
Lunar Reactor
Episode 2, Level 8
[ Previous |
Next | Main ]
Lunar Reactor is a fairly large and
complex level. There are several sections to it, and they all
lead through the central area of the level, which I'll refer to as
the "Hub", as it really is the "hub" of all the activity that goes
on. You start off in the tiny little room in front of you.
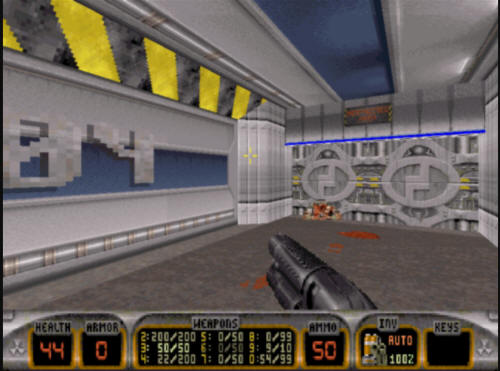
Exit the room (grab the shotgun in a small door right after stepping
out), and then turn on the lights with the switch shown below:
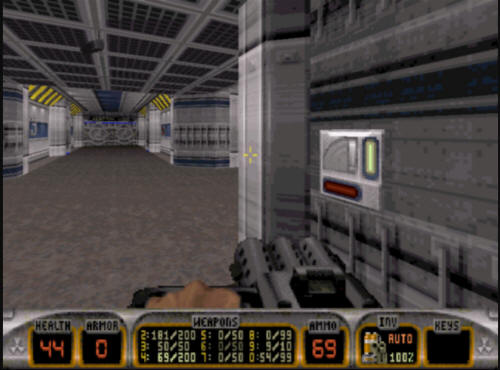
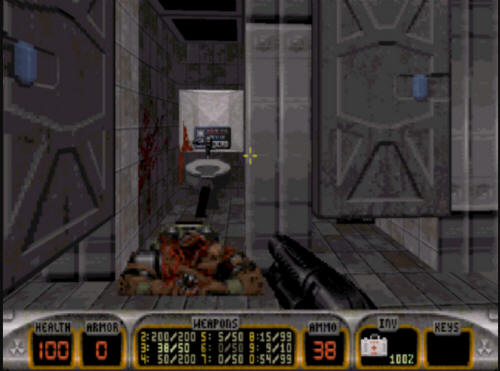
Once you do this, take a left, and head
down the hallway with a big "04" on the wall. This is the only
door that is not locked by one of the colored keys. Open the
door..
That will lead you into a bathroom.
This bathroom will be your friend as you get into some combat later,
as it can be used to retreat to when you are low in health.
The various water spouts in here from broken facilities can be used
for a cheap healthup. Anyway, in the third from the left
stall, you will encounter another Lizard trooper sitting on the
toilet. Take him down, and then blow up the toilet, as behind
it is the blue key. Go grab it.
Exit the bathroom, and go straight down
the corridor to the blue key door. On the way down there you
will have to fight a few enemies. Each time you do something
behind one of the locked key doors, and then re-enter the hub, more
aliens will have spawned. Go down to the blue key door
(also marked "Crew Quarters") and use the key.
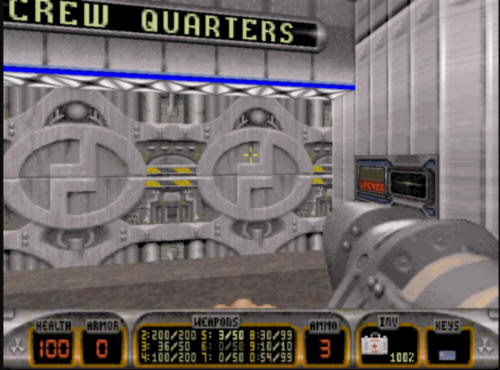
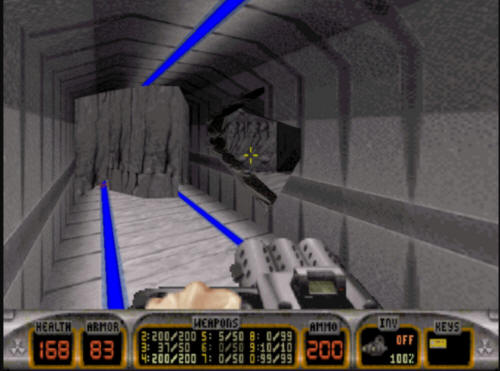
When you go through the room, you will see a Battlelord blocking the
actual entrance door to the crew quarters. You can't really
run by him, you will have to take him out. When you do take him
out, take a jump up into the vent shown here. There's an Atomic
health in the vent if you need a boost.
Make your way into the actual crew
quarters were several aliens will be waiting to try and kill you.
After you take them all out, you will need to make your way down a
narrow path to progress. There are a couple of cracks in
the walls here in the crew quarters, but they do not indicate any
kind of secret. Blow them up if you wish, but it will not gain
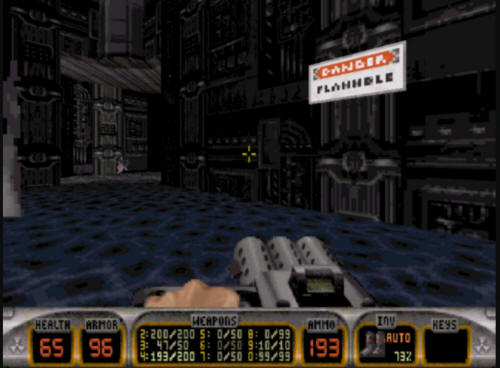
you anything except a few extra holes in the wall. On the
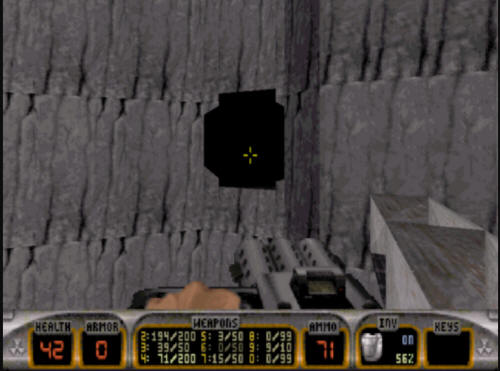
right side of the room you will see a flashing red light in a hole
in the wall above a "Danger - Flammable" sign (as seen below).
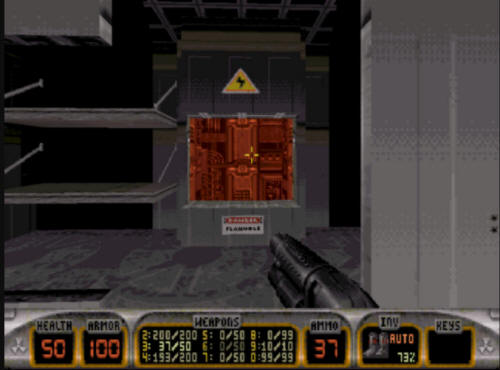
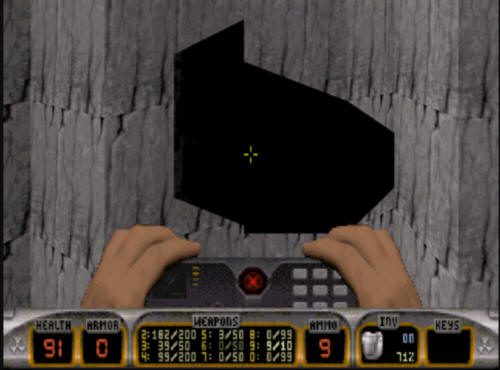
That is the way forward. Jump in there, and you will end up in a
rather small area at the bottom of that shaft. There is a switch
here. It will move the walls in front of you out of the way for a
VERY SHORT amount of time. It is during this time that you need to
make your way forward. DO NOT TAKE TOO LONG, or you WILL get
squished. Anyway, you want to make your way into the broken vent
you can see in front of you here.
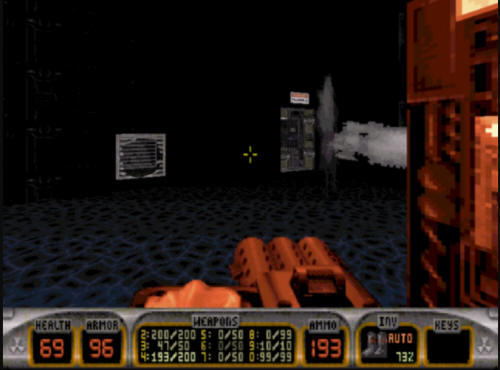
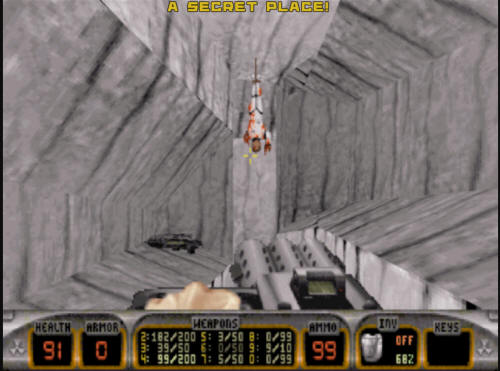
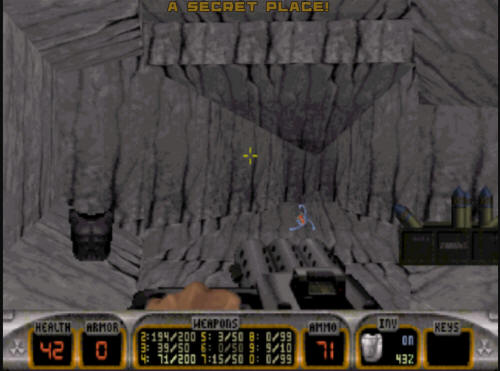
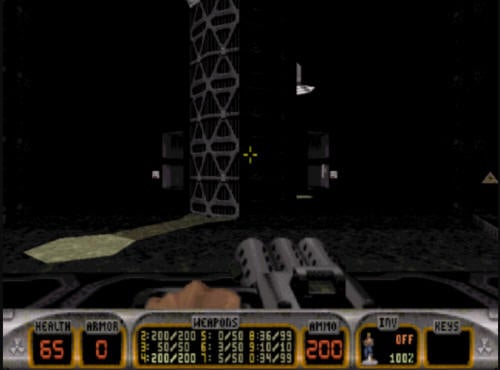
Going through the second side of the
vent will leave you on a ledge overlooking an extremely huge drop.
The way to go is down where the two lizard troopers are shown below.
If you happen to have a jetpack, you can fly down there that way, or
you can jump, it is a makeable jump. It will hurt, but not
near enough as it will if you fall all the way to the bottom of the
chasm. BTW, if you do happen to jump all the way to the bottom
of the chasm and not die, there is a jetpack down there on the floor
you can find and use to get back up (this takes almost 200% health
and 100% armor to survive, though, and you barely do).
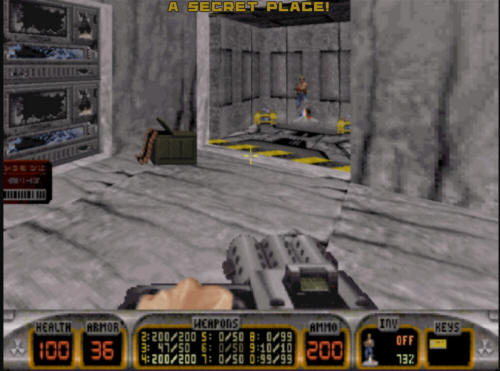
Take a jump down to that ledge (make
sure run is on), and when you do, grab the yellow key.
After picking up the yellow key, make your way down the hallway, but
when you get to a certain point, you need to back out as quickly as
possible, as the entire thing will collapse, killing you if you are
still in there.
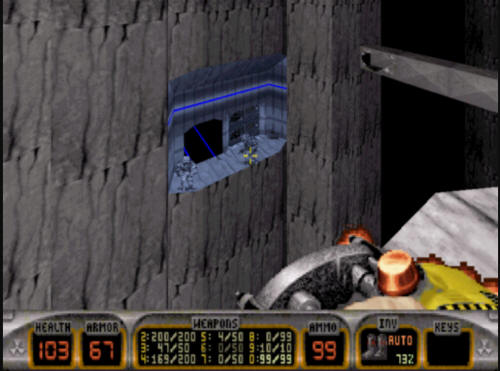
Once you have waited for the hallway
collapse to finish, you will notice that a hole will be left in the
wall. You want to take the path that is beyond this hole.
Don't walk through here too slowly, there is a broken part on the
floor of the vent that goes over the giant cavern. If you go
too slowly, you will fall through and down to the floor, likely
dying in the process.
When you make it to the top of the vent
path, you will find yourself on an area where there is a river of
slime. This is actually underneath the path earlier in the
level where you fought the Battlelord outside the crew quarters.
Make your way down the river of slime
(after taking on some Octrabrains), and you will see a rotating gear
at the end of the river. That is where you want to go.
Make your way through the gear by going
around the left side. This will leave you in a computer room
where you can get the red key after some Enforcer combat.
Once you get the red key, you need to
make your way back out past the gear. As you make your way
back up the slime river, you will see a door on the left wall that
you likely missed when you came down here. Take this path.
At the top is the place you need to use the red keycard. Doing
so will leave you back in the hub at the start of the level.
Once you make your way back to the hub, you can explore the vent
system if you want. If you did this earlier, you will find
several places blocked off that are now opened. There are
various healths and ammos in the vent system for you to find if you
wish. Once you're done with that, make your way back to the
hub and head to the yellow keycard door, and unlock it.
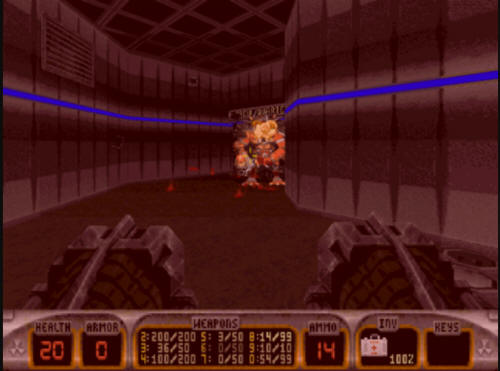
Going through this door will reveal
several things, but the most immediate problem is yet another
Battelord. You can get by here by ignoring him, but it will
hurt to do so, you might as well take him out.
After you defeat the Battelord, you will
see a stairwell that you can go both up or down on. You
want to go upstairs first. Upstairs isn't necessary to
complete the level, but there is some health and ammo you can use if
you are low. Either way you go on the stairs, there are
Enforcers waiting for you, so you will have to deal with them as
well. Once you're done upstairs, you will want to go
downstairs and into the main reactor room.
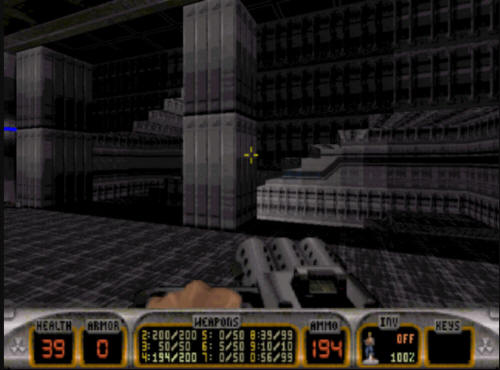
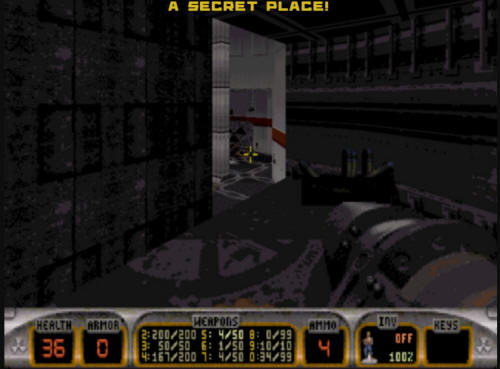
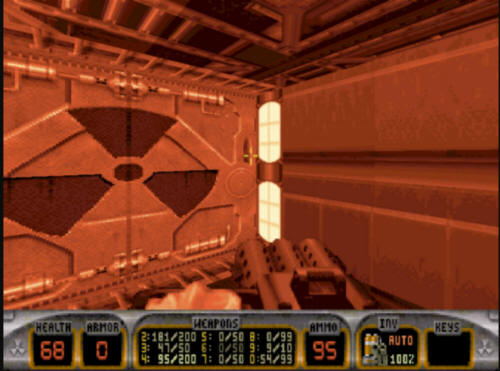
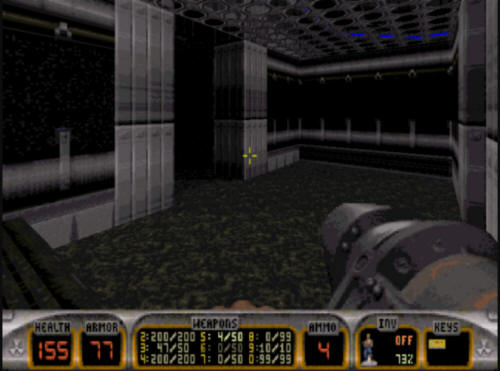
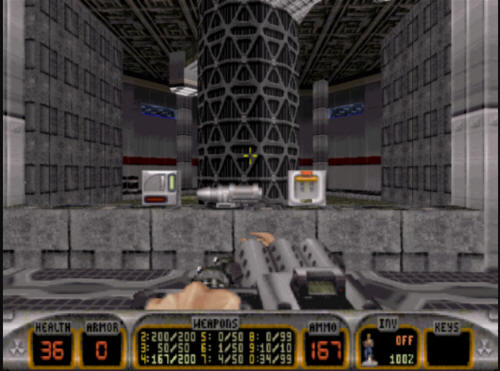
The main reactor room is initially dark.
The control area on the far side of the room is where you want to
go, but on your way there (and when you get close), rather a lot of
troopers and Enforcers will spawn, giving you a lot of combat in
this room to deal with.
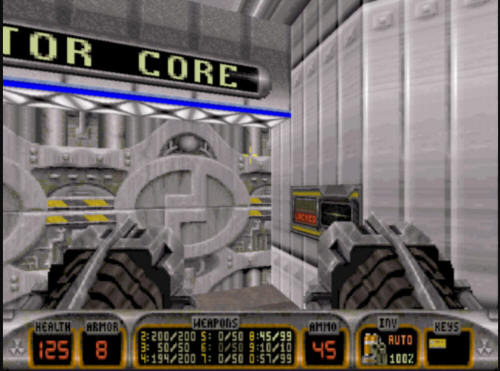
After all the combat dies down (there
will be a lot of it), you can make your way to the control room
area. You will see two switches. The one on the left
turns the lights on (which would have been more helpful BEFORE the
combat), and the other drops the central tower, revealing the
reactor itself.
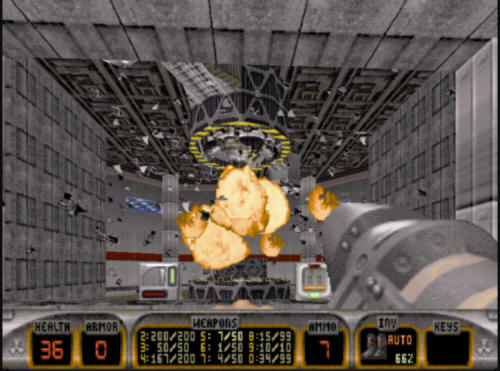
Once you lower the core shield, you need
to fire a rocket weapon into the core to destroy it. You
really do NOT want to stick around when you do this, as the
resultant explosion is quite large, and will almost certainly take
you out. You might want to make your way through the door you
used to enter this room, and destroy the core from there.
Likewise, once you blow up the core, it will open up the door in the
back of the control room area, revealing a fat commander. If
for some reason the explosion doesn't get you, the fat commander
will.
A side note, why someone would build a
reactor core, and leave the means of its destruction right next to
the switch to expose the core doesn't make much sense to me.
:)
Poor core safety issue aside, once you
do destroy it, and take out the fat commander, you want to make your
way through the door that is now open behind the core control room
area.
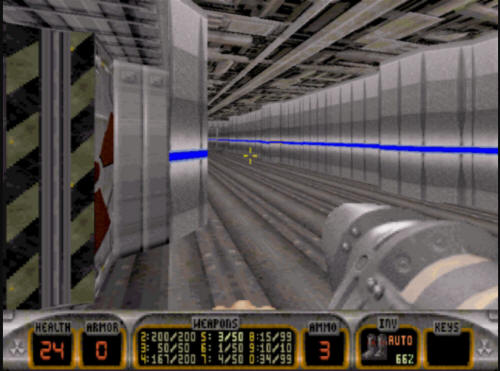
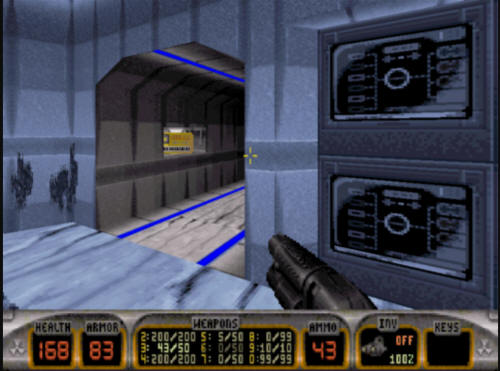
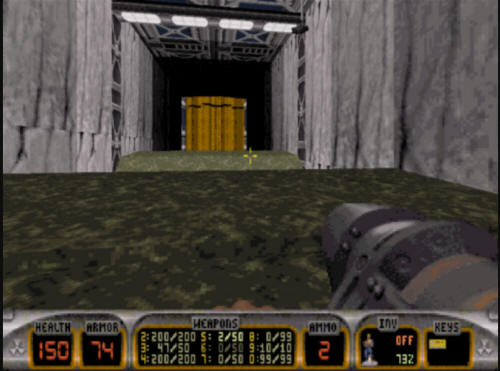
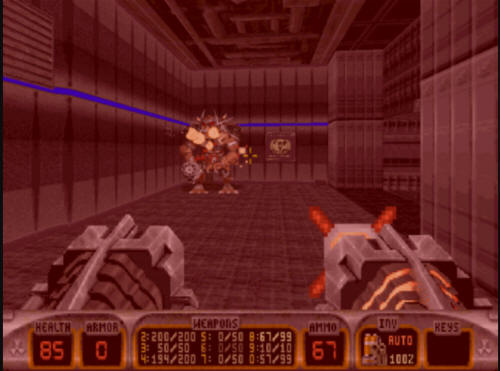
You will want to go down this hallway
towards the mirror. However, once you pass a certain point,
the hallway will start exploding behind you. This is bad,
because there's a fat commander guarding the door while all this is
happening, so you need to quickly deal with the fat commander, and
then wait by the door that is around the corner of the hallway.
You don't want to open it quite yet, because..
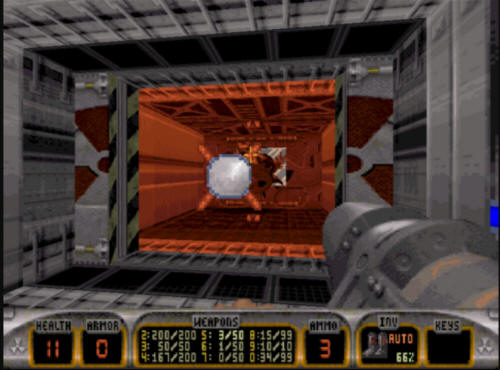
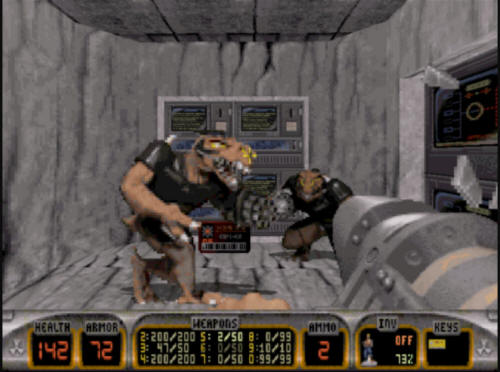
There is one final fat commander waiting
to shoot you in the face as he guards the exit. Take
this last guy down....
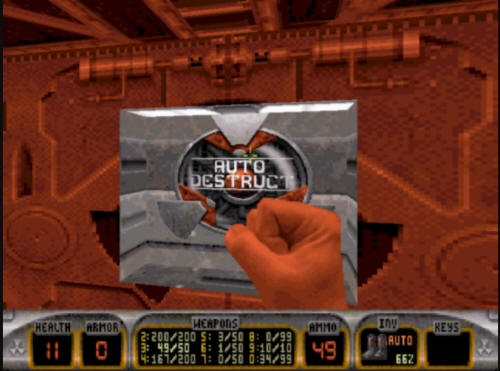
.. and hit the exit button. You
will be
taken to
Level 9, "Dark Side". |