|
Dark Side
Episode 2, Level 9
[ Previous |
Next | Main ]
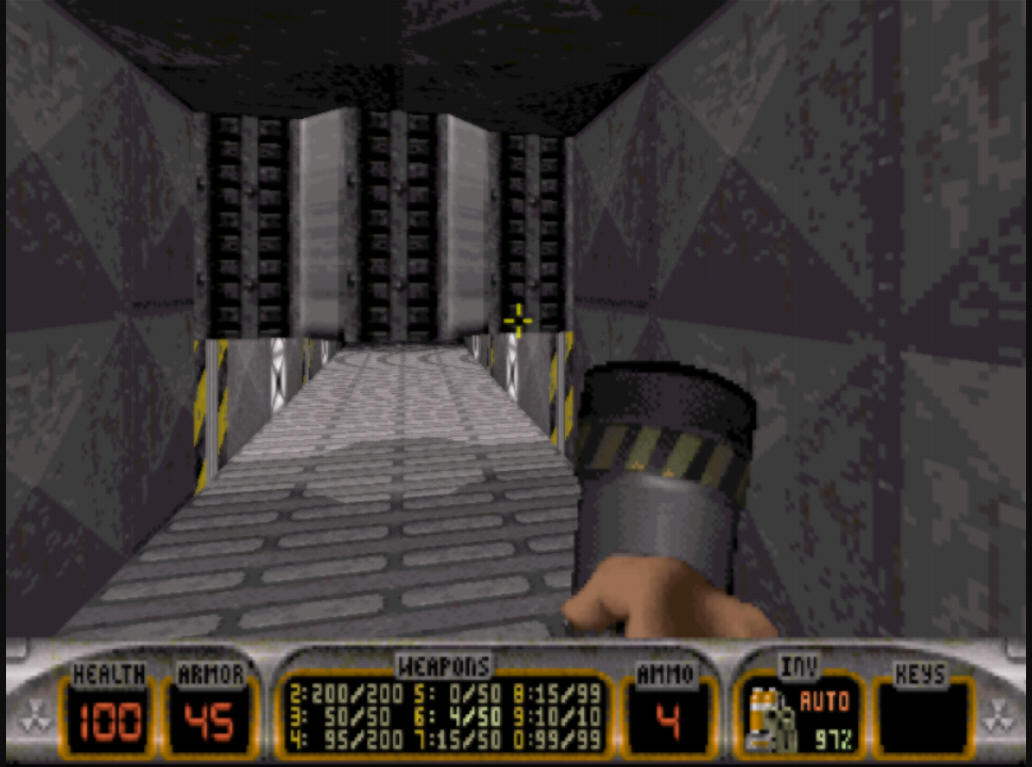
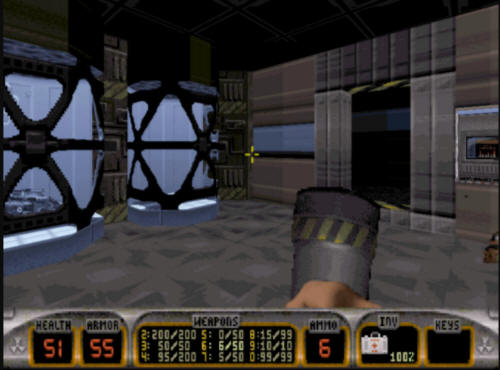
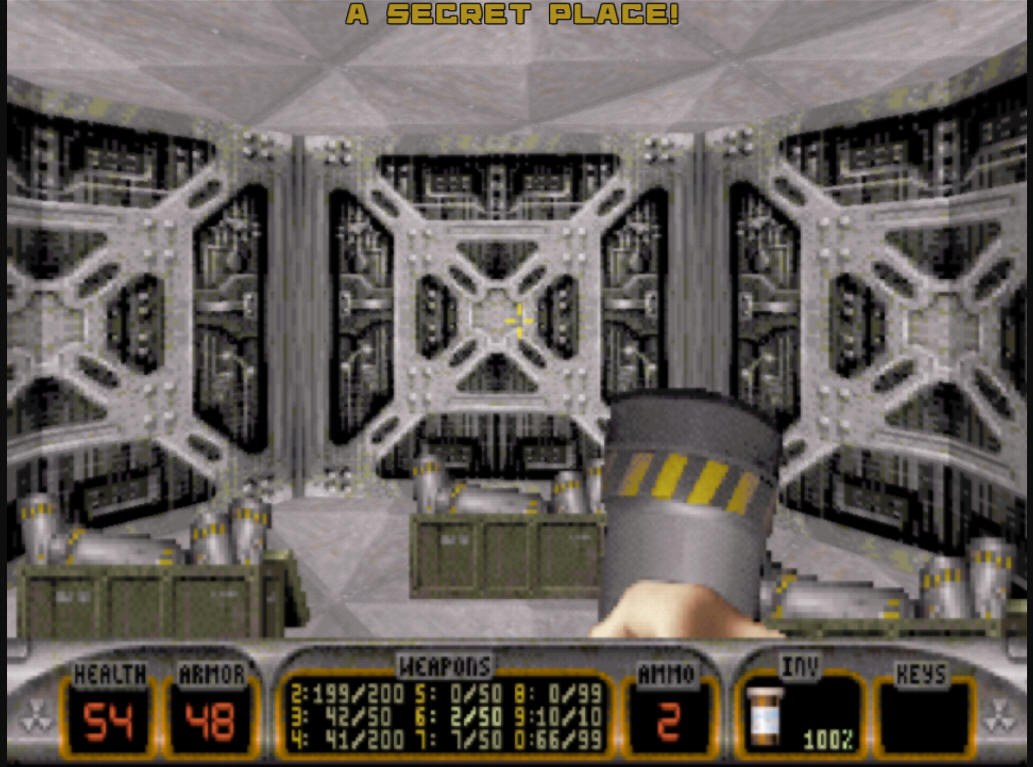
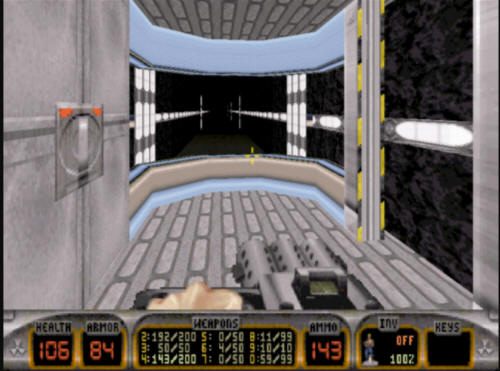
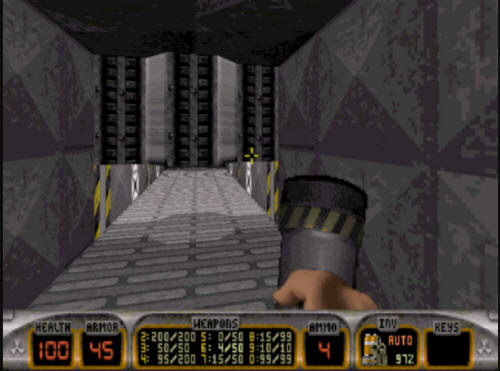
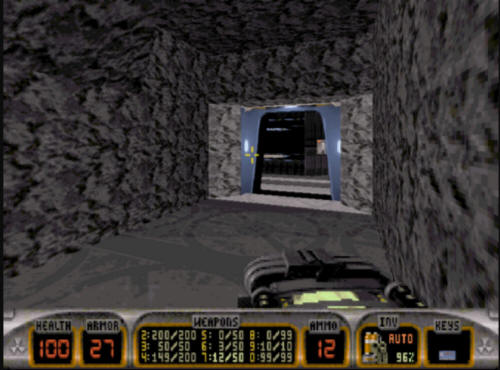
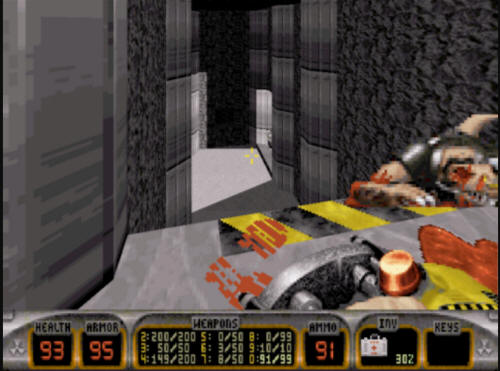
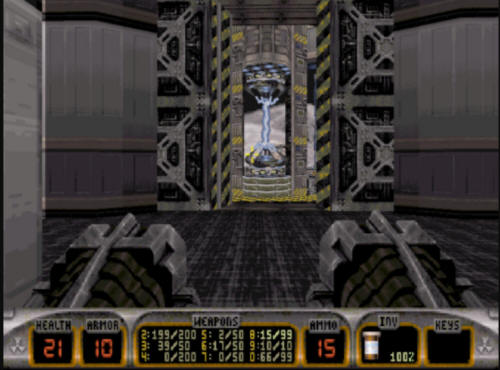
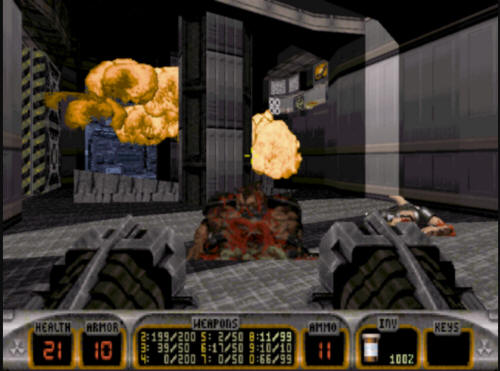
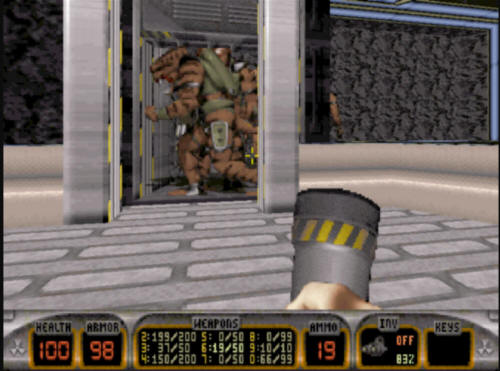
Dark Side starts off like several other
levels do, inside a door in a small room. Open it to reveal an
idea where an Enforcer is guarding several slimer eggs off to your
left. Best idea there is to send a pipebomb or a rocket their
way to take everything out at once. You will see an elevator
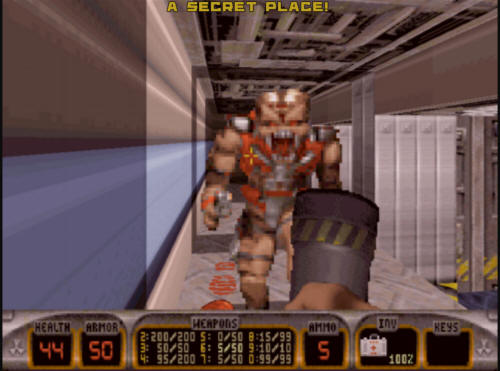
here. Take it down. At the bottom of the elevator, you
will see a darkened corridor. Make your way through the doors
in front of you once you deal with the enemies down here. You
will be left on a courtyard.
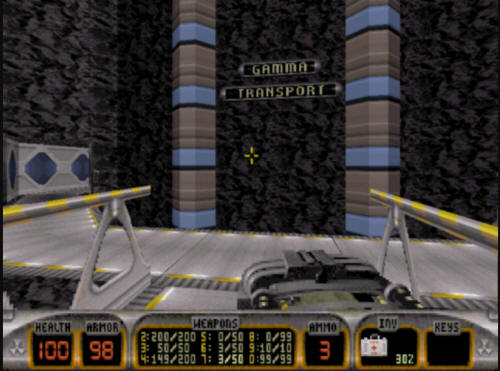
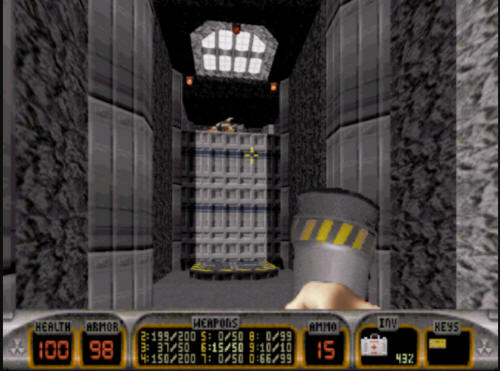
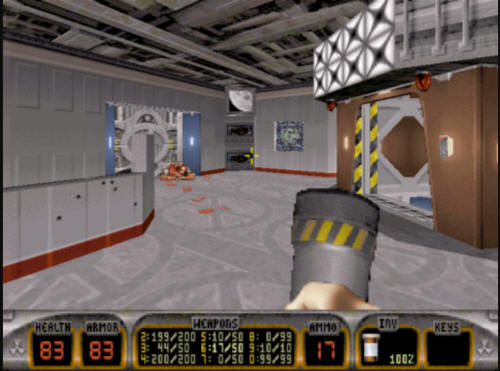
Go into the inside of the courtyard, and
take a left and go down that corridor and a door marked "Alpha
Transport". You will see a switch on the wall right inside the
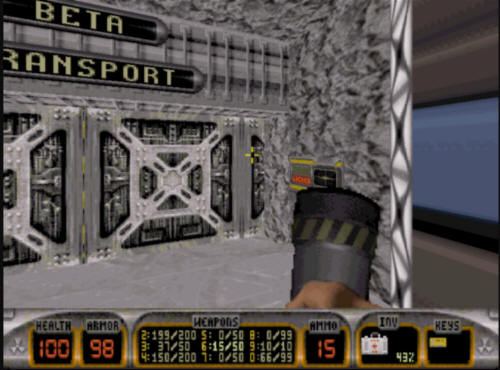
door. This will call a train to your location. When it
arrives, kill the couple of lizard troopers inside there, and then
flip the switch inside the train which will set it in motion to take
it to the other side of the track.
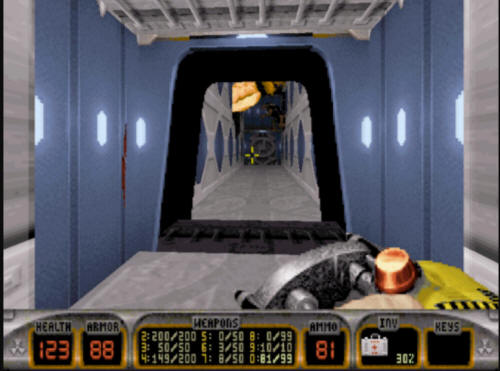
When you exit the train, make your way
down the corridor in front of you. You will see a room with
several tripmines scattered through the room.
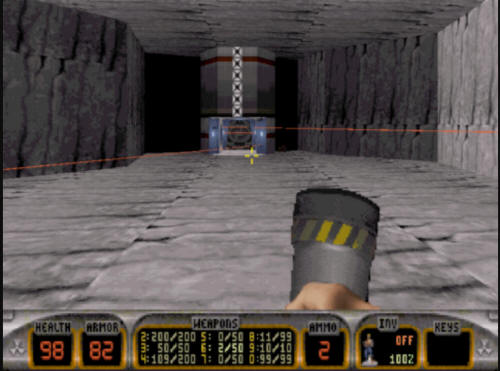
You will need to go into the room to set
off the tripmines, but don't hang about in the room, or you'll get
blown up. Trigger the explosion and go wait at the end of the
corridor here. After the room has finished rearranging itself,
make your way across to the other side, and go through the door.
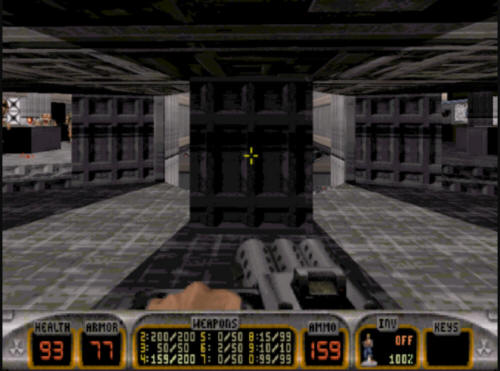
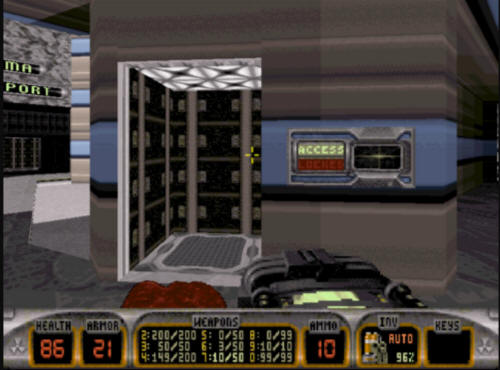
When you come through the door, you are presented with three paths you
can go. A room on the left, a room on the right, or straight
through. The straight path is a locked door, and the path to the
right will give you a medkit and some pipebombs, but the way you want to
go is to the left. On that side of the room are several lizard
troopers. Take them out. Once you've done that, you need to
make your way through a small passageway in the computer panels.
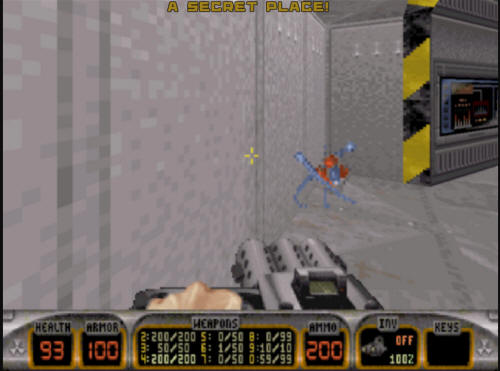
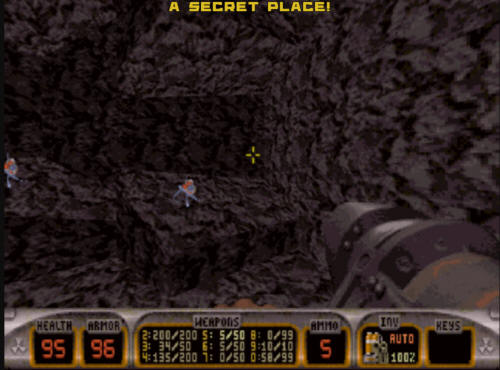
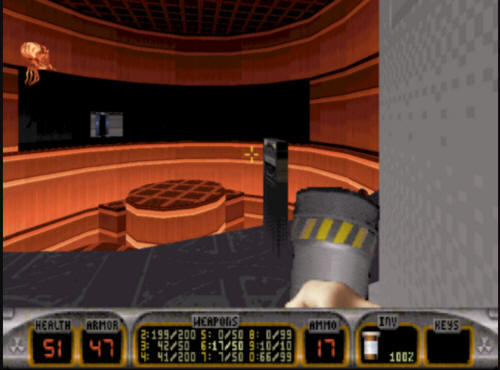
Once you crawl into the area shown
above, you will go through a passage way with several large crushing
pillars you need to make your way by.
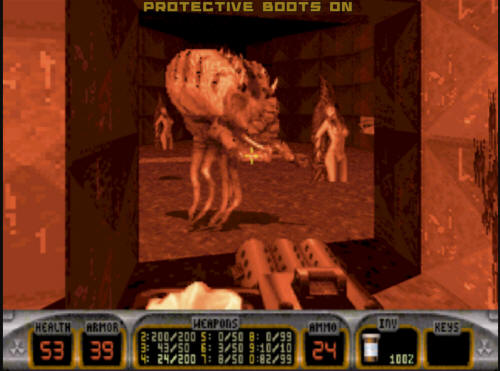
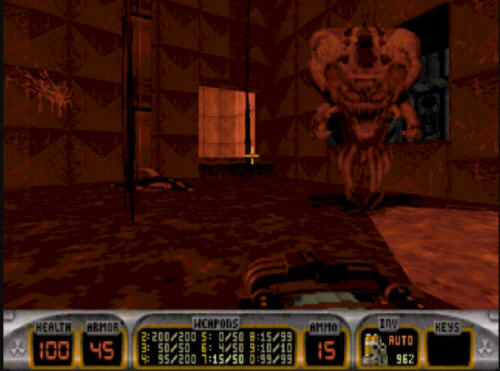
Once you get by the crushers, you will drop off into a a red area.
You will end up in some water. Surface, and you will encounter an
Octrabrain or two you need to dispose of. There's also some
underwater, but those can be more easily avoided.
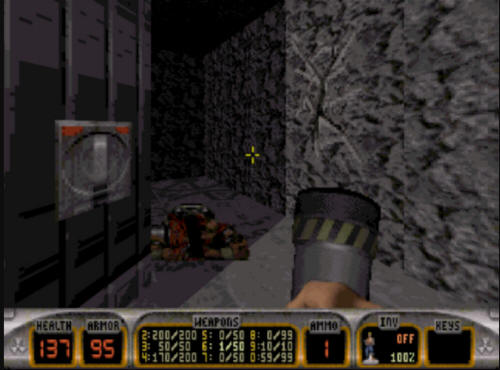
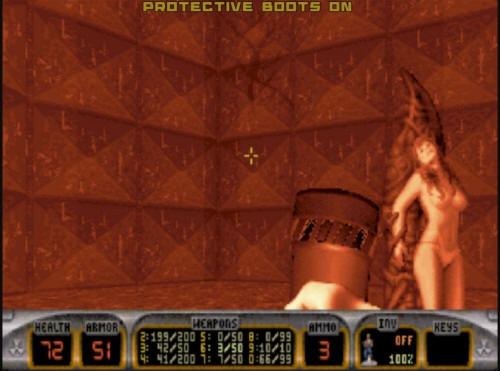
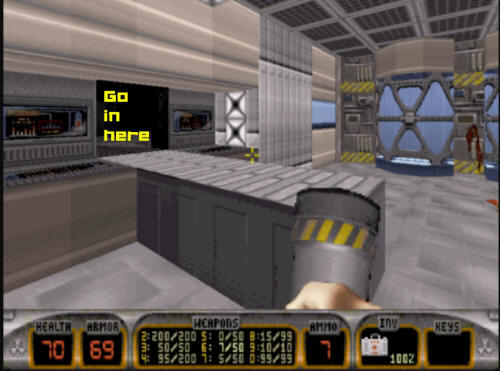
Once you're done with the combat, find
an elevator in the corner. Call it down, take out any enemy
that might be on it, and go back up. After opening the
door at the top, you will find a room with a table in the middle.
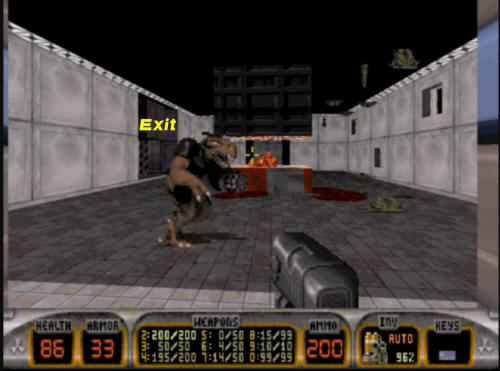
At the far end of the room is the blue
key. When you take the blue key, several doors of
slimers will open up, and several Enforcers will all appear behind
you, forcing you to fight your way out. Once you've
fought your way through all this, head out through the Exit door
which has now been unlocked. This door is the back side of the
locked door in the central passageway earlier when you had a choice
between left, right, and straight.
Once you head up through the exit door,
you need to make your way back to the train you used to get here.
There will be more Enforcers to deal with on the way.
Get back on the train, and take it back
to the other side. Get out, and make your way back to the
central area of the start of this level. It is here where you
will need to use the blue key. Unlock the door, and take the
elevator that is back here up.
At the top of the elevator is a small
room. At the far side is a lizard trooper and a door.
Beyond that door you see a walkway that you can take either left or
right.
It does not matter which way you go from
here, both paths end up in the same place, which is by another train
station and a switch.
Flip the switch, and call the train to
your position. Get on it, and ride it to the other side.
Once there, you will find yourself at the top of an elevator.
You can jump down there to head onto the next part of the
passageway.
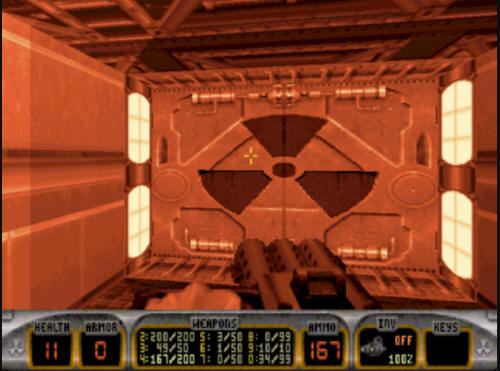
At the bottom of the elevator there is a
blue door to go through. If you enter into this hallway, it
will start exploding around you, so trigger it, and back out to wait
for the explosions, and then take out any aliens who will also
attack you.
Once you make it through this room, you
will come across a large room with a switch. Flipping the
switch will raise a path out of the floor that you will need to go
across to get to the next part of the level. Several
Octabrains will try and knock you off, so take care here.
Once you pass over this, you will need
to follow the hallway on the other side. After you get
through the hallway, you will run into a door. Once you get
through that door several things will happen.
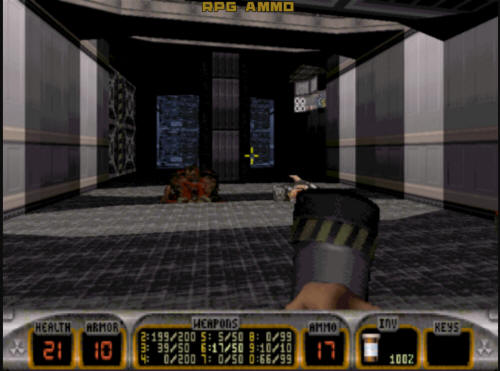
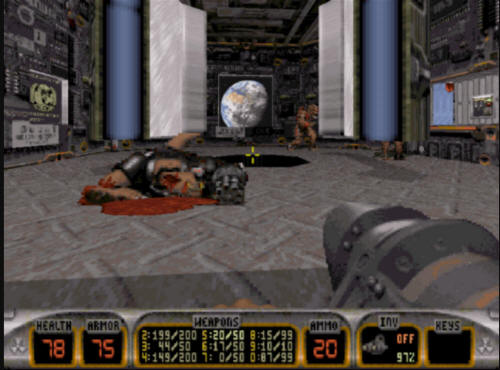
The back side of this room contains a
fat commander who will try to attack you when you get into the room.
Once you actually make it to the back of the room, there will be a
second fat commander. Take them both out, and then collect the
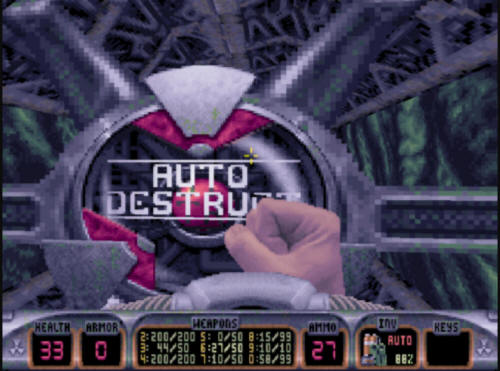
Devastator that is back on the floor. After that, you need to
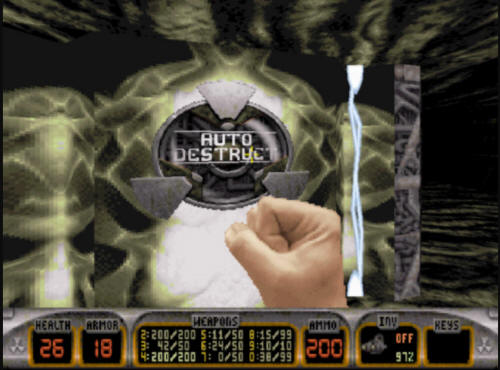
open the large double doors. It will reveal a computer core
that you need to blow up.
Once you blow up the core, you will need
to move out of the way immediately, as this part of the room will
explode, and will transform itself.
Go up the newly formed ramp and get the
yellow key. Once you do that, you will need to go back on the
path you used to get here and make your way back to the train.
More troopers and Enforcers will be in your way, of course.
Get back to the train, and take it back
(again) to the hub at the start of the level. You will
need to make your way to the yellow key door.
Once through, you will call a third
train down to where you are. Take it and go down to the other
side where you will have to take out about half a dozen lizard
troopers right outside the train door. A pipebomb is the best
way to deal with that. Plus it makes a really nice
explosion. :)
Once out of the train, head down the
corridor, taking out the resistance. The end of this corridor
will lead to a room that has an airlock, and a supply cabinet.
Take some of the supplies, and then head out the airlock.
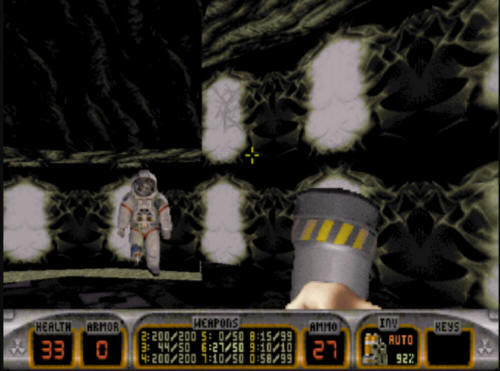
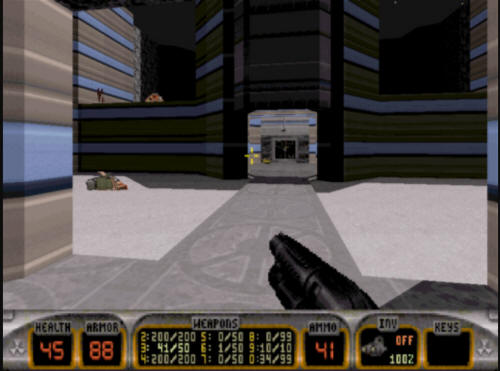
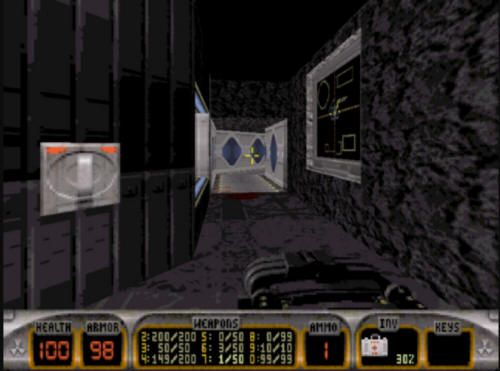
The end of this corridor will lead to a
room that has an airlock, and a supply cabinet. Take some of
the supplies, and then head out the airlock. You will see a
rather large open area. You will need to head for the door
which is at the base of the platform you can see in the shot below.
Once you get over there, you will need
to open the door, and take the elevator inside. It will leave
you at the base of a very tall, dark ramp. Make your way up
into the central room, and take out the aliens. You will
need to flip the switch on the right side of the shot here. It
will open the blue area immediately to the left of the switch, as
well as drop a forcefield a bit further in the level.
You can get back down the same way you came up, or you can jump in
the hole. Jumping is much faster, but you will take a health
hit, but it is offset by the Atomic health that you get by flipping
the switch. Your choice.
When you get back down, you will have
rather a lot of sentry drones all over the place. There's
probably too many to take out, so it is best to just lead them away
from where you want to go. Where you want to go is a small
passageway on the side of the open area that was previously blocked
off by a forcefield. There is a Battlelord back there you need
to dispose of.

Once the Battlelord is gone, you will
need to make your way through the narrow path he was in. This
will eventually lead you to an area where you will see a crack on
the wall, as well as a fat commander. Take out the fat
commander, and if the crack did not get blown up during combat, do
so. It is the way to continue on in the level.

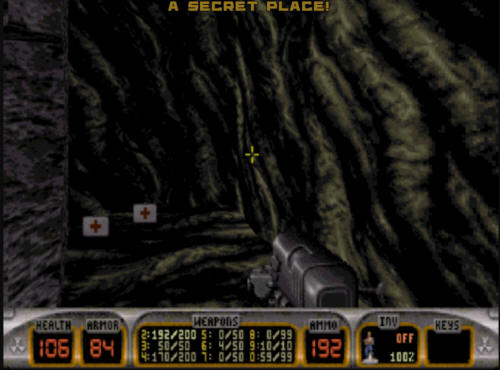
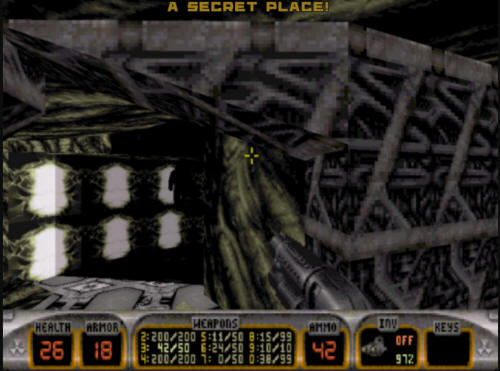
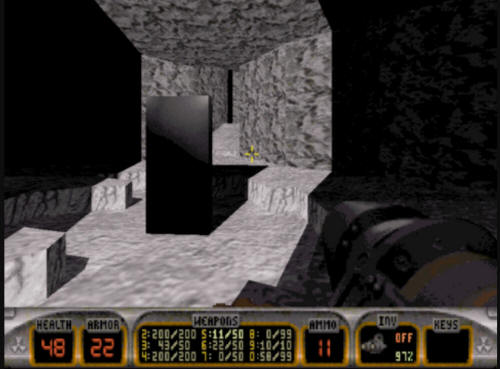
Past this crack is a very narrow, very
dark path you need to wind your way through. It will
eventually leave you in a room with a black obelisk in the middle.
This obelisk is a reference to the movie "2001: A Space Odyssey",
and is also the way out of the room. Go around the back side
of it, and walk straight into it - it will teleport you into the
next room.
Once through, you will be left in an
alien chamber. Make your way through the chamber, and you will
find a small puddle of water on the far side.
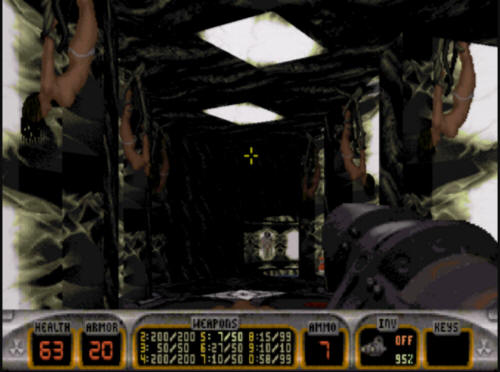
Jump in the water, and it will reveal
the exit to this level.
Hit it and be taken to
Level 11, "Overlord", which is
the boss (and final) level for this episode.
Additionally, the way to the second
secret level in Episode 2 is also in this level. You can get
that by finding Secret #7 in the secrets list
below.
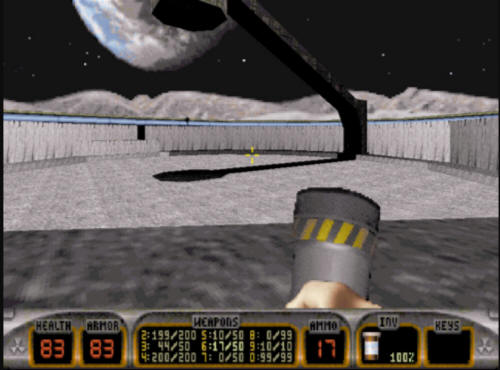
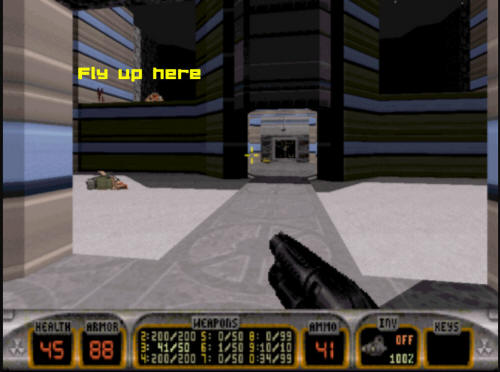
Dark Side Shortcut
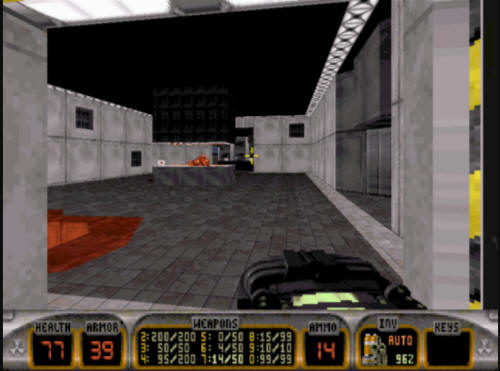
Dark Side is a level that can have a
large section of it bypassed if you use a jetpack. Very
early on in the level, you will see this courtyard. If you
have a jetpack with you, it can be used to completely bypass the
enitre first part of the level that requires you to get the blue
key. Flying up where you are shown in the level will basically
skip everything that happens in the first 11 pictures in the
walkthrough for this level. It's a big time saver.
|