|
Flood Zone
Episode 3, Level 3
[ Previous
| Next | Main ]
Flood Zone takes place mostly
underwater, as its name implies. The jetpack changes the
dynamic of this level a lot, and this particular walkthrough will go
through the level without it for the most part.
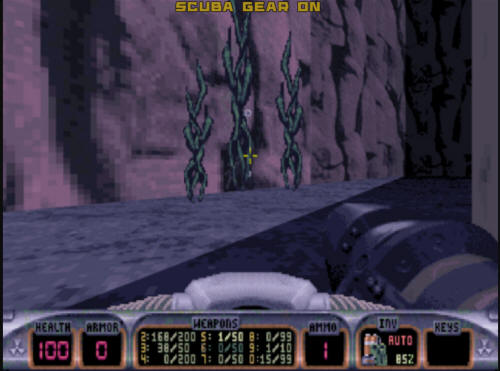
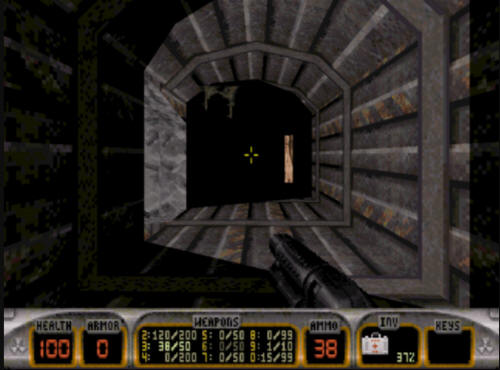
When you first start out, you are in a
rather dark tunnel with some light at the far end. Once you
start forward, an Octabrain will come after you if you hang around
on the ledge too quickly. Also from the start point, if you
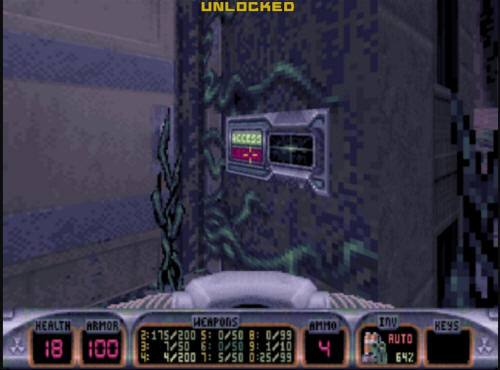
turn around backwards, there is a compartment in the wall which
contains scuba gear. This will be rather helpful since a lot
of this level is underwater. Make your way to the ledge at the
end of the waterfall. When you do, take a jump down, you
will land in water.

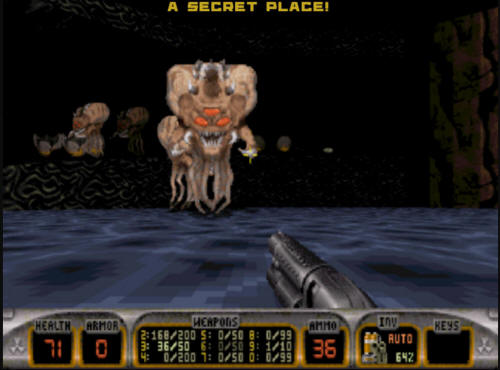
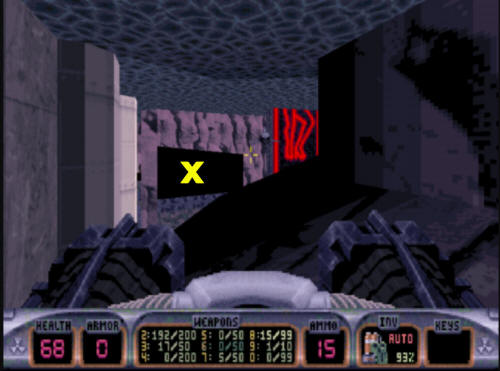
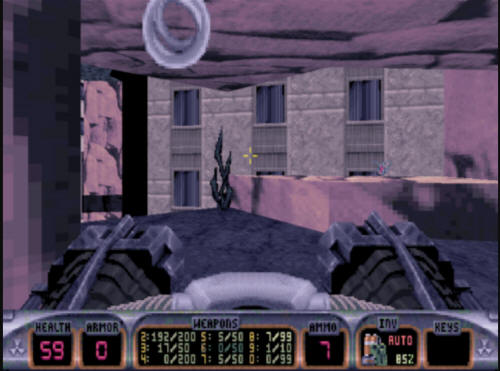
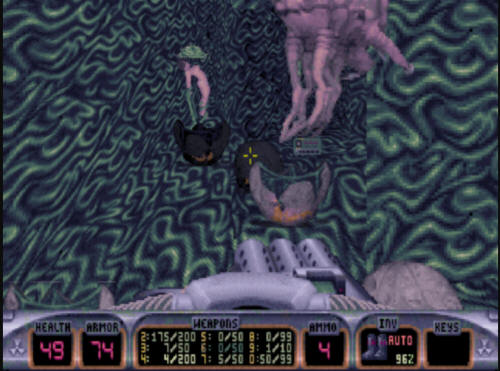
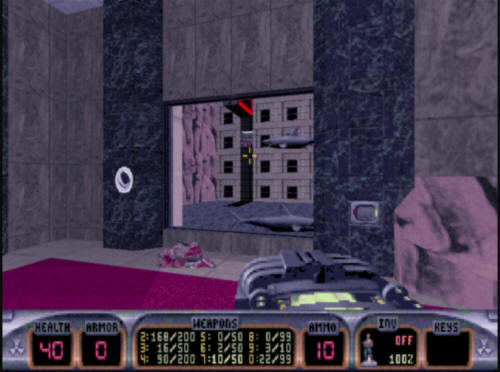
Once you land in the water, make your
way around the side of the building, and you will see a view like
the shot below. You will want to head to the X on the map, and
swim into this area. Another note about the underwater areas
in this level - there are lots of sharks. While they won't do
a lot of damage to you, they can get in the way of the regular shots
you may try to take at others like Octabrains, so the sharks are
more of a nuisance than an actual threat.
When you make your way into here, you
will see a ledge with an Atomic health on it guarded by an
Octabrain. Take out the Octabrain, and you will want to
surface from the water in the area right above the Atomic health.
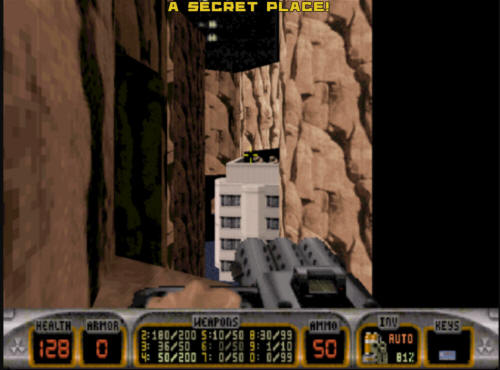
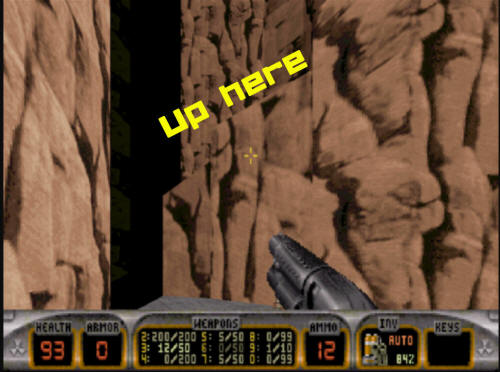
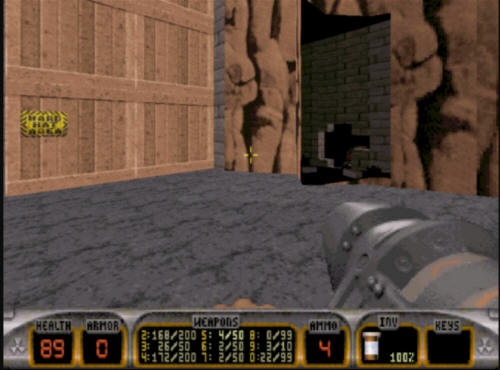
Once you surface, you will find yourself
on a the roof of a almost totally submerged building. At the
back of the roof is path leading upwards on the rocks. You
need to make your way over to the bottom of the ledge, and start
hopping up the path shown in the screenshot below.
As you make your way up the path, you
will encounter a ledge with some Devastator ammo on it, and the blue
key. Take all of this. From here, you want to jump
across to the darkened area in the shot just past the blue key.
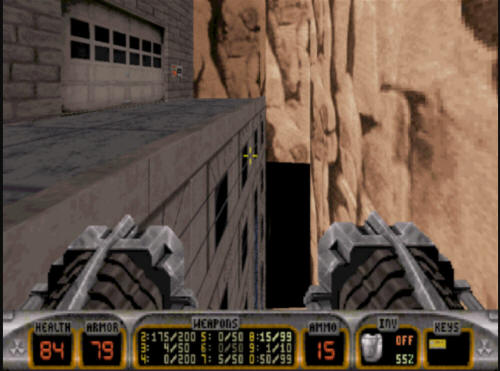
Once you jump across into the darkened
area, follow the path upwards, and you will end up on top of a roof
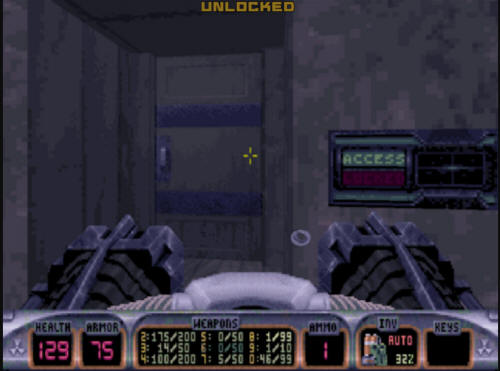
with the locked red key door. Doing this will release several
enemies on the other side of the level (Battlelord, fat commander,
etc), which you will have to take out. This actually can be
done later in the game, but I've found one of the secrets is easier
to achieve if you do things in this order.
Once you are done with the combat, take
a big jump into the water below. You will want to make your
way to the door on the smaller submerged building. This is
where you use the blue key.
Once inside, there will be quite a few
Octabrains in here. It is not a big room, so be prepared for a
lot of close quarters combat. Once you are past all of
that, the yellow key is in the back side of the room. Go
back there, and make your way out of this building.
After you are out of the yellow key
building, make your way back to the initial part of the level when
you first dropped off the waterfall. While still
underwater, you will see a window that leads into the building.
Head in there, and use the yellow key. If you surface in this
room, there is a medkit over in the corner which can be useful if
you are low on health.
Go through the yellow door, and start to
make your way down the stairwell. This is all underwater, and
very dark, so if you have the night vision goggles, use them, it
will help you out. On the way down the stairwell, you will run
into an Octabrain. Additionally when you reach the
bottom, there is an elevator across the hallway with another
Octabrain that will attack you. Be careful, as rocket weapons
in this area will usually result in you shooting your own face off.
The shrinker is a good choice here if you have it.
At the bottom of the stairwell, you will
come out into an office room with several Octabrains you need to
take out before you progress. After you've done that, you will
see a switch near the (closed) windows. Shoot that, and the
windows will open, revealing the previously visited outer area.
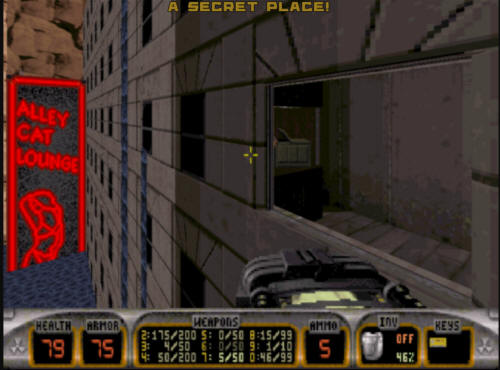
However, the red neon sign on the far wall will have risen,
revealing the red key. Grab that, and you will need to head
back up to the top of the level where the locked red key door was
that you encountered earlier (assuming you followed the order of
this walkthrough).
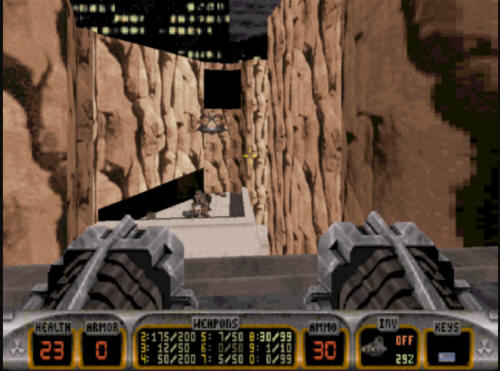
Once you make it up to the red key door
this time though a new wall near the red key door will open up
revealing a few more fat commanders for you to deal with. Once
you've finished with that, go unlock the red key door. Inside
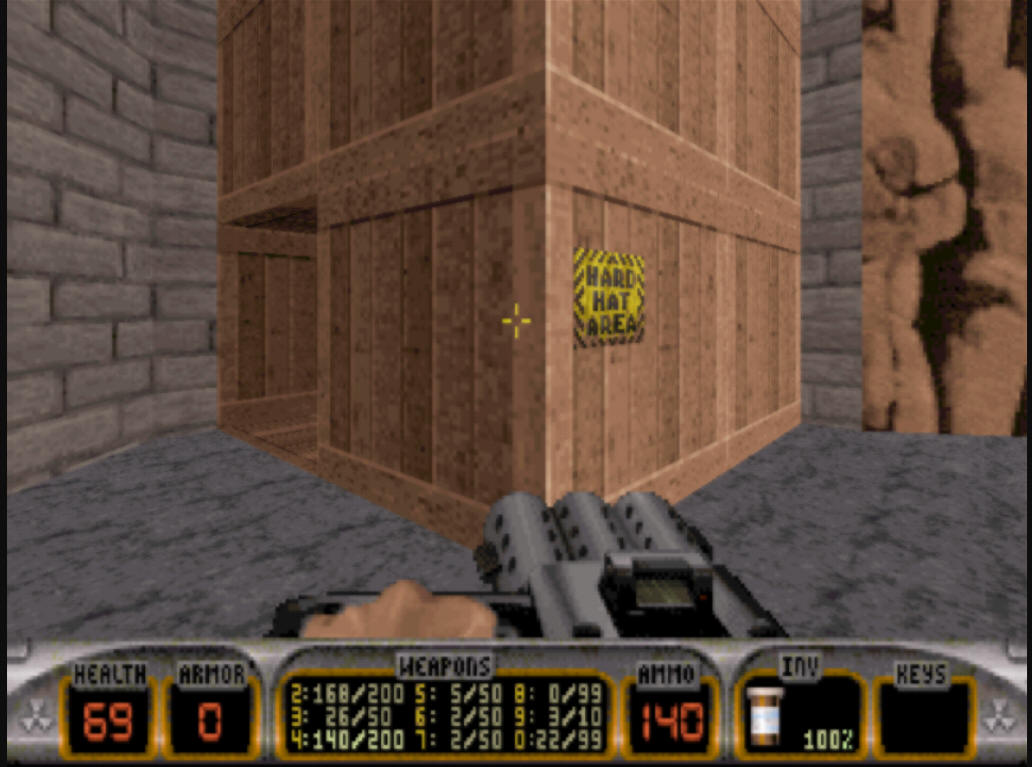
the red door is bunch of crates with another section of rock face
and all behind them.
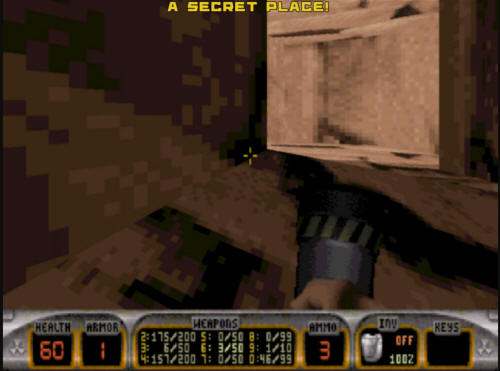
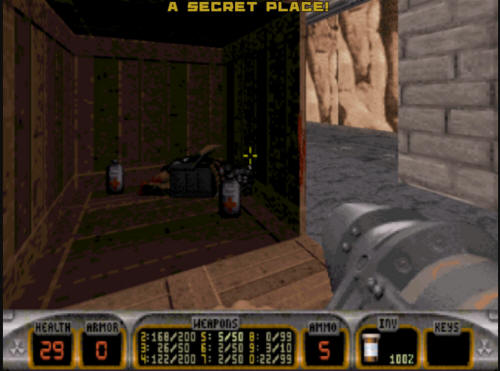
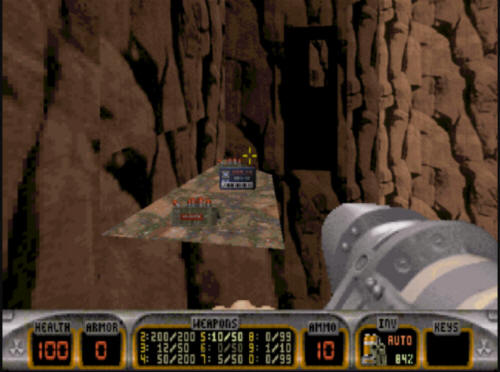
Make your way through the crack in the
wall shown above. Take out the Octabrains in here, and make
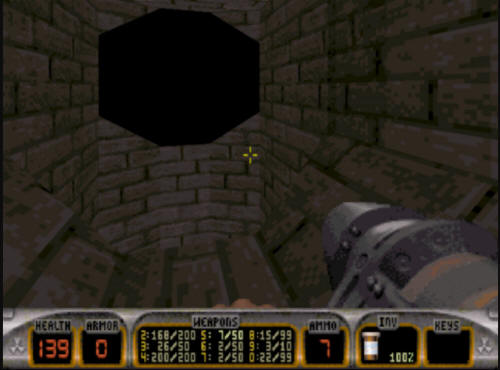
your way down the path in here. You will eventually come to a
large drop. It's QUITE a large drop. This is what the
top of it looks like.
Jump in here, and take a rather long
drop. You will eventually land in water. Resurface, and
the exit is right here. In a bit of a cheap shot by the level
designer, also down here is a turret (on all difficulties other than
the easiest). You may get shot in the back while going for the
exit, so look out.
Hit the exit be taken to Level 4, "L.A.
Rumble". |