|
Flood Zone
Episode 3, Level
4
[ Previous
| Next | Main ]
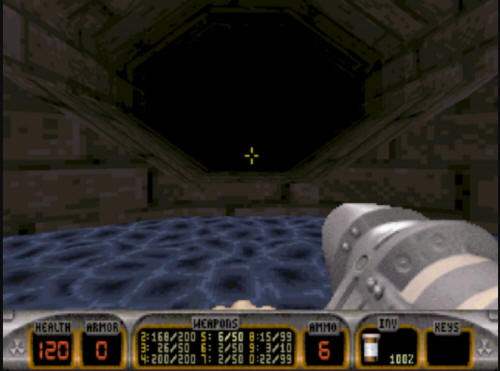
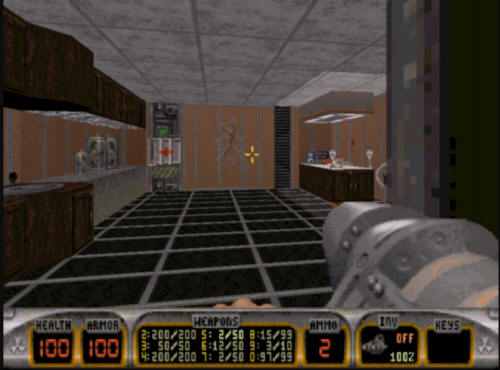
L.A. Rumble starts off in an area that
looks almost exactly like the area you were in when the previous
level finished. It is also a relatively small level.
It takes place around a large office building. When you first
start off, make your way down the tunnel, until you see an opening
to your right. This will lead you to the large open courtyard
which comprises the outdoor portion of this level. There are
several pig cops here, both on the ground and on the ledges above.
It might be advantageous for you to
spend some time shooting the pig cops that are above you on the
ledges in the courtyard. If you do not, they will be shooting
at you the whole time you are out here. When you do make it
into the courtyard, you will come across a large black wall with the
words "East Town Towers" on it on the far side of the courtyard.
It looks like this:
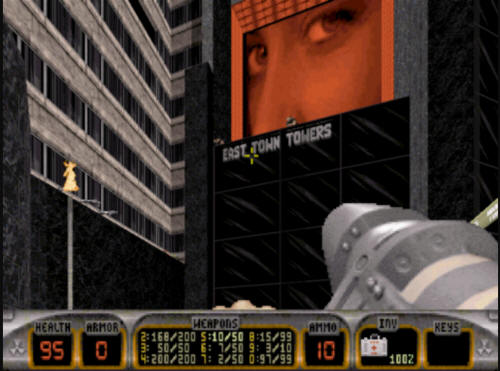
"East Town Towers" is a reference to id
Software, makers of Doom & Quake (and other games). At the
time, id Software was in an office tower in Mesquite TX named "Town
East Towers". This is a reference to them.
You can see the resemblance to their real life building in this shot
below. It is of the
real life Town East Towers via Google
Street View:
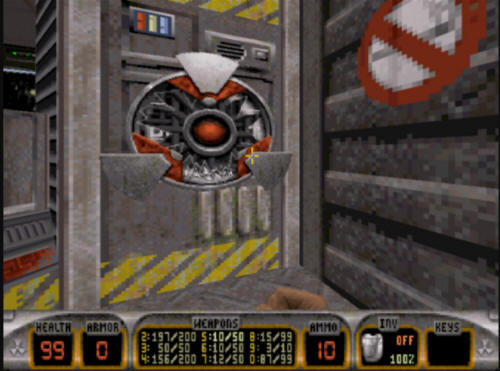
Going up on the ledge on the bottom of
the towers will set off an Earthquake, damaging part of the
building. When Duke sets off the explosions, it will explode,
prompting a Dukeism saying "I ain't afraid of no Quake".
:)

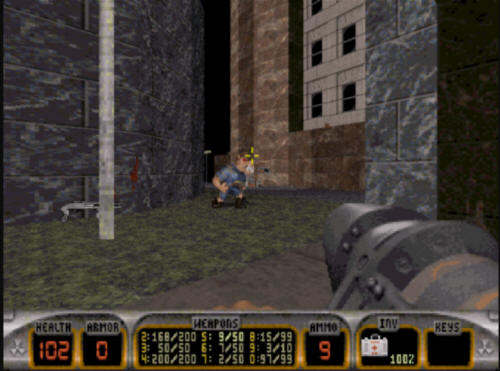
After you're done playing around with
the id Software joke, make your way down to the right at the end of
the courtyard. When you make it to the corner, you will find a
couple of pig cops hanging out with one of the prostitutes in the
game. Take down the pig cops, as they'll immediately try
to take you down when you get there. Once you've finished with
them, make your way into the door to your right.

Inside the door, there is a small office
to the right with a trooper in it, as well as some night vision
goggles, and some health if you need it.
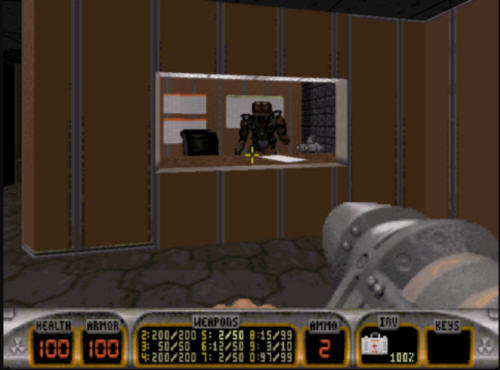
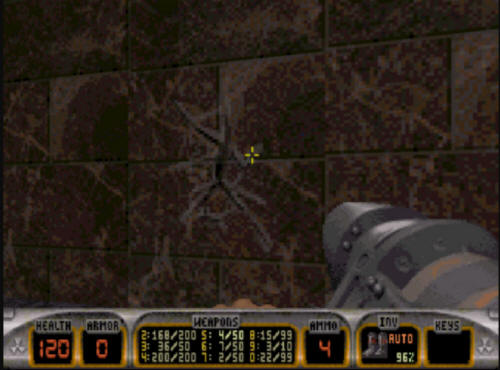
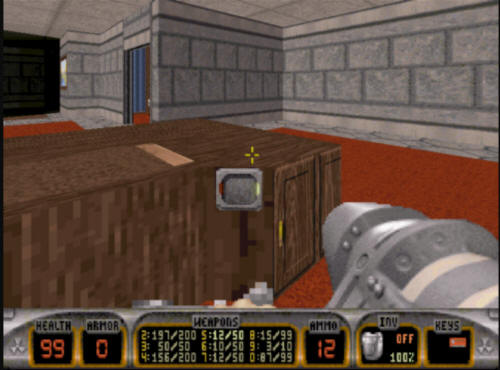
Next, you need to make your way into the
back room, where you will see a huge, rather obvious crack in the
wall. This does not denote a secret, but the actual path
forward in the level, as well as the blue key. Go get the blue
key first, but going into this room this will spawn some Enforcers
behind you, so be prepared for combat.
After you blow up the large crack in the
wall, a sequence of rocks will appear behind it, forming a
stairwell. Take it upwards into the next part of the building,
which is a long corridor with some elevators to the left.
There will be some pig cops in here you need to deal with.
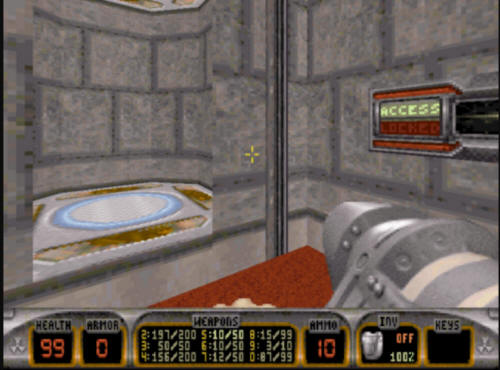
When you get up here, there is a hallway
to the right which leads to the locked blue door. You can open
the door if you wish, but this is not a particularly useful locked
door, as it just leads to an area of the level you have already been
in. The blue door is another way to get in here if you
did not blow up the big crack in the wall, but the way shown to you
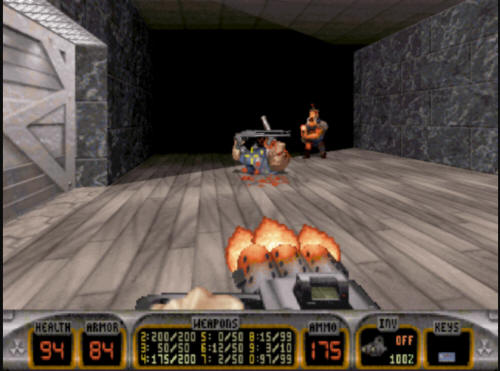
here is quicker. Anyway, once you've disposed of the two pig
cops here, you will see two elevators. One to the left with a
silver door, and one to the right which is broken. If you go
in the darkened one, you will get a devastator weapon (and not take
any damage). The other one is the way you want to go.
Open the doors, call the elevator, and take it up.
Once you get to the top of the elevator,
take the short hallway out onto the roof of the building. From
here, make your way out onto the roof and go to the left side of the
pillar on the roof. Take out all the aliens you can see.
Some will be on the roof with you, and some will be across the
courtyard in another building. The ones on the other side
aren't as important, but that is the way out of the level, and
you'll have less combat later if you work on them now.
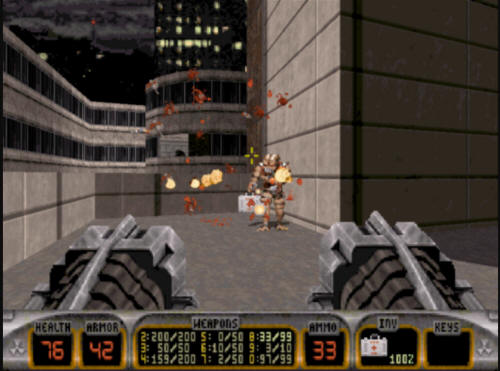
Once you have finished with the roof you
are on, you need to turn your attention to the top of the East Town
Towers building. You will see several Enforcers over there, it
would be best for you take them out now, as that is where you need
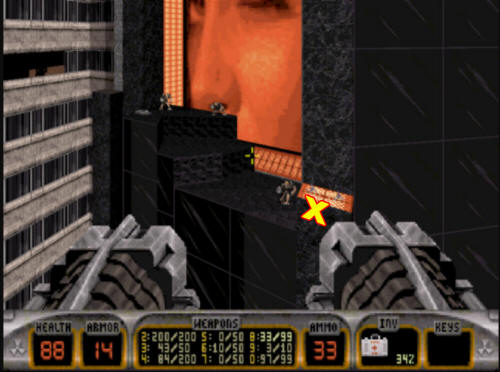
to go. From here you need to jump from the top of the building
you are on to the spot marked by an X over on the Towers building.
Multiple Enforcers will not be a good idea here.
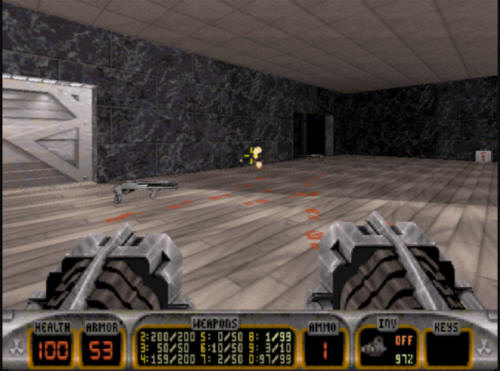
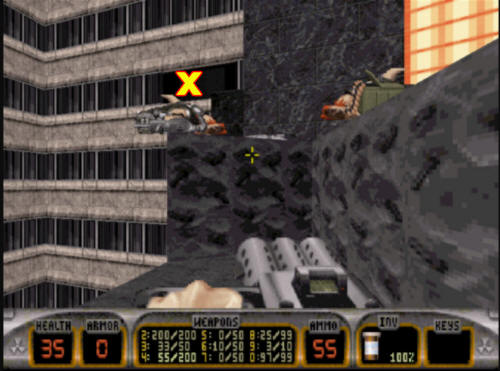
After you make the jump, you will need
to make your way across the East Town Towers building into an open
office window, marked by an X in the shot below. When you land
here, several sentry drones will make suicide runs against you, so
make sure they don't kill you from the back. Speaking of that,
when you land on the platform just before going in the window, a fat
commander will spawn on the other side of the courtyard and start
firing at you. Be careful.
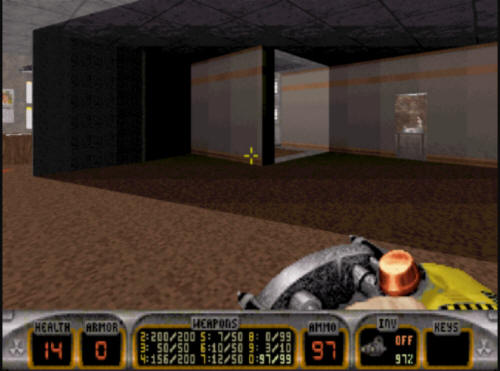
Once inside the office area, you will
pass a few cubicles, and come on a stairwell leading up.
Before you head up there, you may need to make use of the water
fountain to your right to health up before going upstairs.
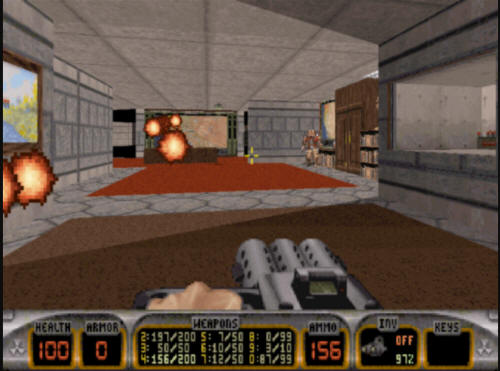
At the top of the stairwell is a room
where several troopers and a few turrets will attack you. Take
them all out before you do anything else in the room, otherwise it
will be time for you to die.
After you take out everything shooting
at you, go grab the red key. To the left of the red key is a
cabinet. Open it to collect some RPG & Devastator ammo as well
as a few other items on a shelf.
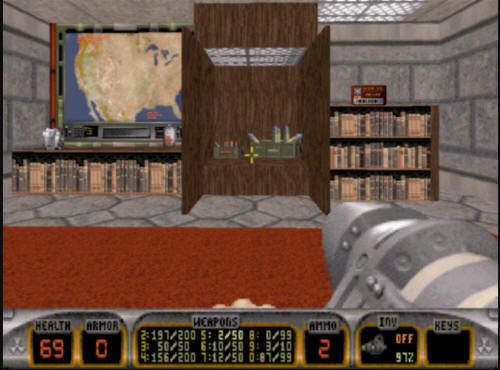
Go stand behind the desk at the far end
of the room, kick out the chair, grab the RPG, and then push the
button on the desk. This will temporarily open up a room on
the side wall. Before the door closes again, you need to go
over there and get inside the room.
Inside the room are a couple of
troopers, as well as the locked red key door. Use the red key
here, and it will unlock the "door" to your left (which looks like a
set of wooden cabinets). This will reveal a teleport.
Take the teleport.
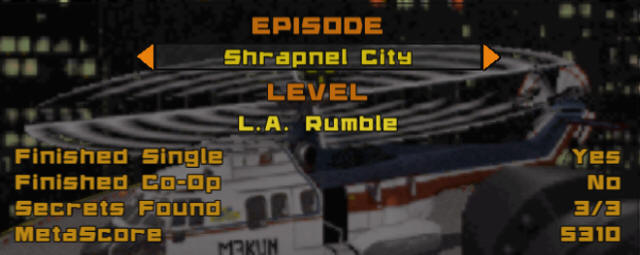
The teleport will leave you in a small
room with the exit directly in front of you.
Hit the exit be taken to Level 5, "Movie
Set". |