|
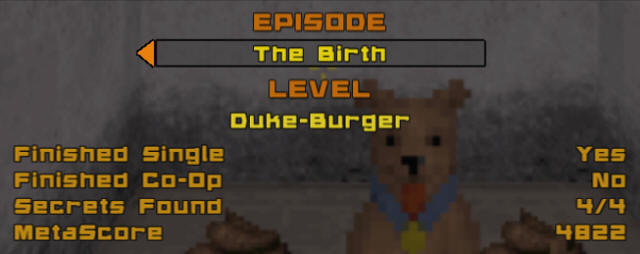
Duke Burger
Episode 4, Level 2
[ Previous
| Next | Main ]
Duke Burger is one of the more played
levels in the game. It's a great Dukematch level, the
construction of the level geography is great, it has a varied number
of settings, and it also introduces a new enemy into the game.
It also has one of the more "controversial" moments in the the game
(that will be pointed out below). Let's get to it.
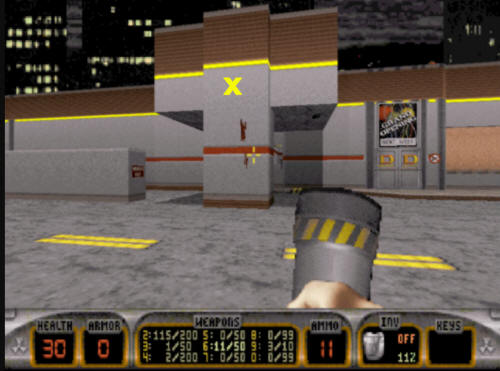
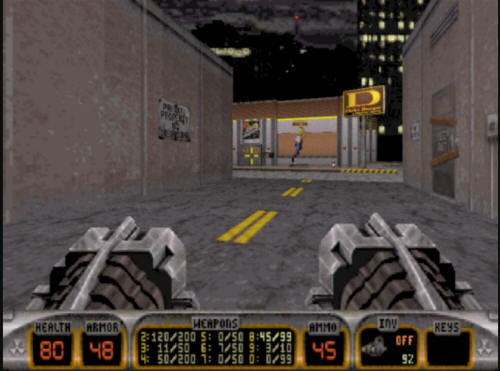
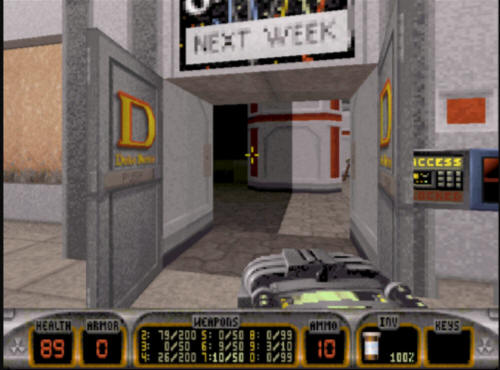
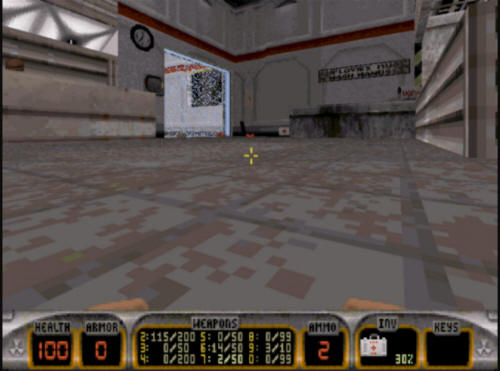
You start off at the end of an alley looking at the main entrance to
the Duke-Burger restaurant. Make your way forward from
the starting point of the level, and head to your left.
You will turn the corner and make your way towards the side of
Duke-Burger where the drive through window is.
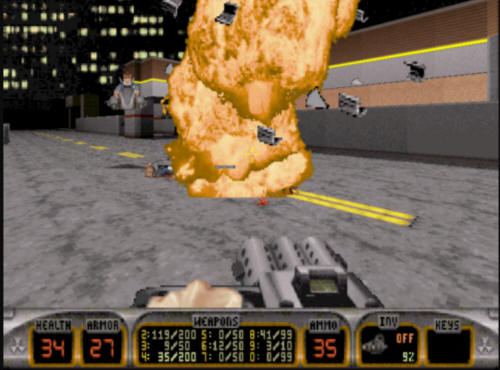
Once you take out the couple of flying
pig cop cars, you will come across another alley here.
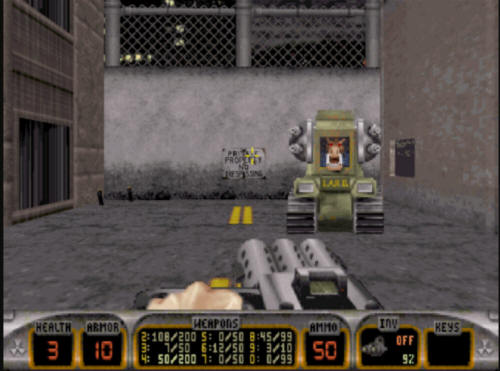
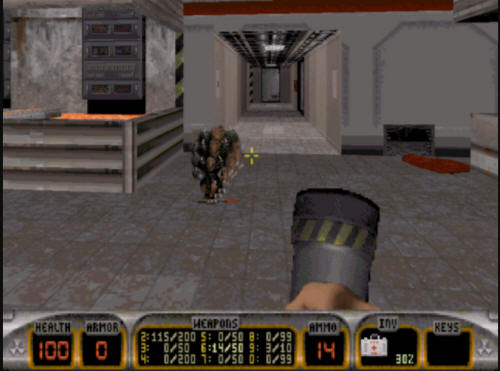
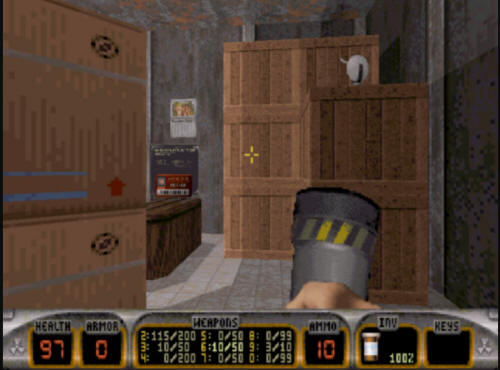
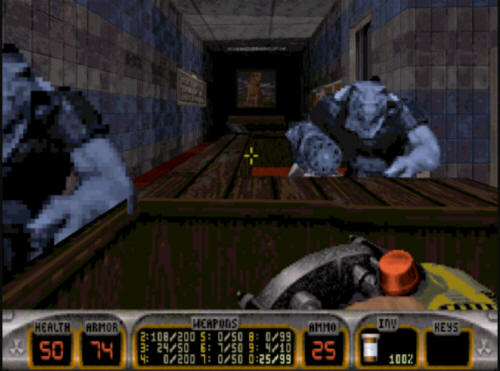
Down at the end of this alley is the new enemy character for Episode
4 of Duke Nukem 3D, the "Pig Cop Tank". This is similar
in vein to the flying pig cop car in that there's a pig cop in
there. However the tank, while not nearly as mobile as the
car, is far more deadly. What you need to do is to either send
several rockets at the tank, or (if you can) run around the back of
the thing and take out its target. The latter isn't always as
easy (especially if more than one is around), so rockets or
Devastators are a good use against the pig cop tank. Like the
flying car, once you destroy the vehicle, you will have the pig cop
itself to take down.
Once you have dispatched all of the
enemies here, you can pick up an Atomic health in the actual drive
thru window on the side of the restaurant. Make your way up
the drive through lane and around the corner to the drive through
sign with Duke's head.
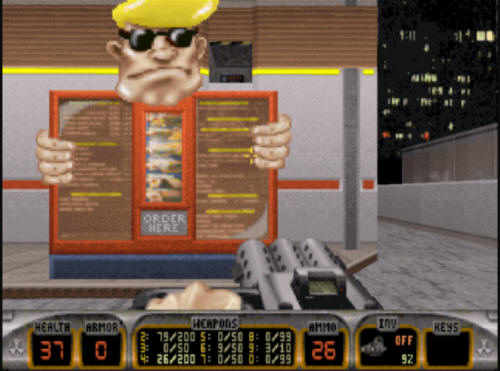
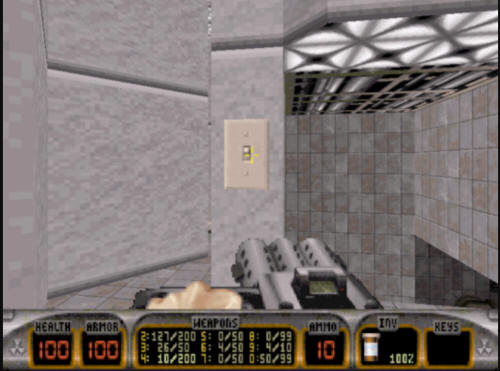
Once you arrive at the sign, go up and
"use" the Order Here part of the sign. You will get a
recording saying "Go away, we're closed" (which is a reference to
the old
Beavis & Butthead show). However, this does serve a
function beyond playing a sound. The door above the sign will
open up, revealing the shrinker weapon as well as the blue key.
Go up there and grab it. You can get up there two ways.
You can either jump from the wall behind you onto the sign, and into
the hole, or you can stand on the "Order Here" part of the sign, and
jump up that way. After you have taken the blue
key, go back to the front of the restaurant, and open the main door.
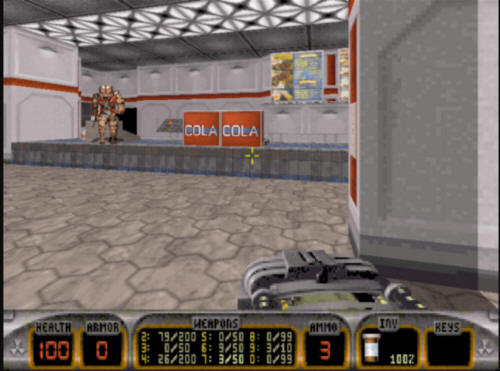
The first area you will be in is the
main dining area. There are several pig cops in this room,
take them out before proceeding further. Once you clear
out the dining area, make your way behind the counter area.
Duke will quip about the quality of the
food here, and some troopers will try and take you out. There
is something you can do here which will help you later. It is
not necessary, but you might find a future part of the level much
easier. Using the same kind of trick as in It's Impossible,
head over to the far end of the counter area, and you will see a
forcefield. You cannot turn off the forcefield at this point
of the level, but there are several troopers who will try (and fail)
to get to you from the other side.
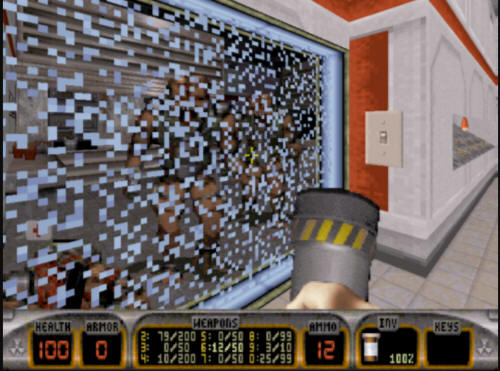
If you go over near the screen, you will
get the attention of most of the troopers behind here. Lure
them over to the forcefield, and when they're close enough, throw a
pipebomb right next to the forcefield, and detonate. It will
blow them up on the other side, which will be helpful in a few
minutes. After you've done that, make your way around to
the bathrooms in the back. The men's bathroom door contains a
few troopers and some health, but is not necessary for completion of
the level. The women's bathroom door will explode when you get
near it, and when you go inside, one of the protector drones
introduced in the last level will attack you.
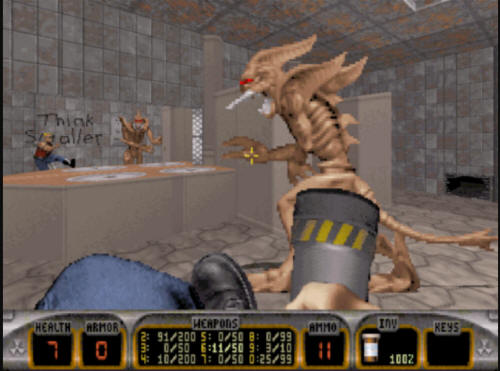
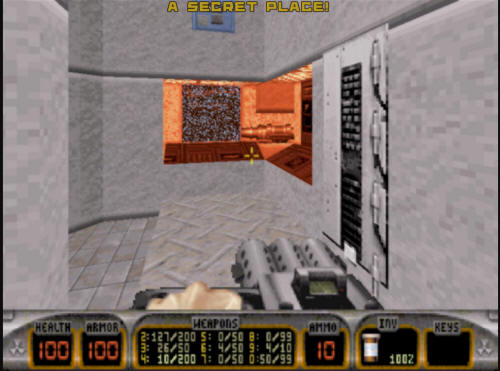
After you take out the drone, you will
notice the mirror says "Think Smaller". At this point what you
need to do is point the shrinker weapon at the mirror and then
shrink yourself. You will see a small hole near the floor.
Make your way through there and come out in the Duke-Burger kitchen.
If you have expended all your shrinker ammo, one piece of shrinker
ammo is provided in the bathroom. If you don't have ANY, you
can still get around by using the info in "Secret #1" below.
Also, if you have blown out the mirror in combat with the drone, the
resultant wooden wall there will still reflect your shot.
Once you make it through the floorboards
there, you will come out in the kitchen. This is the part from
earlier you were told about. If you did not take out the
troopers in this room with a pipebomb, they will all be waiting here
in this room ready to step on you. This is a heck of a lot
easier without the troopers in the room here. Once
you've come back to normal size, go over to the forcefield and flip
the switch turning it off. Turn around and make your way into
the back area of the Duke-Burger. An Enforcer will come out to
meet you - take him down, and head around into the back office area.
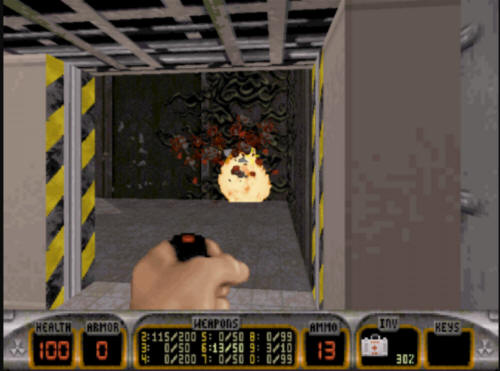
When you turn the corner into the office
area, you will see three slimer eggs, which will hatch and then come
after you. Best to throw a pipebomb in there as you enter the
room and take 'em out first.
Once inside the office, you will see a
desk in the back with some Enforcers. Wipe out the enforcers,
and then grab the red key off the desk. Also in this room is
some "Microwave Expander" ammo. It is basically the "alt fire
mode" for the srhinker. If you have the shrinker weapon, the
expander mode comes when you pick up and have expander ammo in your
arsenal. Basically the expander does what its name implies.
Pump enough expander ammo into a character, and he will become
larger and larger like a balloon until he explodes.
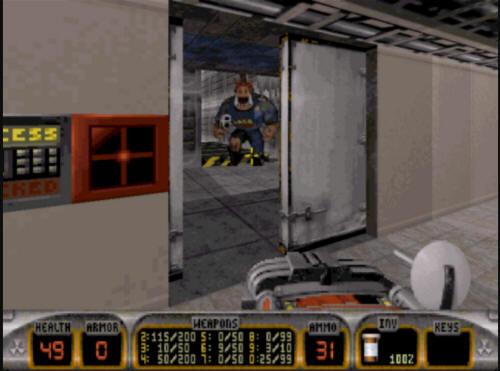
After you grab the key, make your way
back out into the corridor, and open up the locked red key door
which leads to the meat locker. Be careful in here, as there
is a pig cop on the inside of the door, another that comes up the
conveyor, and an Enforcer in the other side of the room.
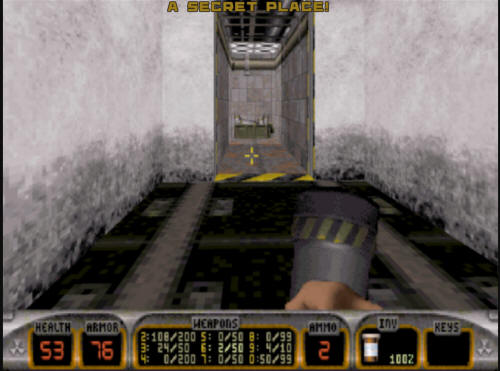
After you clear out the meat locker, you
need to head your way down the conveyor belt, but if you do it too
fast, you will get picked off by some trip mines, you will want to
take them out before heading down.
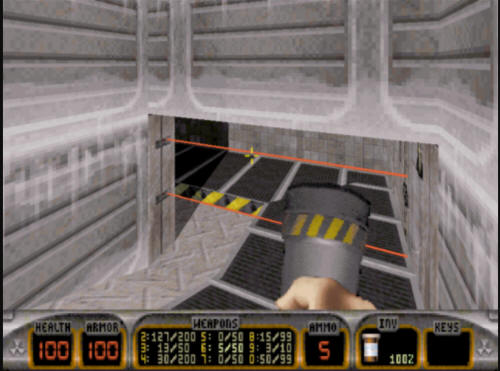
This conveyor belt leads from the
building next door to Duke-Burger which is an SPCH building.
That's the "controversial" bit for this level, the implication that
"Duke Burgers" were made out of dog meat. When the game
was new, we took some grief over that. Continue down the
conveyor system until you reach a room that you can jump and and
into.
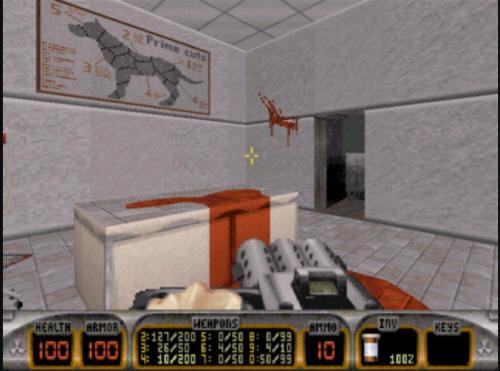
Go out the narrow door on the side of
the room into the main kennel room. You will encounter a few
more enemies, a couple of Enforcers and a sentry drone. Take
all these guys out. Whether or not you wipe out the
puppy is up to you. :) After you finish with this
combat, you will end up in the front office of the SPCH building
part of this level. If you make it too close to the
door, it will explode, revealing a couple of Pig Cop Tanks on the
ouside (which can make it inside this office area), so try not to do
that if you can avoid it, as there is no need to go over there.
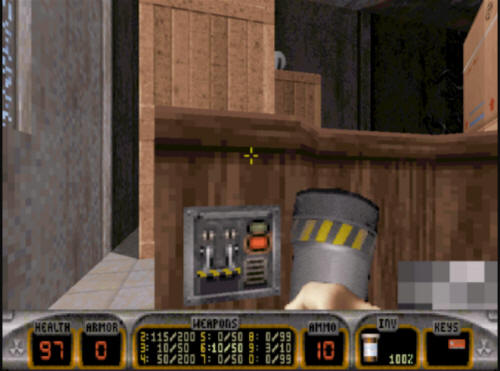
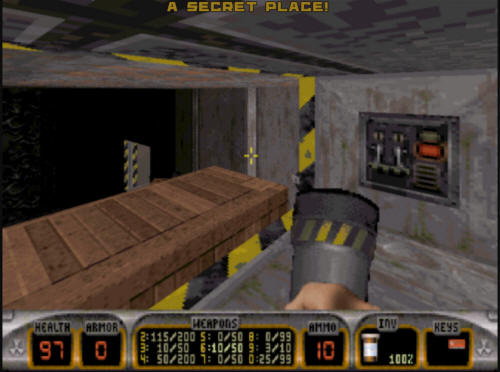
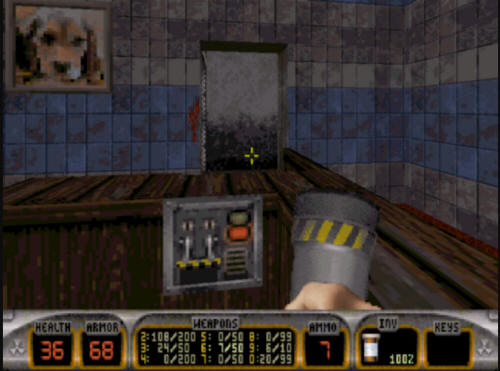
On the other side of the desk is a
switch. Flip the switch. This will open up a
door in the hallway you just were in.
Make your way into the newly opened
room, which is the final one of the level. There is a
protector drone in here. Take it out, and then you will reach
the exit.
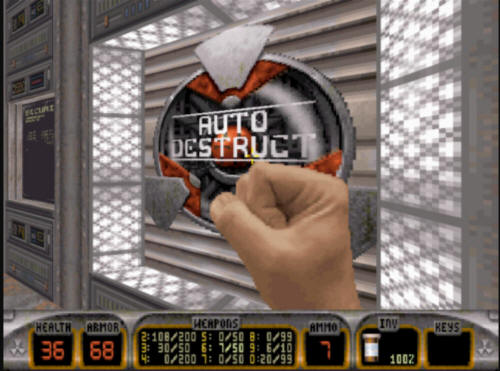
Hit it and be taken to Level 3, "Shop-N-Bag". |