|
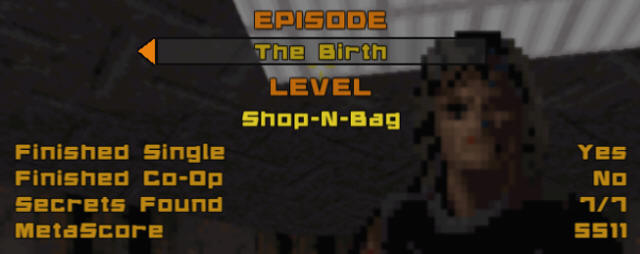
Shop-N-Bag
Episode 4, Level
3
[ Previous
| Next | Main ]
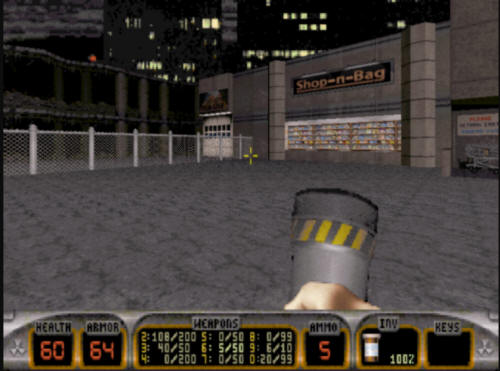
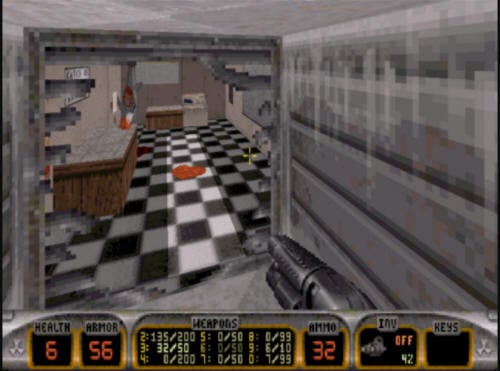
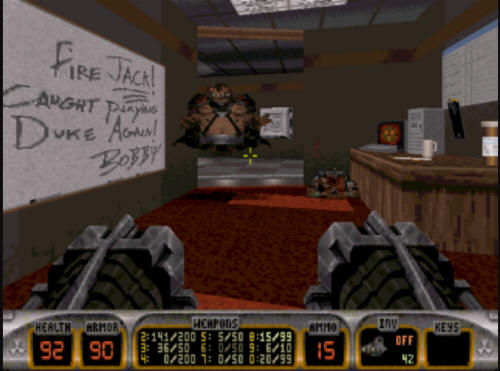
Shop-N-Bag is another very well
constructed level like Duke Burger in that what it portrays is
rather well constructed. Shop-N-Bag is a rather large level,
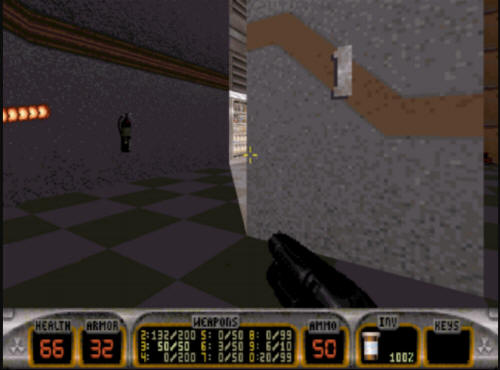
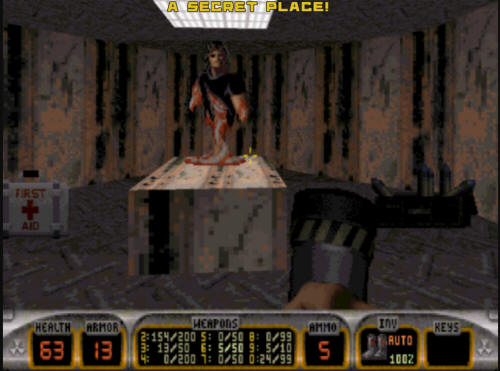
and also contains several gotchas (thanks George!). You
start off in a corner of a room with three troopers immediately in
front of you. However, they are likely to not be a problem, as
the building behind them immediately explodes and collapses.
The troopers will likely get blown up, so stay where you are until
the building has totally collapsed otherwise you are going to die,
too. Once the building is down, make your way out into
the street.
At the far end of the alley is a fence.
If you jump the fence, there are two areas here where you can
collect some health and ammo if you need it, but otherwise is not
needed to finish the level. There is some RPG ammo
behind the shopping carts out here, too. Once you've
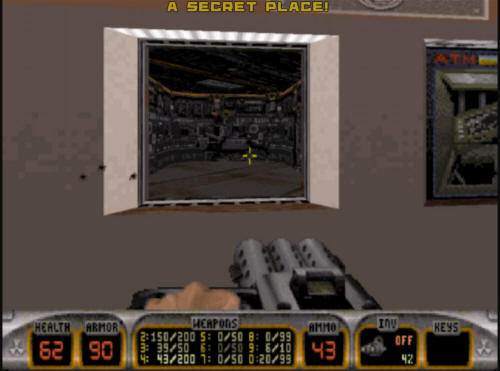
collected everything outside, make your way to the large window
under the Shop-n-Bag sign, kicking it out. There are turrets
on the ceiling on either side of this room. Take them
out, or you will not be able to use this area as a "rest area" for
some combat in a few minutes.
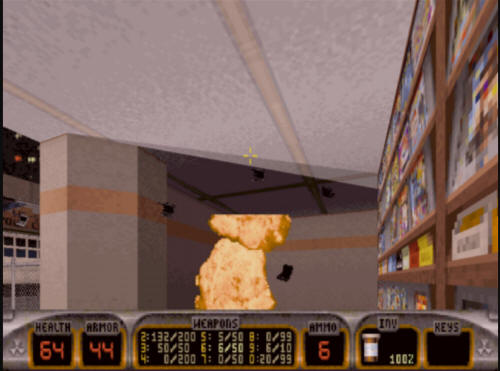
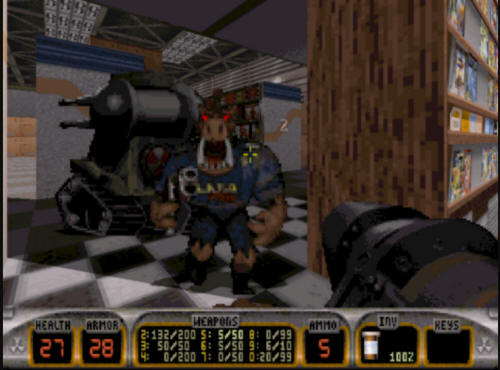
Once the two turrets are gone, make your
way out into the grocery store, and you will be met with one of the
several Pig Cop Tanks in this level. Depending on what your
health situation is, these are a lot harder to deal with inside the
store, as there isn't much room to maneuver. There are also
several turrets in the main shopping area too - some will fire at
you from the other side of the room, so try and take them out as you
run across them.
Make your way around to the back side of
the shopping area, avoiding several enemies on the way (there's
several). When you eventually get to the other side, you need
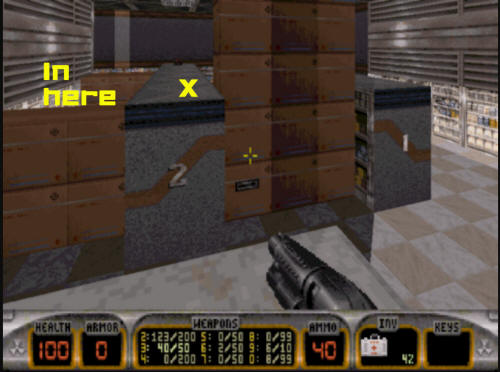
to make your way to a cardboard looking box next to a shelf that
says "2" on it. When you get there, jump up on the box,
and then on top of the shelf.
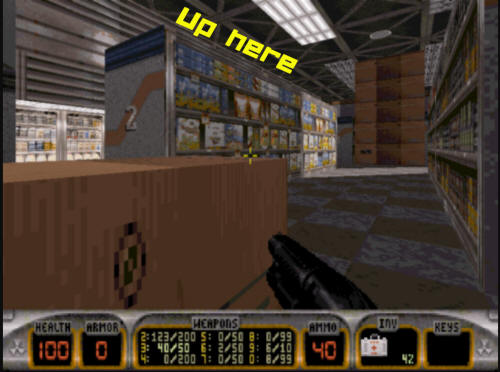
Once you are up on the shelf, you need
to hop over to to the other "2" shelf, and then drop into an area
you can't get to except from the top of the shelf.
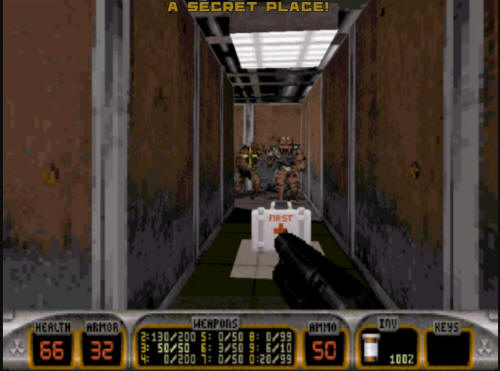
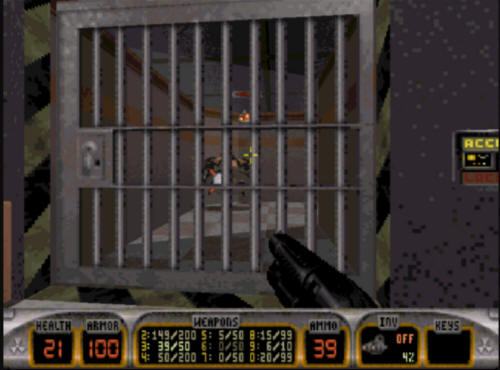
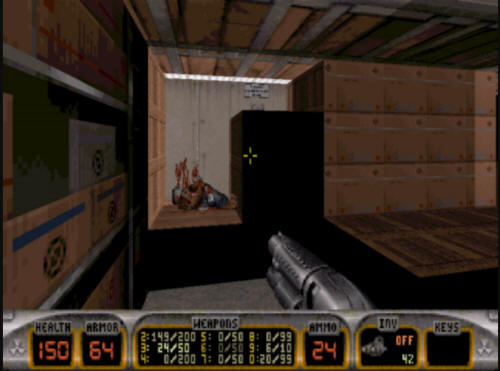
Once you drop into the enclosed area,
you will have to deal with a trooper or two as well as another
enforcer. Once you clear that out, you will have access to the
blue key.
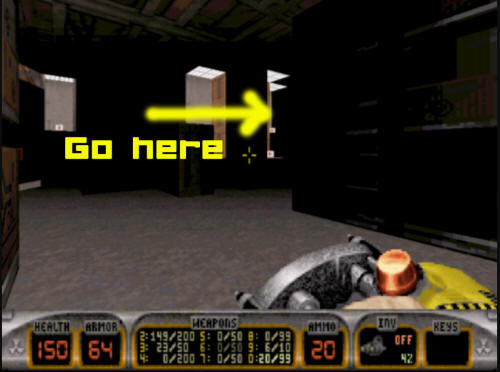
Grab the key, and head over to the blue
key door. Unlock it, and you will be in a small passageway,
but blocking the next door is a pig cop tank (in one of the level's
"Gotchas").
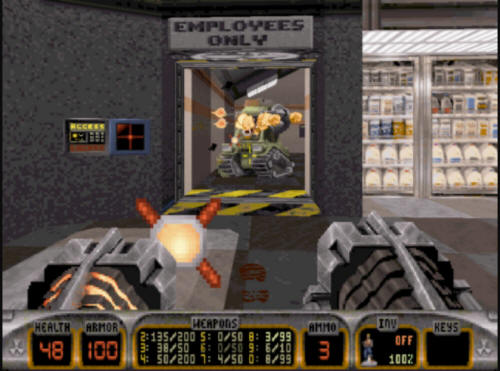
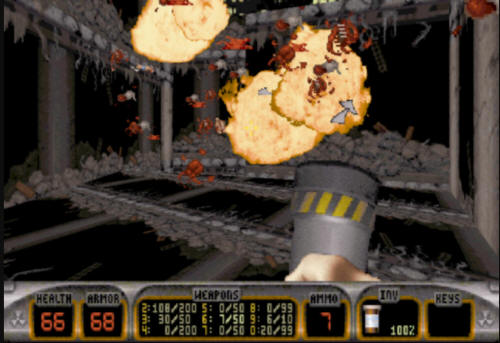
Once you get past the tank, open the
door into a fairly large room. Again, several turrets are in
the ceilings in here, so be careful of them, on top of all the
regular enemies that are in here. Depending on how far
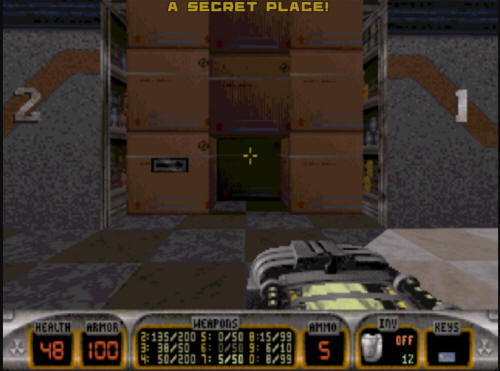
you move around in this room, another Pig Cop Tank will join the
fray in here. If you are in need of health, there is an Atomic
health behind some grates in this room. You can see this grate
in the screenshot below to the left, already blown out.
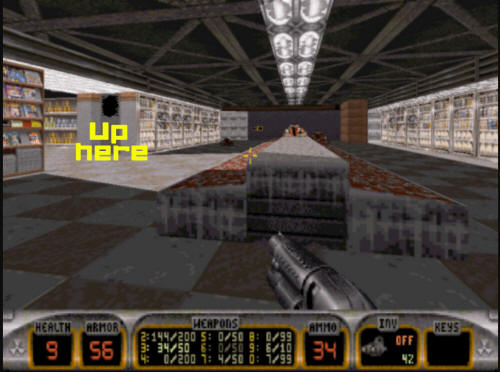
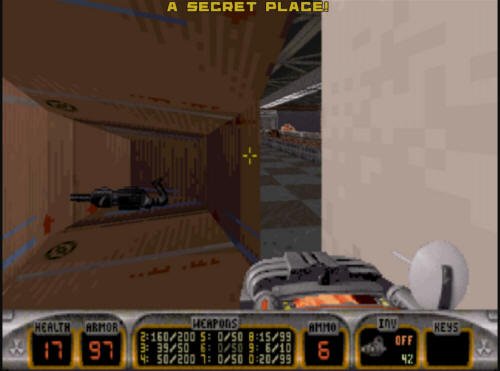
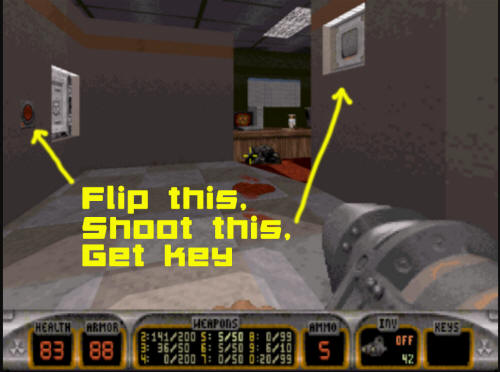
As you get the Atomic health hidden in
the grate, you will see another grate. That is the grate you
want to make your way into. This grate though has another
gotcha, a turret in this tight area.

Once you take out the gotcha turret, you
will see a room that will have yet another turret as well as an
Enforcer. Take them out and go into the "Meat Room".
Once in here you will see a switch
puzzle on the wall, which is hiding the yellow key. You
will want to flip the left and middle buttons, leaving the third
alone. This will briefly open up the door. While it is
open, grab the yellow key. Once you have done that, you
can turn around, and flip a switch on the wall, opening a large
window which leads out into another shopping area.
You need to make your way back into the
large shopping room, that is where the yellow key door is.
Open the door, and be prepared to get shot in the face, as there is
a Fat Commander back here (and yet ANOTHER turret), in another of
this levels "Gotchas".
When you eventually clear out the Fat
Commander and the turret, you will see a button on the ceiling past
the door. You need to shoot this, as it drops several
doors (including the one in front of you). You need to make
your way back to the checkout area of the level at this point.
You need to get to the checkout lane closest to the office door.
You will see a small switch puzzle back here. The
correct combination is to hit just the third and fourth switches -
leave the first two alone.
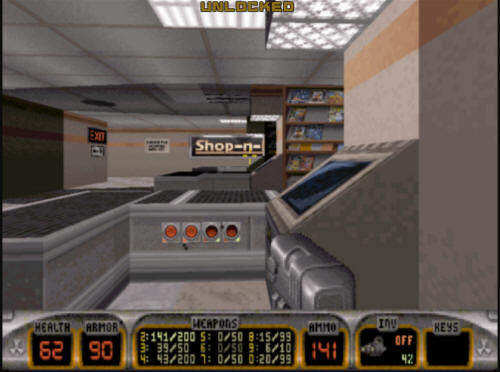
This will unlock the office door.
Go up in there, and you will encounter (what a shock) another
turret, as well as a Fat Commander, and some random troopers.
Take everyone out as you will have a puzzle to deal with here that
enemies will keep you from doing.
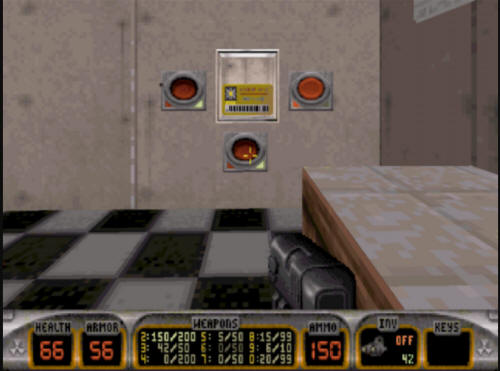
Next up is a fairly complicated switch
puzzle. What you need to do is flip the red button on one
wall, then turn around 180 degrees, and shoot the button that is
shown VERY briefly up on the wall behind you. This will then
open up the door the right of the button where the red key is.
It's a lot more difficult than you would think, given you have to
find the exact spot to shoot the button as it is only available for
a scant couple of seconds.
Once you get the red key, you need to
make your way back out to the red key door. This is past the
produce room near the checkout area. If you did not go
down this corridor already earlier, there is a turret and another
Fat Commander here to take out.

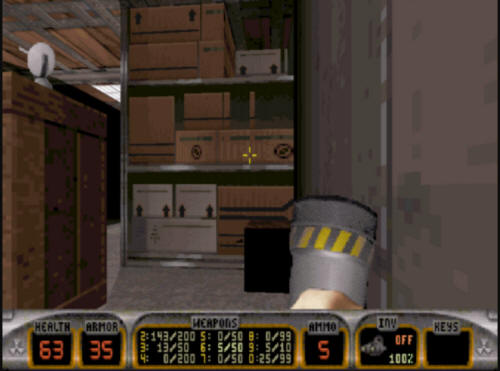
Opening up the red key door will reveal
a big storage room full of boxes. From the point you enter the
room, you can head straight to the back wall (not turning
either left or right). There is a Pig Cop back there who is
guarding a switch under a sign that says "Trash Compactor Door".
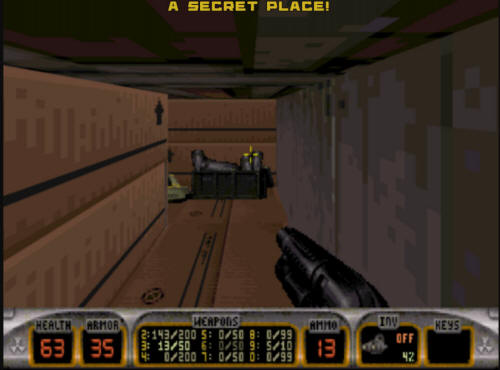
Once you push the button, turn around
and you will need to head right in the box room.
When you head right, you will see a red
sign at the far end of the room that says "Danger", as it leads to
the trash compactor area, and the last part of the level. You
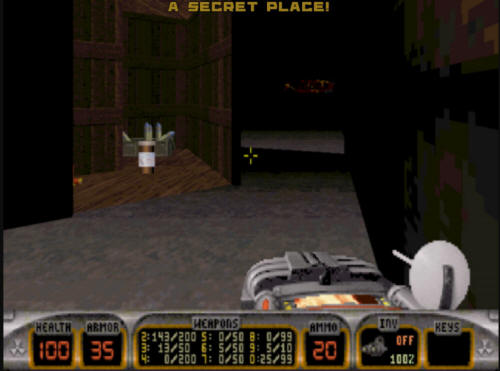
will have to run through three fast moving trash compactors.
There is a way to make it easier, but just running past the
compactors is possible. The other way is this.
When you first run into the compactor area, a switch will be
revealed. Shoot it quickly, as the door is not open long.
This will reveal another switch next to
the compactors. This switch will turn off all but the first
compactor. For this to work right, you will have to flip the
switch for each compactor at the apogee of its movement. Do it
at the wrong moment, and you can block yourself.

Whether moving or not, once you get past
the compactors, you will find yourself at the exit for the level.
Hit it and be taken to Level 4, "Babe
Land". |