|
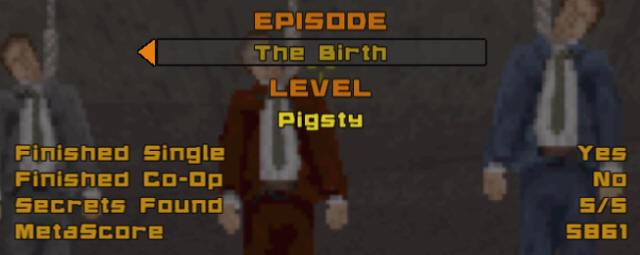
Pigsty
Episode 4, Level 5
[ Previous
| Next | Main ]

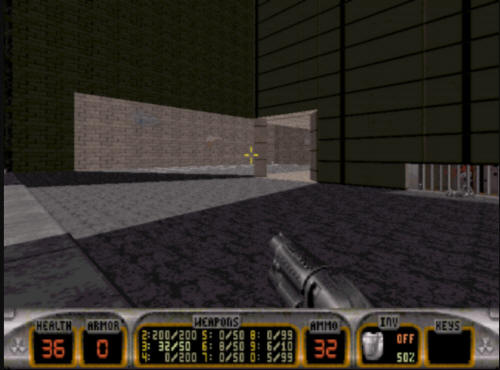
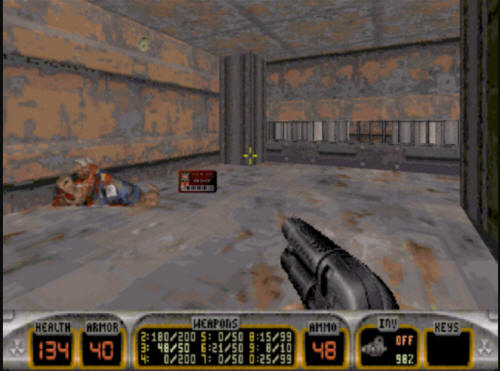
Pigsty starts out in a street next to a
police station. The police station is where the majority of
the level takes place. Make your way over to the front
door after picking up some shotgun shells behind your start
position, and a ripper in front of you. You will notice that a
car has crashed through the front door of the station, opening up
the front lobby door.
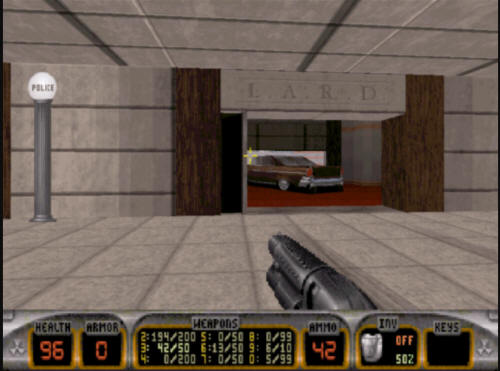
Make your way into the police station.
There are two stairwells leading from the lobby here. One is to the
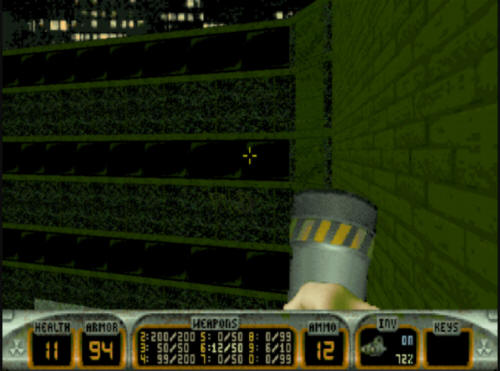
left, and the other is to your right. You will want to to take
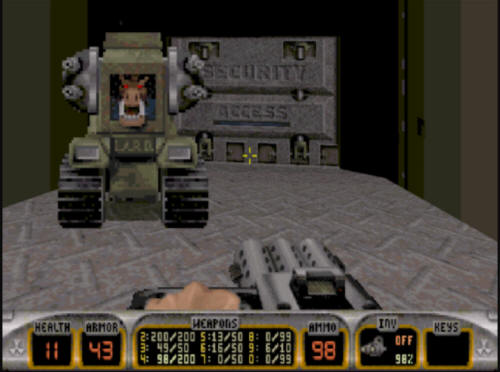
the lefthand one. There is a Pig Cop Tank right inside the
door, so you will need to take that out, or run by it. If you
run by it, you'll have to deal with it later on, so if you have the
health available now, take it out. Before you go up the left
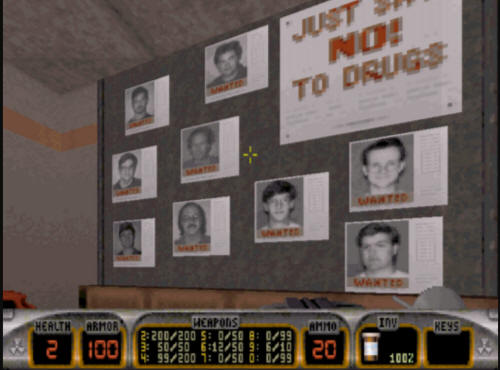
stairwell, though there's a joke in the lobby worth pointing out.
Immediately inside the door on the right hand wall is a board of
wanted posters. These are the developers who were working here
on Duke Nukem 3D Atomic Edition in 1996. The folks in the
picture are
-
Top row, L-R: Chuck Jones & George
Broussard
-
Middle row, L-R: Dirk Jones & Todd
Replogle
-
Bottom row, L-R: Allen Blum, Stephen
Hornback, Randy Pitchford, Brian Martel, and Doug Wood (on the
bottom)
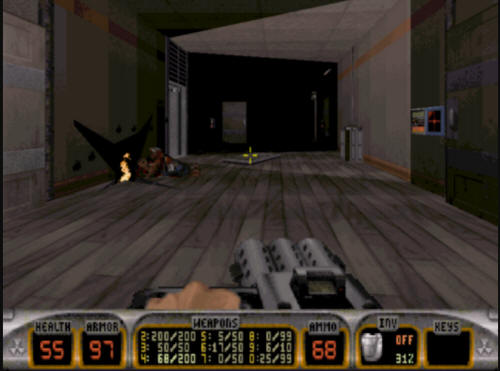
Once you head up the left hand
stairwell, you will find out that night vision goggles help out a
lot here. There are two pig cops at the top of the stairwell,
they may have come down depending on how you moved around the room
dealing with the tank. Once you are up here, you will want to
open the door to your right and go in. You will be left in a
hallway with several doors to choose from. The first open door
to your left is a closet, it has an RPG in it. The next door,
however is open and that is where you want to go (after a trip to
the water fountain in the hallway if you need it).
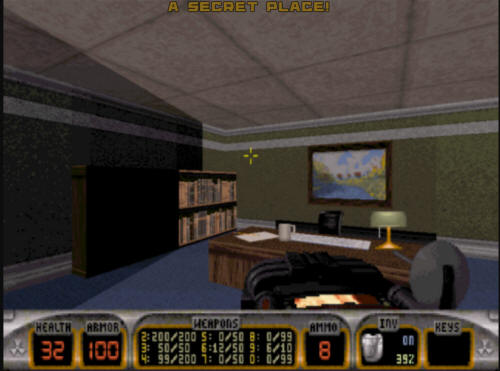
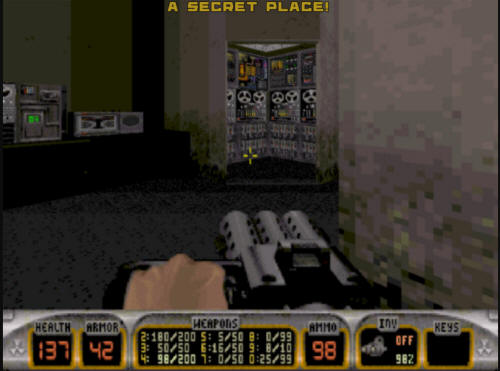
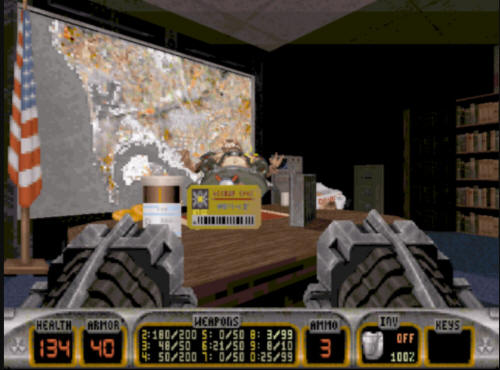
Going into this small office area will
show you a policeman's desk (specifically H. Callahan, a Dirty Harry
reference), and around the other side of the room, you will see a
drop down into a computer control area. Head down there
and take out any opposition you might find.
After you take out the enemies here,
make your way to the back room here, and you will find the blue key.
After grabbing it, head up the ramp right here, and use it
immediately to unlock the blue key door here. This will also
unlock all the other blue key doors in the level.
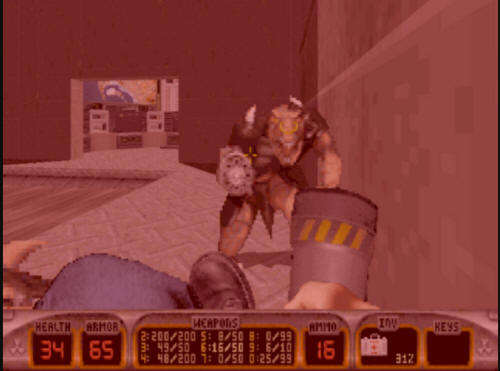
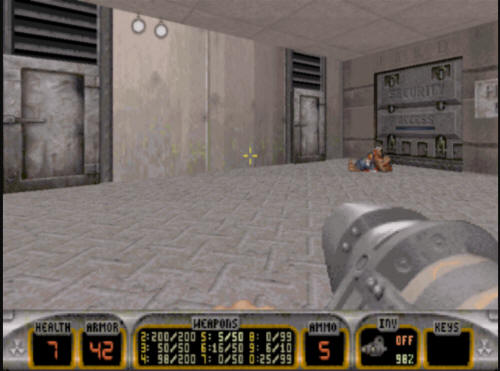
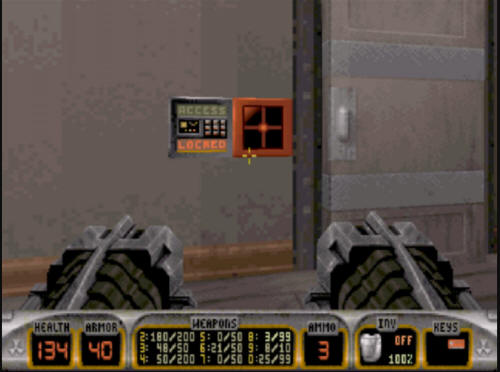
After you open the blue key doors, make
your way out of the small hallway here, and not back to the lobby
but down the large ramp which leads to a big metal door labeled
"Security Access". There will now be a Pig Cop Tank guarding
it, so definitely take it out before going in there.
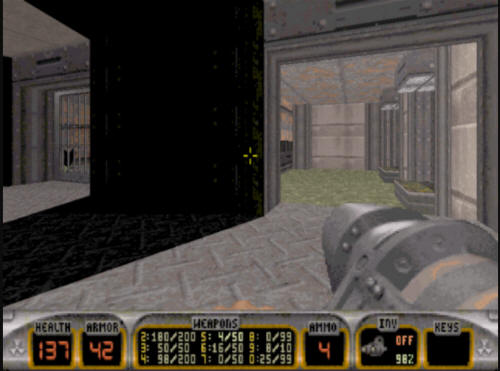
Once through the Security Access door,
you will find two small doors, and another Security Access door.
The left of the two smaller doors leads into an interrogation room
where you can get a freezer weapon. The other smaller door
leads to the other side of the one way glass for the interrogation
room. There's a few pig cops in here, so if you go in here, be
prepared for some combat. There is a tripmine and some health
in here to get.
Once you are done with the interrogation
rooms, head through the second security door. You will find
two sets of holding cells.
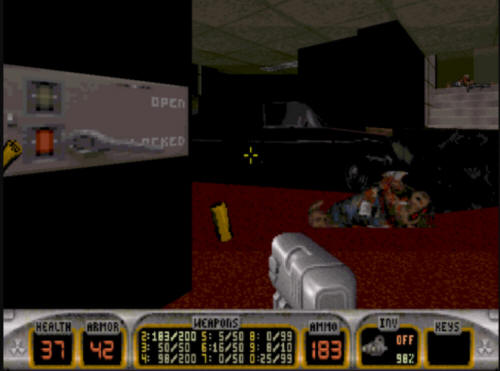
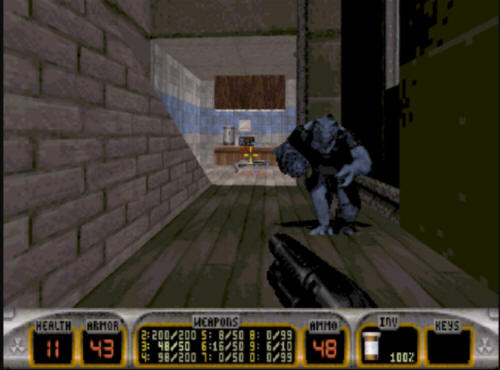
Go into the open set of holding cells,
and open them up. Both sets contain slimer eggs as well as
some health & ammo. Take out all the eggs in each, and go in
and collect the items. When you are coming out, you will be
able to see into the second set of holding cells through this
window.
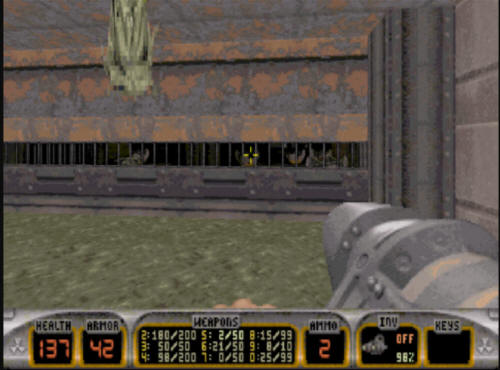
Depending on what the lighting looks
like (it is random here), you will probably see that there is a Fart
Commander in there. You can shoot him with rockets (assuming
you have some) through this window - it is easier to do this than to
go around and go into his cell and shoot him. Either way, when
you are done exploring these two cells, the door to the second block
will open, allowing you access. Head into the back of the
second cell, and you will find the red key on the floor in the back
of the cell. Take it.
One you have the red key, make your way
back to the small hallway at the top of the ramp leading out of the
holding cell area. At the end of the hallway is a locked red
key door. Use the red key here, and then open the door.
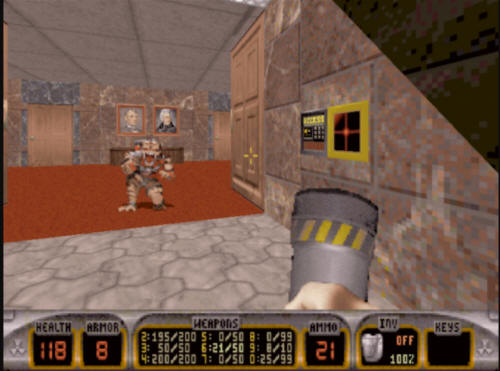
Behind this door is an office with the
yellow key on a desk. Unfortunately, there is a Fat Commander
waiting right behind the desk, so make sure you don't get shot in
the face (too hard). After taking out the Fat Commander,
grab the yellow key, and make your way back to the lobby.
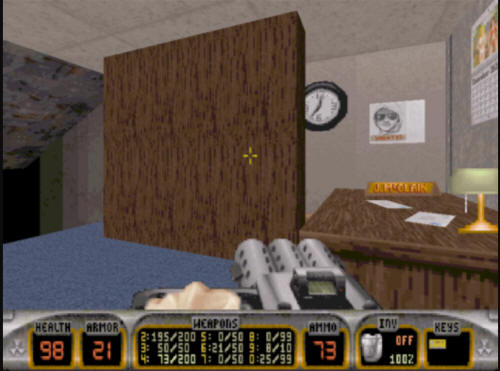
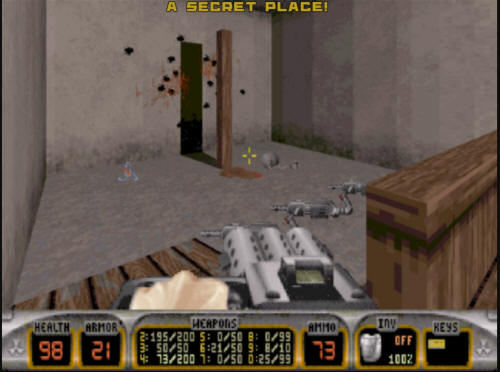
If you go out the other door in this office, you will find yourself
in another policeman's desk area. This time it's a "J.
McClain", which prompts a famous Dukeism borrowed from the original
"Die
Hard" movie. Also here is a picture parody of the
Unibomber.
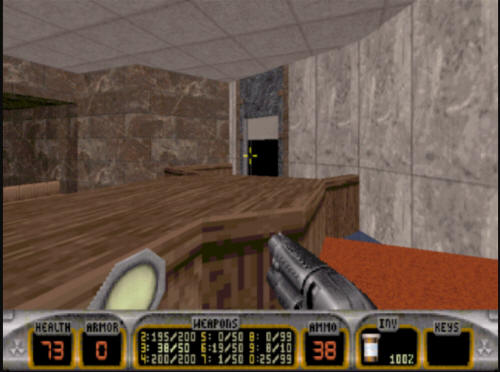
Once down in the lobby, you will need to
make your way up the right hand stairwell. If there are any
pig cops up here, take 'em out (your original movement through the
lobby may have set them off, maybe not, so there could be some
here). At the top of the stairwell is the locked yellow key
door, which leads to the courtroom.
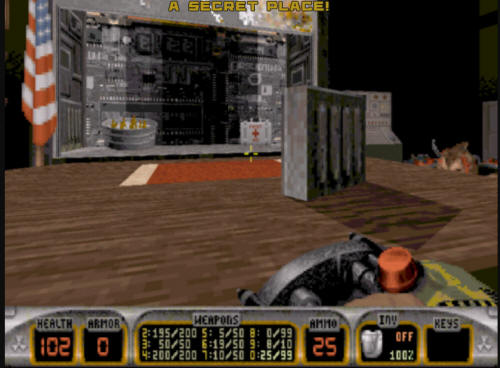
There are some troopers and whatnot to
deal with right inside the door before going into the main part of
the courtroom. I suggest taking out everyone here, as you
won't want the distraction in a minute. Once you've cleared
out the room, go inside, but be careful. There's a lot going
on in this room. There are two protector drones, a pig cop or
two, and a Battlelord (acting as judge). This will be a hard
combat room. The shrinker is useful against the Battlelord,
but not the drones, so choose your weapons wisely.
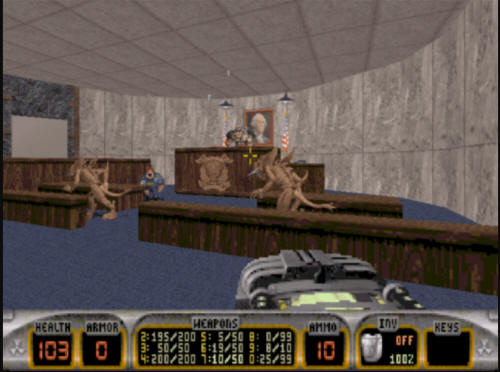
Once you have cleared out the room, go
up behind the judge's desk, and there's one large switch here.
Flip it, and a room will open up to the right. The Jury Room.
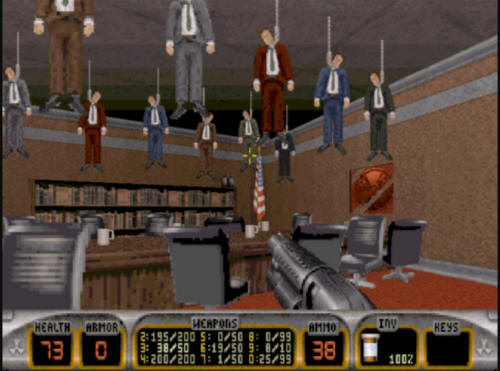
Make your way into the Jury Room, and
you will find out they are all hanging from the ceiling. Hung
Jury - get it? har har har.
Go grab the health in this room if you
need it before...
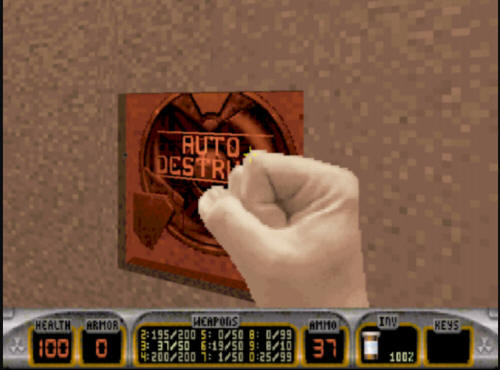
Hitting the exit and be taken to Level 7,
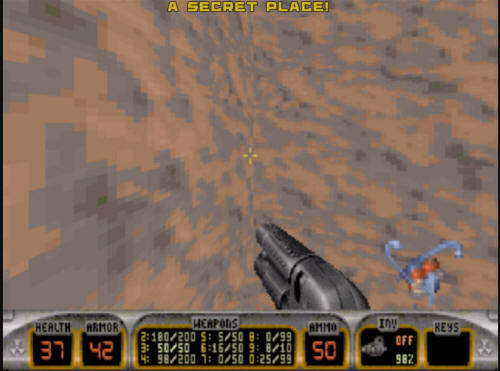
"Going Postal". There is a
secret exit in this level too, instructions on how to get there are
below. |